
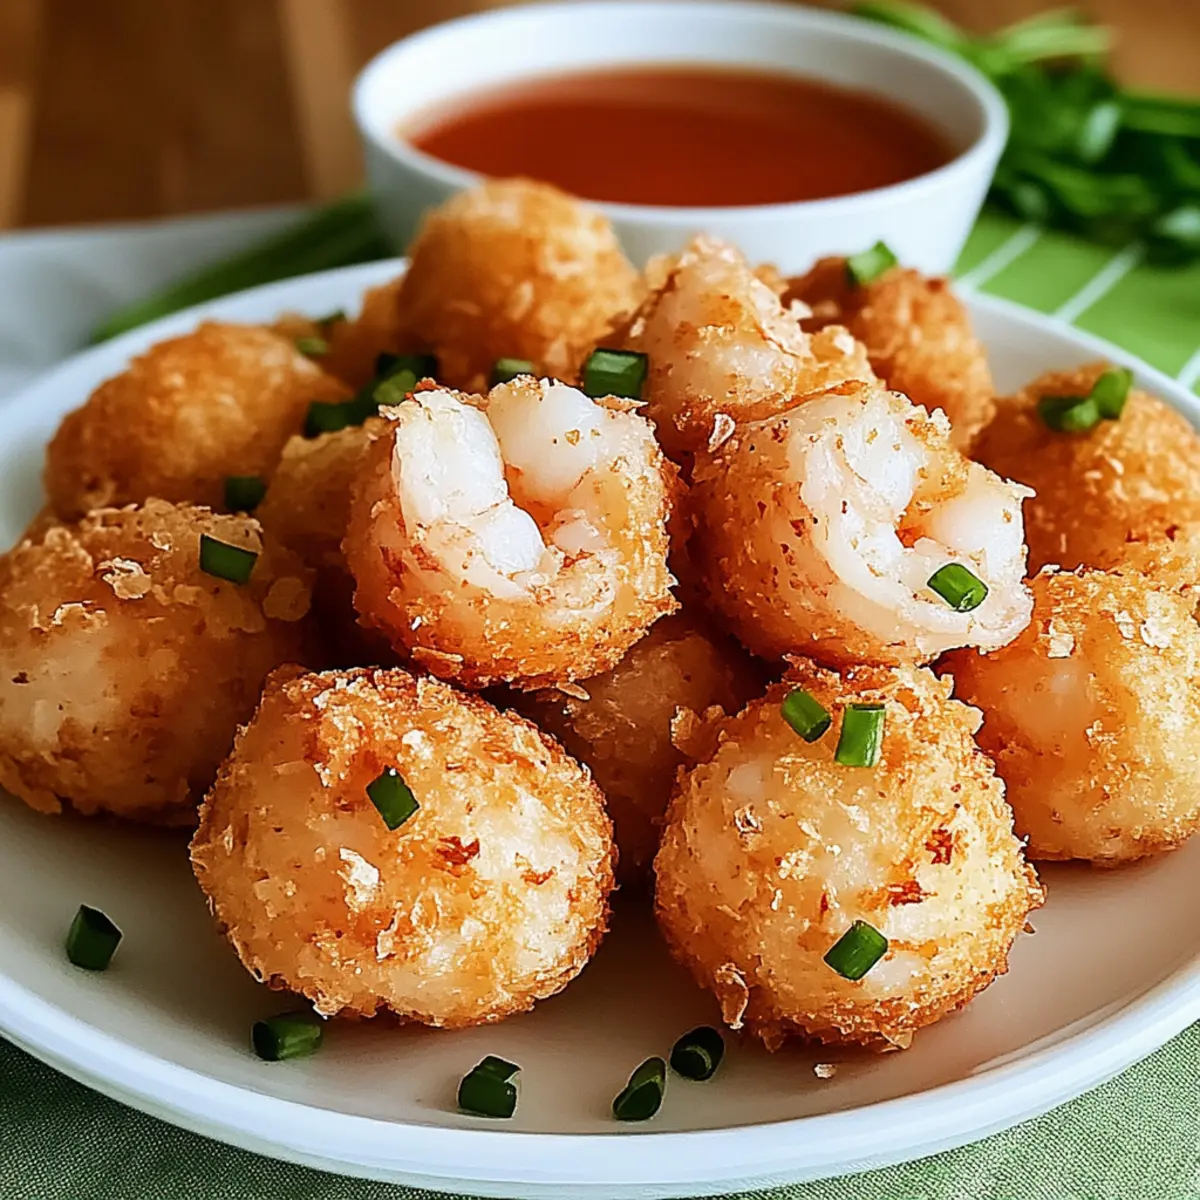
The sizzling sound of shrimp balls frying transports me back to sun-drenched summer gatherings where every bite was met with cheerful laughter and friendly chatter. This Shrimp Balls Recipe marries a crispy, golden crust with a succulent, savory filling that is adaptable to whatever mood strikes. Not only are these delightful bites an easy crowd-pleaser, but they also bring versatility to your table, shining as appetizers, snacks, or even a satisfying main course. Plus, with customizable ingredients, you can easily cater to different tastes or dietary needs. Would you prefer your shrimp balls spicy, cheesy, or perhaps a wholesome baked version? Let’s dive in and create your new favorite dish!
Why are shrimp balls so irresistible?
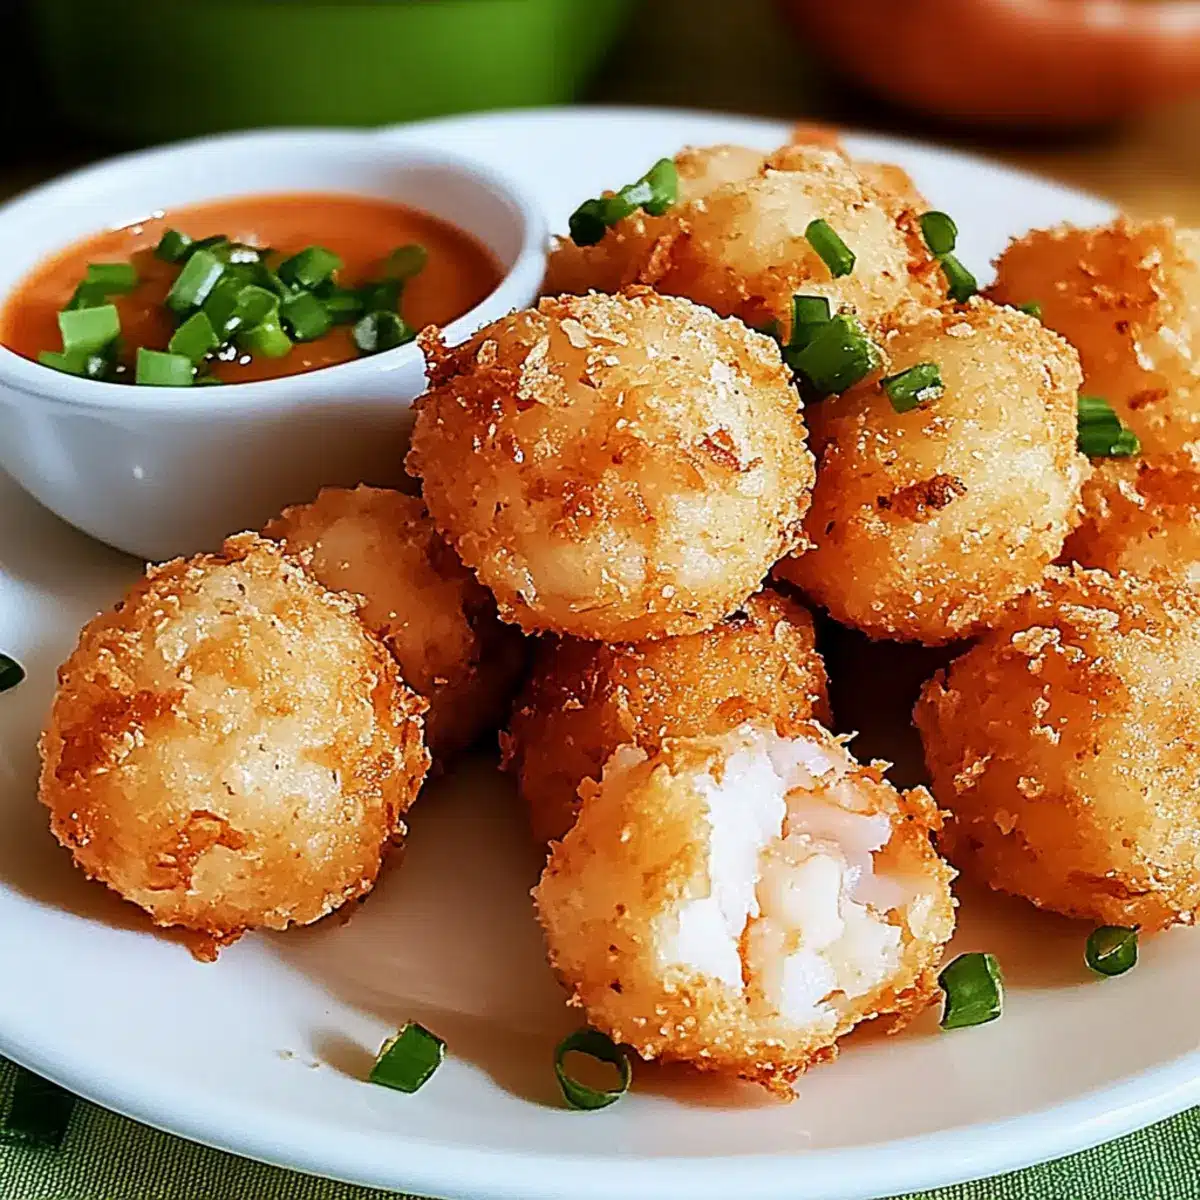
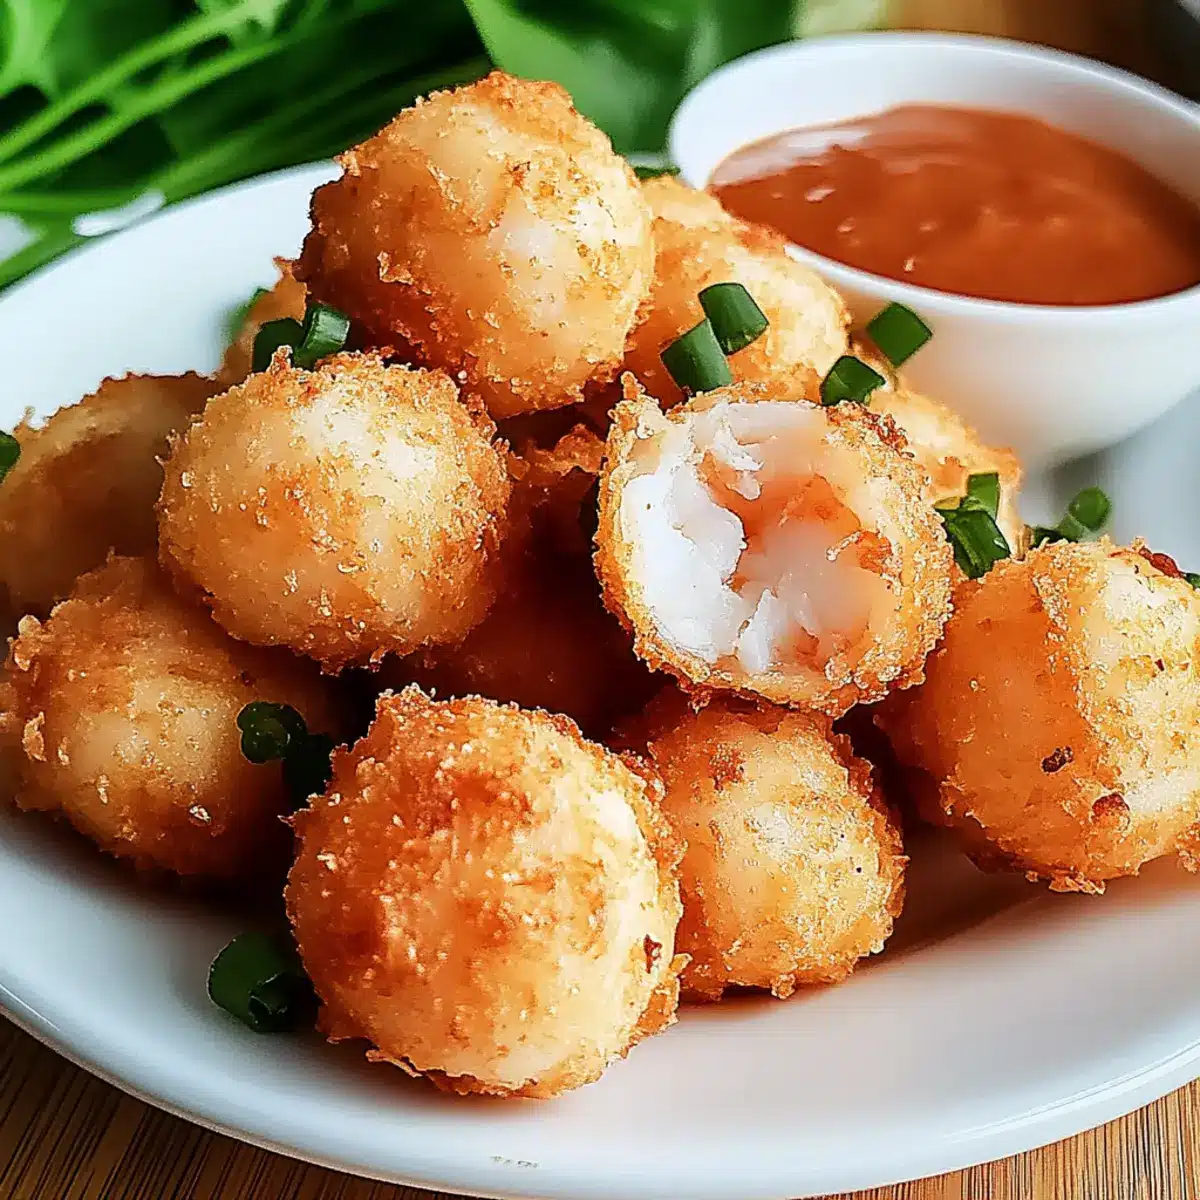
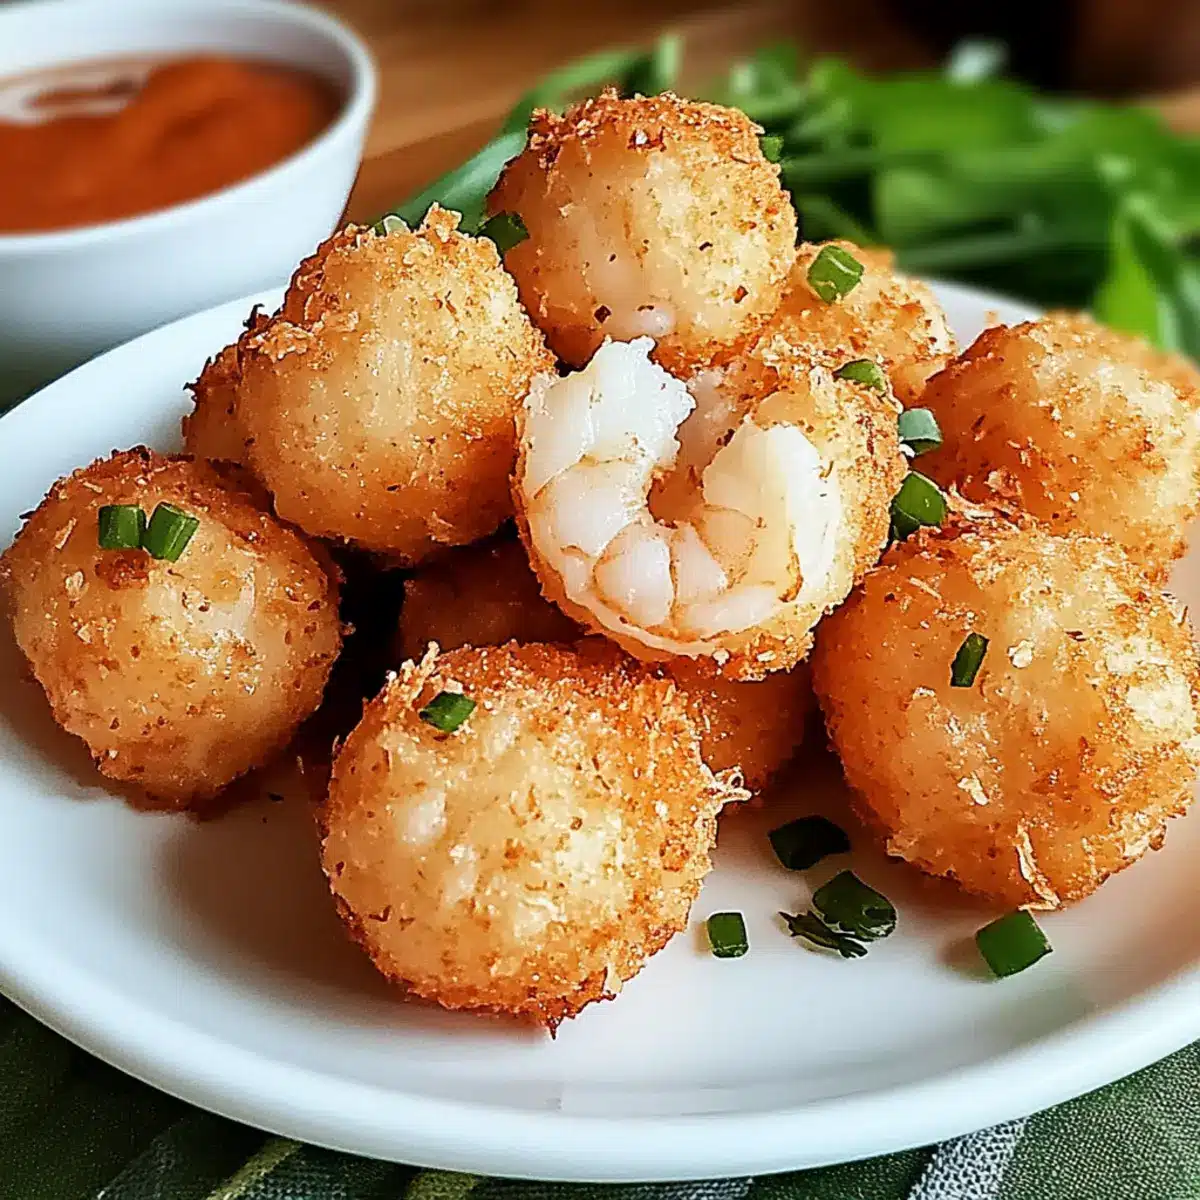
Crispy, golden goodness: The delightful crunch of the exterior contrasts perfectly with the juicy shrimp filling, making every bite a taste sensation.
Endless customization: Whether you prefer them spicy, cheesy, or baked, this recipe can be tailored to fit any craving.
Quick and easy: These shrimp balls come together in no time, transforming your cooking experience into a fun and hassle-free adventure.
Crowd favorite: Serve these as appetizers at gatherings, and watch as they disappear while sparking smiles and compliments all around.
Healthy and satisfying: With around 12g of protein per serving, they’re a light yet fulfilling option perfect for any meal. Don’t forget to explore variations like stuffing them with cheese or adding extra zing with jalapeños for that added flair!
Shrimp Balls Recipe Ingredients
For the Shrimp Mixture
- Shrimp – Use freshly peeled and deveined shrimp for the best flavor and texture.
- Breadcrumbs – Choose panko for an extra crunch that elevates the shrimp balls.
- Egg – Acts as a binder; you can replace it with flaxseed meal for a vegan alternative.
- Spices (e.g., garlic powder, paprika) – Don’t hesitate to customize the shrimp balls recipe with your favorite herbs for a personalized touch.
- Salt & Pepper – Essential for seasoning; adjust to taste for a well-balanced flavor.
For Frying
- Oil – Opt for vegetable or canola oil for frying; this ensures a neutral taste that lets the shrimp sing.
Optional Additions
- Cheese – For a delightful twist, consider rolling your mixture around cream cheese for a rich, cheesy core.
- Jalapeños or Red Pepper Flakes – Crush these into the mixture for a spicy kick that’ll tantalize your taste buds!
Whichever route you take, these shrimp balls are bound to be a hit!
Step‑by‑Step Instructions for Shrimp Balls Recipe
Step 1: Prepare Shrimp Mixture
Begin by finely chopping your shrimp until it’s almost a paste-like consistency, then transfer it into a mixing bowl. Add the breadcrumbs, egg (or flaxseed meal for a vegan option), and your chosen spices, such as garlic powder and paprika. Mix everything thoroughly until well combined, ensuring the shrimp and seasonings are evenly distributed.
Step 2: Form Balls
With clean hands, take small portions of the shrimp mixture and roll them into bite-sized balls, about 1 to 1.5 inches in diameter. Aim for uniform sizes to ensure they cook evenly when frying. Place the formed shrimp balls on a plate or a baking sheet lined with parchment paper, giving them a bit of space to prevent sticking.
Step 3: Heat Oil
In a large, deep skillet or frying pan, pour in enough vegetable or canola oil to cover the bottom by about half an inch. Heat the oil over medium-high heat until it shimmers, which should take about 5-7 minutes. To check if it’s hot enough, you can drop a small piece of the shrimp mixture in the oil; it should sizzle immediately.
Step 4: Fry Shrimp Balls
Carefully add the shrimp balls to the hot oil in batches, ensuring not to overcrowd the pan to allow for proper frying. Cook each batch for about 3-4 minutes on one side until they are golden brown, then flip them over and fry for an additional 3-4 minutes on the other side. Use a slotted spoon to monitor their progress easily.
Step 5: Drain and Serve
Once golden brown, use a slotted spoon to remove the shrimp balls from the oil and transfer them to a plate lined with paper towels. This will help absorb excess oil and keep them crispy. Serve the shrimp balls hot, ideally with your favorite dipping sauce such as sweet chili or a spicy mayo for an added kick.
What to Serve with Crispy Shrimp Balls
Elevate your dining experience with delightful accompaniments that complement the rich flavors of your crispy seafood treat.
-
Tangy Dipping Sauce: A sweet chili or spicy mayo dipping sauce brings a burst of flavor, enhancing each bite of the shrimp balls.
-
Fresh Salad: A crisp cucumber and avocado salad adds a refreshing crunch that contrasts beautifully with the warm, savory shrimp balls.
-
Garlic Bread: Warm, buttery garlic bread provides a satisfying chewiness that balances the crispy exterior of the shrimp.
-
Steamed Rice: Serve with fluffy jasmine or basmati rice to soak up any leftover sauce and create a hearty meal.
-
Coleslaw: A creamy coleslaw offers a tangy crunch, perfectly offsetting the rich flavors of the shrimp balls while adding a refreshing element.
-
Chilled White Wine: Pair with a chilled Sauvignon Blanc or Pinot Grigio; the crispness of the wine enhances the seafood’s natural sweetness.
Transform your crispy shrimp balls into a full culinary experience by blending textures and tastes that invite conversation, laughter, and happy memories around the table.
Make Ahead Options
These crispy shrimp balls are perfect for meal prep enthusiasts! You can prepare the shrimp mixture and form the balls up to 24 hours in advance, then refrigerate them until you’re ready to fry. This allows the flavors to meld beautifully while saving you precious time on busy weeknights. Alternatively, you can freeze the uncooked shrimp balls for up to 3 months; just place them on a baking sheet to freeze individually before transferring to a zip-top bag. When you’re ready to enjoy, simply heat the oil and fry them directly from frozen, increasing the cooking time by a couple of minutes. By prepping ahead, you ensure that even on the busiest days, you can serve up delicious shrimp balls with minimal effort!
Storage Tips for Shrimp Balls Recipe
Fridge: Store cooked shrimp balls in an airtight container for up to 3 days. Reheat in the oven at 350°F (175°C) for about 10-15 minutes for optimal crispness.
Freezer: Uncooked shrimp balls can be frozen for up to 1 month. Place them on a baking sheet to freeze individually before transferring to a freezer bag. Fry directly from frozen, increasing cooking time by a few minutes.
Reheating: For best results, reheat cooked shrimp balls in an oven rather than a microwave to maintain their crunchy texture.
Storage Pro Tip: Always label your storage containers with the date, so you can enjoy your shrimp balls at their freshest!
Expert Tips for Shrimp Balls Recipe
• Oil Temperature: Ensure your oil is hot enough before frying; a lower temperature can lead to greasy shrimp balls that lack a crispy texture.
• Batch Cooking: Avoid overcrowding the pan while frying; this prevents the shrimp balls from cooking evenly and getting that perfect golden-brown crust.
• Flavor Boost: Experiment with fresh herbs like cilantro, parsley, or even chives in the mixture to elevate the flavor profile of your shrimp balls.
• Mental Note: If you’re using frozen shrimp, make sure to thaw them properly and pat them dry to avoid excess moisture, which can affect the frying process.
• Storage Savvy: Uncooked shrimp balls can be frozen for up to a month. Fry directly from frozen, just increase the cooking time slightly for the best results.
Shrimp Balls Recipe Variations
Feel free to explore new flavors and textures with these delightful twists on the classic shrimp balls!
-
Cheese-Stuffed: Roll the shrimp mixture around a cube of cream cheese for a decadent, melty surprise. It’s an instant favorite!
-
Spicy Version: Add finely chopped jalapeños or a pinch of red pepper flakes to amp up the heat. Perfect for those who crave a little kick!
-
Baked Option: For a healthier twist, bake shrimp balls at 400°F (200°C) for 15-20 minutes. This makes for a crispy yet lighter version that’s equally delicious.
-
Asian Influence: Incorporate minced green onions and a splash of soy sauce into the mixture for a delightful umami flavor. Serve with a soy or sweet chili dipping sauce for authenticity!
-
Mediterranean Style: Substitute shrimp with crab meat and add feta cheese and herbs like dill for a refreshing coastal vibe that’s hard to resist.
-
Herb-Infused: Experiment with fresh herbs such as basil or cilantro for a burst of brightness in each bite. The aromatic touch will elevate your dish to the next level!
-
Coconut Coating: Roll shrimp balls in shredded coconut before frying for a tropical twist that pairs beautifully with sweet chili sauce. It’s a delightful departure from the ordinary.
-
Freezing Tips: Did you know? You can freeze uncooked shrimp balls for up to a month! This makes last-minute meals a breeze. Just fry them from frozen, and you’ll have scrumptious treats ready in no time.
Whether you’re making them for a gathering or a weeknight dinner, feel free to mix and match these ideas for a unique take. Don’t forget to check out my expert tips for perfecting your shrimp balls every time!
Shrimp Balls Recipe FAQs
How can I select the best shrimp for this recipe?
Absolutely! For the best results, look for shrimp that are firm, translucent, and have a slight ocean smell. Avoid shrimp with dark spots or a strong fishy odor, as these are signs of spoilage. Fresh shrimp is ideal, but frozen shrimp can work just as well—just ensure they’re fully thawed and patted dry before use.
How should I store cooked shrimp balls?
Cooked shrimp balls can be kept in an airtight container in the fridge for up to 3 days. To reheat, preheat your oven to 350°F (175°C) and place them on a baking sheet for about 10-15 minutes, making sure they stay nice and crispy—nobody likes a soggy shrimp ball!
Can I freeze uncooked shrimp balls?
Definitely! To freeze uncooked shrimp balls, place them on a baking sheet lined with parchment paper, ensuring they’re not touching each other. Freeze them for about 1-2 hours until solid, then transfer to a freezer bag. They can be stored for up to a month; just fry them straight from frozen, adding a minute or two to the cooking time.
What should I do if my shrimp balls are not frying properly?
Very! If your shrimp balls are falling apart in the oil, it may be that the mixture is too wet. Ensure you’re using enough breadcrumbs and binders like egg or flaxseed meal. If they’re browning too quickly, the oil might be too hot, so lower the heat and ensure they’re cooked evenly. Always keep an eye on them to achieve that perfect golden color!
Are these shrimp balls safe for everyone to eat?
When made with fresh ingredients, shrimp balls can be a great treat for many! However, if you or your guests have shellfish allergies, it’s best to avoid them altogether. For a vegan alternative, replace the shrimp with a mix of finely chopped vegetables or plant-based proteins, ensuring you adjust the seasoning accordingly!
How long will my shrimp balls stay fresh in the fridge?
Cooked shrimp balls are best enjoyed within 3 days of being made. Store them in an airtight container, and if you’re reheating, an oven method is best to keep their crispy texture. Remember, freshness is key for the ultimate flavor experience!
Crispy Shrimp Balls Recipe for Perfect Home Cooking Fun
Ingredients
Equipment
Method
- Finely chop shrimp until paste-like, mix with breadcrumbs, egg, and spices until combined.
- Roll small portions into bite-sized balls (1 to 1.5 inches) and place on a lined plate.
- Heat oil in skillet until shimmering, about 5-7 minutes.
- Fry balls in batches, 3-4 minutes each side until golden brown.
- Remove balls with slotted spoon, drain on paper towels, and serve hot.
Leave a Reply