
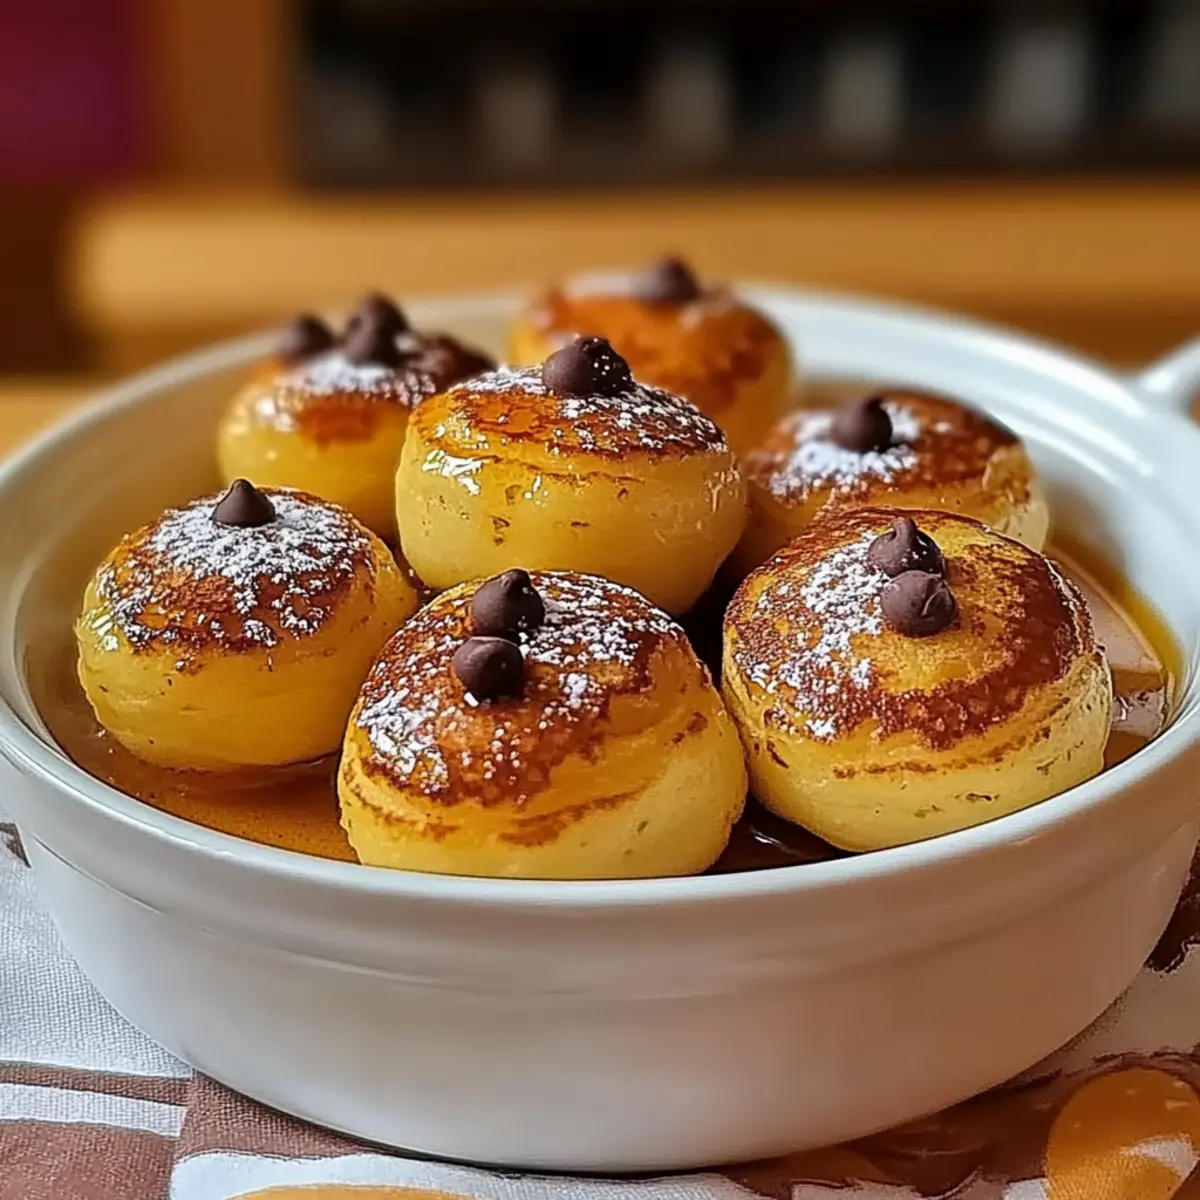
As I watched my kids rush through breakfast, I felt that familiar tug of inspiration—what if pancakes could be served in a more fun, bite-sized way? Enter Pancake Poppers, the delightful solution to morning chaos! These mini pancake bites are a game-changer, soft and fluffy on the inside with just the right amount of crispiness on the outside. Not only are they incredibly versatile, allowing for countless customization options like chocolate chips and fresh fruits, but they’re also baked instead of fried, making them a healthier, less-messy option for busy mornings. Whether you’re prepping for a family gathering or just looking for a grab-and-go breakfast, these poppers provide the ideal blend of convenience and deliciousness. Curious about how to whip up this irresistible treat? Let’s dive into the recipe!
Why Are Pancake Poppers So Amazing?
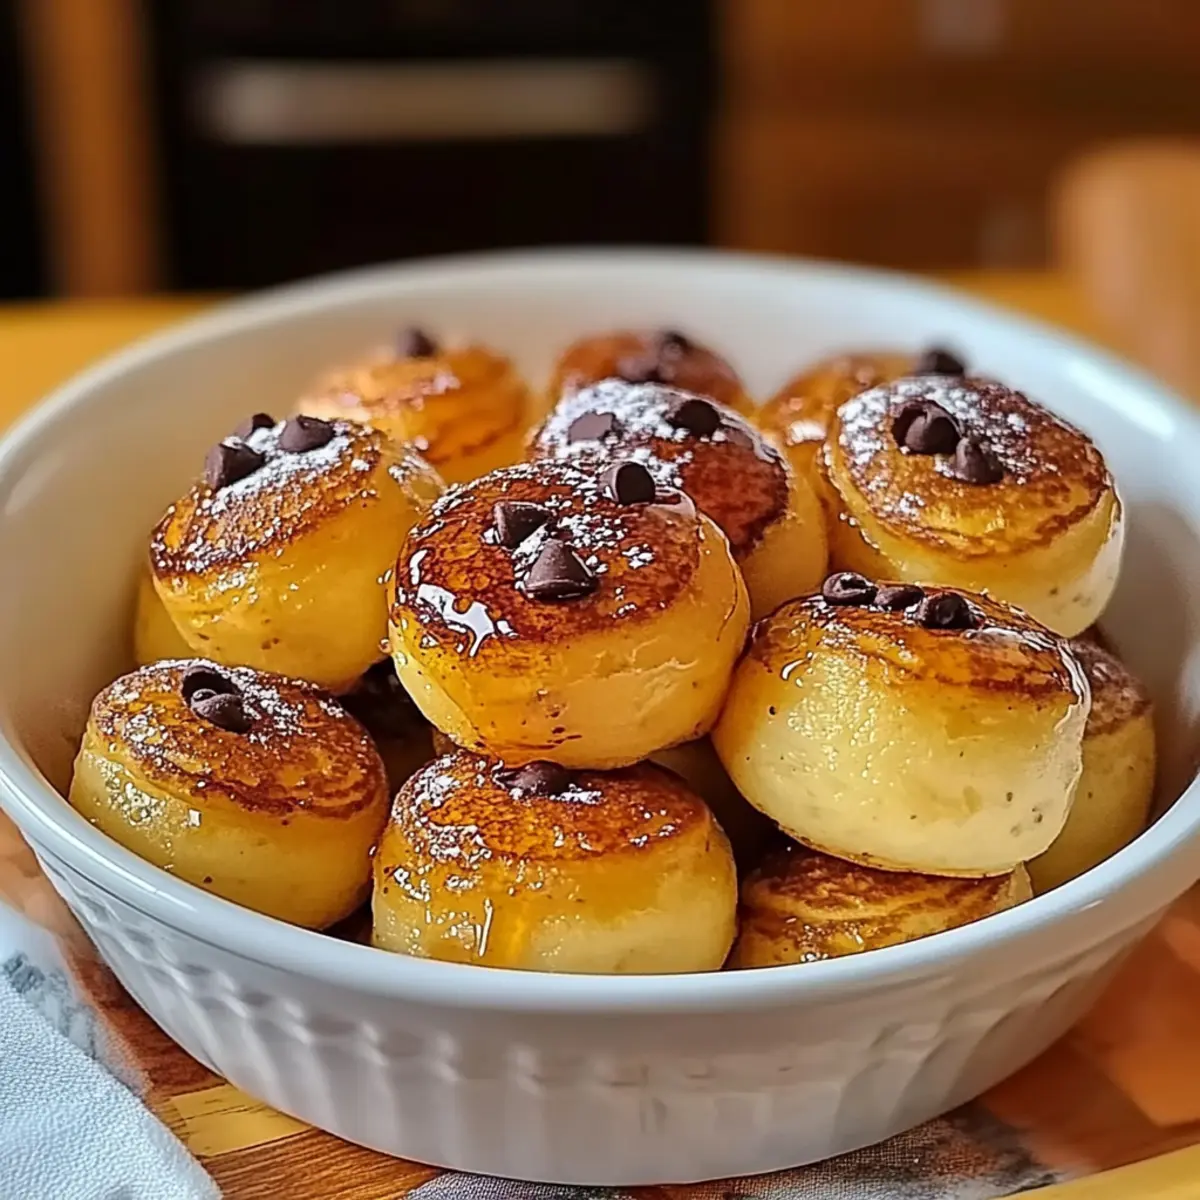
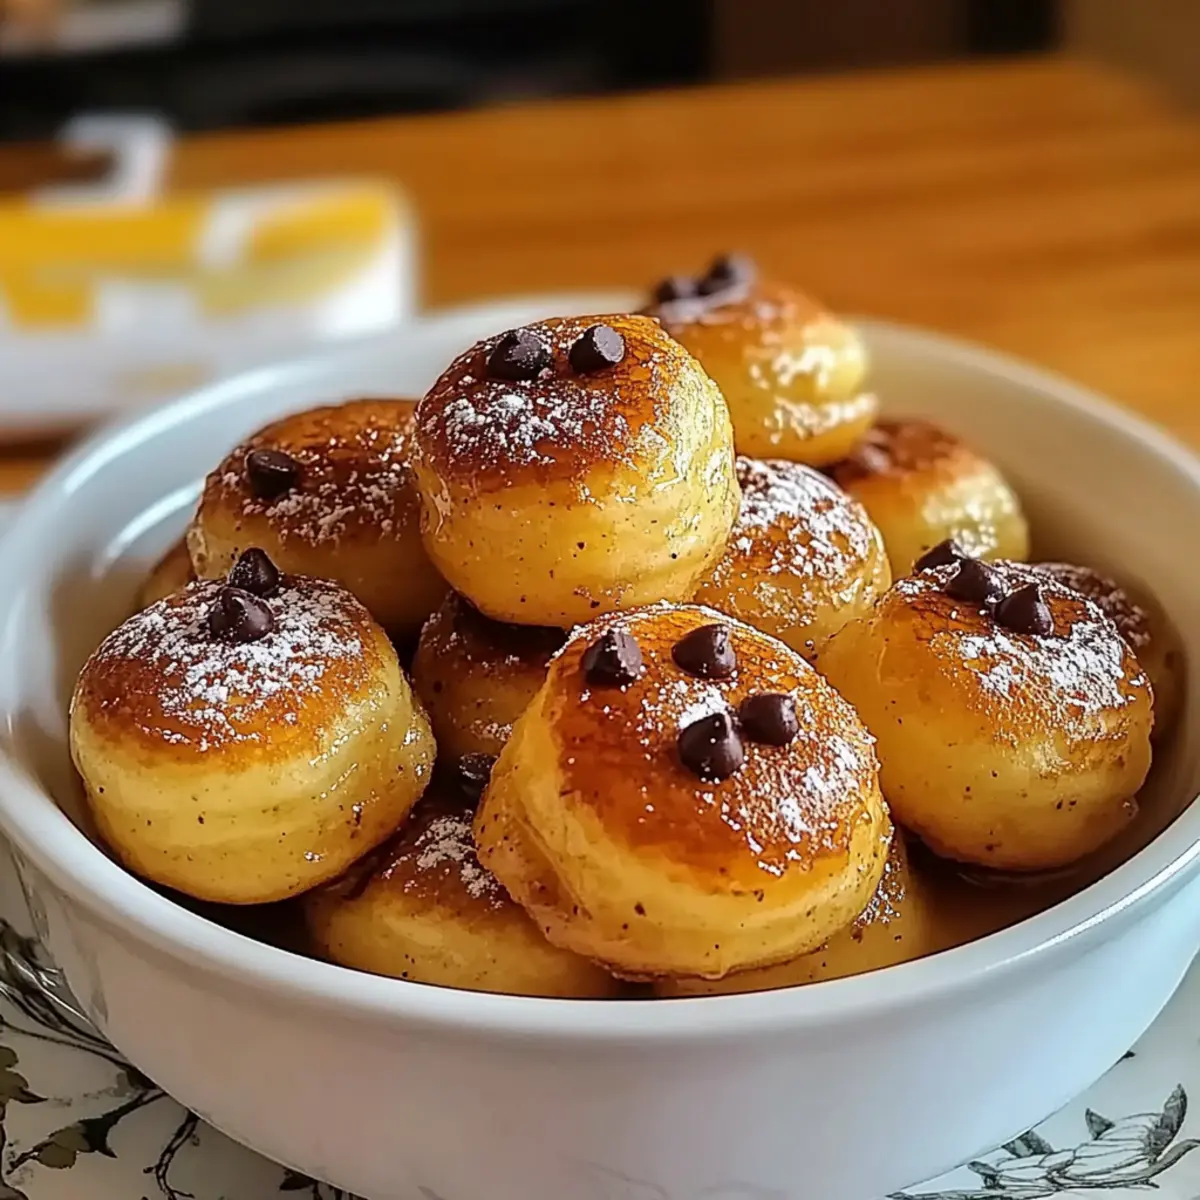
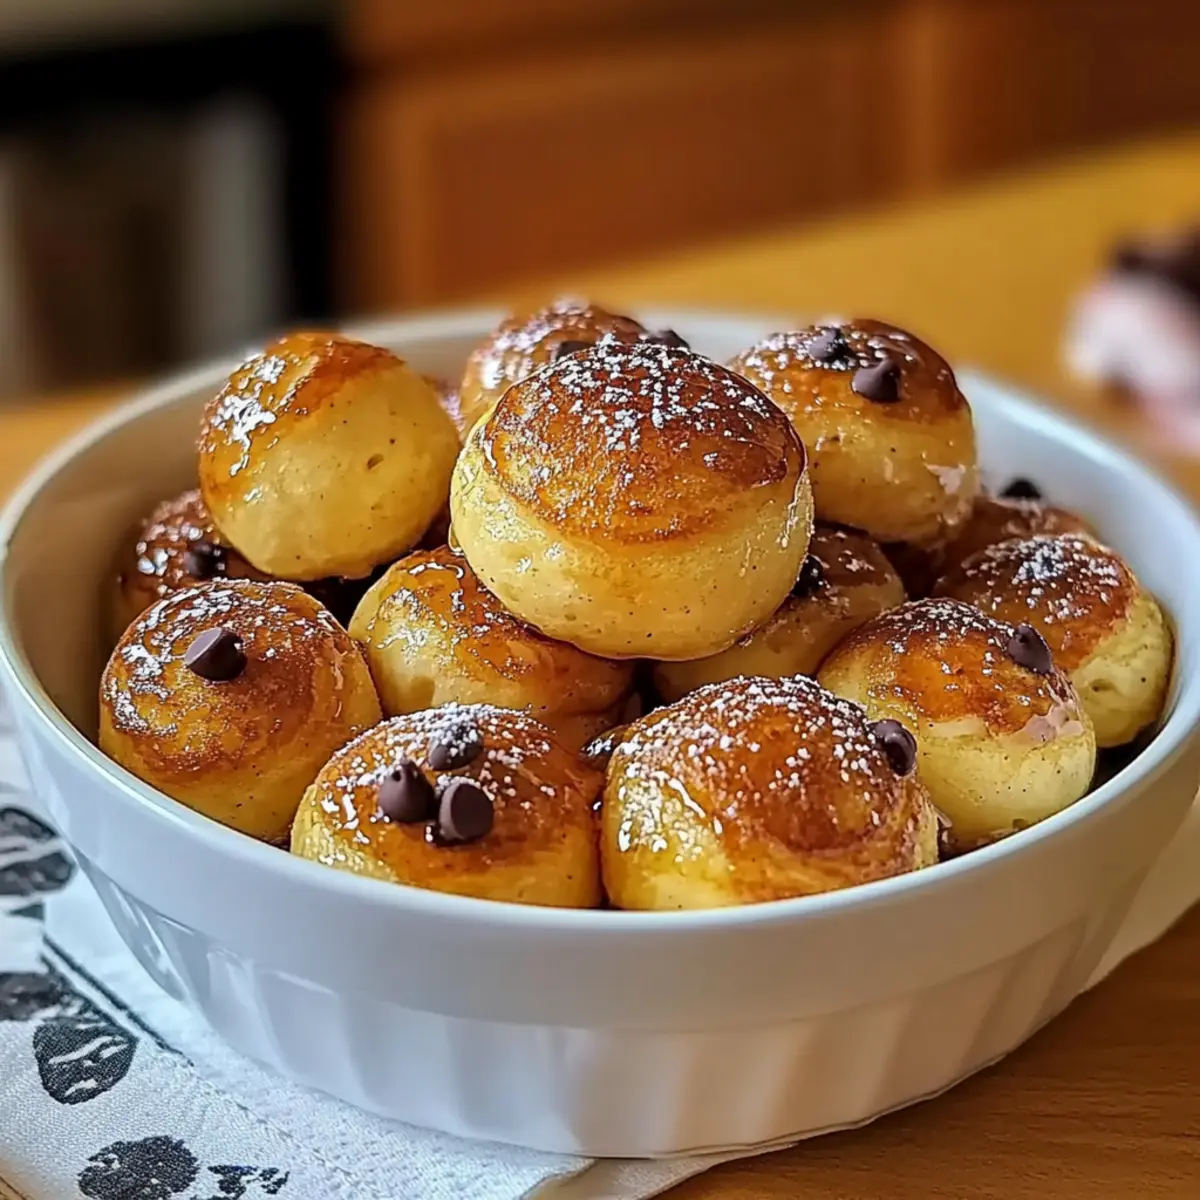
Light and Fluffy: These bite-sized wonders are soft on the inside and slightly crispy outside, delivering a delightful texture with every bite.
Customizable: Mix in your favorite flavorful additions like chocolate chips, blueberries, or even savory herbs for a breakfast that suits every palate.
Kid-Friendly: Perfect for little hands, these mini pancakes make mornings fun and enjoyable for kids—and adults love them too!
Healthy Option: Baked rather than fried, they offer a guilt-free way to satisfy your pancake cravings, especially with whole wheat or gluten-free variations.
Meal Prep Dream: Easy to store, these pancake poppers can be made ahead of time and are ideal for quick breakfasts or snacks during the week.
These little gems are sure to be a hit at your next family brunch! If you’re looking for delicious make-ahead options, check out some more tips for meal prepping.
Pancake Poppers Ingredients
• Get ready to whip up the fluffiest pancake poppers with these essential ingredients that make this bite-sized breakfast treat extraordinary!
For the Batter
- Flour – Use all-purpose, whole wheat, or a gluten-free blend to achieve a soft crumb.
- Buttermilk – This ingredient is key for fluffiness; substitute with milk plus a splash of vinegar or lemon juice if you’re in a pinch.
- Eggs – These bind the ingredients together while adding richness and flavor.
- Butter – High-quality butter keeps your poppers moist and creates deliciously crisp edges; consider coconut oil for a dairy-free option.
- Baking Powder & Baking Soda – Essential leavening agents that provide the airy texture that makes pancake poppers pop!
- Sugar (optional) – To sweeten naturally, replace with honey or maple syrup, or omit it if you’re serving with sweet toppings.
For Mix-Ins (Optional)
- Chocolate Chips – Add these for a sweet twist that kids love.
- Fresh Fruits – Blueberries or sliced bananas bring a fruity freshness; they’re perfect for a pop of flavor.
- Savory Ingredients – Cheese or herbs can transform these into a delicious non-sweet breakfast option!
These pancake poppers are not only easy to customize, but they also serve as a fantastic grab-and-go breakfast option for busy mornings. Happy cooking!
Step‑by‑Step Instructions for Pancake Poppers
Step 1: Preheat the Oven
Start by preheating your oven to 375°F (190°C). While the oven warms up, grease a mini muffin tin generously with butter or non-stick spray to ensure your pancake poppers come out easily after baking. A well-greased tin also gives the edges that delightful crispiness everyone loves!
Step 2: Mix the Dry Ingredients
In a large mixing bowl, whisk together the flour, sugar (if using), baking powder, baking soda, and a pinch of salt. This blend creates a light and airy base for your pancake poppers. Ensure there are no lumps for a smooth batter that bakes evenly, leading to perfectly fluffy poppers.
Step 3: Combine the Wet Ingredients
In another bowl, whisk together the buttermilk, egg, vanilla extract, and melted butter until smooth and well combined. The buttermilk is crucial for achieving that fluffy texture in your pancake poppers, so make sure everything is blended perfectly—this step should take about 1-2 minutes of gentle mixing.
Step 4: Mix the Wet and Dry Ingredients
Gradually pour the wet mixture into the bowl with the dry ingredients, using a spatula to combine them gently. Stir just until the mixture is moistened and a few small lumps remain. Be careful not to overmix, as this can lead to dense pancake poppers instead of light, fluffy bites.
Step 5: Fill the Muffin Cups
Using a spoon or a small ladle, fill each muffin cup about three-quarters full with the batter. If you’re adding mix-ins like chocolate chips or blueberries, sprinkle them on top of the batter in the cups at this point. This sets you up for deliciously flavored pancake poppers packed with surprises!
Step 6: Bake the Poppers
Place the filled muffin tin in the preheated oven and bake for 12-15 minutes. You’ll know they’re ready when the tops are golden brown and a toothpick inserted into the center comes out clean. The aroma of the pancake poppers baking will fill your kitchen, making it hard to resist!
Step 7: Cool and Serve
Once baked, remove the muffin tin from the oven and let it cool for about 5 minutes. After cooling, gently remove the pancake poppers from the tin and place them on a wire rack. Serve warm with your favorite toppings like syrup, honey, or fresh fruit for a delightful breakfast treat that everyone will love!
Expert Tips for Pancake Poppers
Avoid Overmixing: Keep your pancake poppers light and fluffy by mixing just until combined; small lumps are perfectly fine!
Grease Generously: Make sure to grease your mini muffin tin well with butter or oil to prevent sticking and achieve golden, crisp edges.
Rest the Batter: Let your batter sit for about 5 minutes before baking—this helps improve the rise and texture of your pancake poppers.
Customize Wisely: Choose your mix-ins based on texture; softer fillings like chocolate chips or fruit can be added directly, while denser items, like nuts, may need a slight chop.
Watch Baking Time: Keep an eye on the baking process; every oven can vary, so check for that golden color and a clean toothpick to ensure perfectly baked poppers!
What to Serve with Pancake Poppers
Start your breakfast adventure with a delightful spread that perfectly complements those fluffy bites, creating a full meal experience.
-
Maple Syrup: A classic choice, this sweet syrup adds a comforting warmth that enhances the fluffy pancake poppers beautifully.
-
Fresh Berries: Vibrant strawberries, blueberries, or raspberries offer a burst of freshness, balancing the sweetness and adding a pop of color to your plate.
-
Yogurt Parfait: Creamy yogurt layered with granola and fruits creates a wholesome side full of textures, making breakfast feel indulgent yet healthy.
-
Whipped Cream: Add a dollop of airy whipped cream on top for an extra touch of luxury that elevates your pancake poppers to dessert-like status.
-
Savory Avocado Toast: This rich, creamy side brings in healthy fats and complements the sweetness of the poppers if you’re looking for a flavor contrast.
-
Smoothies: Pair with a refreshing fruit smoothie for a nutritious drink option that packs a punch of flavor and energy for your busy day ahead.
Imagine a warm plate of pancake poppers surrounded by these delectable sides, turning breakfast into a delightful feast!
Make Ahead Options
These Pancake Poppers are a fantastic option for meal prep enthusiasts! You can prepare the batter up to 24 hours in advance by mixing the dry and wet ingredients separately and storing them in the refrigerator. Just be sure to whisk the mixture again before baking, as some settling may occur. Additionally, you can bake a batch of pancake poppers and let them cool completely, then store them in an airtight container in the fridge for up to 4 days. For a grab-and-go breakfast, simply reheat in the microwave for about 30 seconds, and they’ll be just as delicious! By planning ahead, you save valuable time on busy mornings.
Pancake Poppers: Endless Customization Awaits!
Feel free to give your pancake poppers a personal twist, making each batch uniquely delightful!
-
Fruity: Add blueberries or diced strawberries to the batter for a burst of fruity freshness. The sweetness of ripe fruits adds a delicious surprise in every bite!
-
Chocolatey: Stir in mini chocolate chips or top with a drizzle of melted chocolate for an indulgent treat. Who says pancakes can’t be a dessert?
-
Savory: Incorporate shredded cheese or chopped herbs for a savory option that pairs beautifully with eggs and avocado. This twist turns breakfast into a gourmet experience!
-
Healthy: Substitute whole wheat flour for added fiber or incorporate protein powder for a nutrient boost. It’s a fantastic way to satisfy both cravings and health goals!
-
Nutty: Mix in chopped nuts like walnuts or pecans for a delightful crunch. The texture and flavor create an unforgettable breakfast sensation!
-
Spiced: Enhance with cinnamon or nutmeg for warm, cozy flavors that evoke memories of family gatherings. Just a pinch transforms the taste completely!
-
Gluten-Free: Use a gluten-free flour blend to make this recipe suitable for all diets. Everyone can enjoy the fluffy goodness without worry!
-
No Added Sugar: Omit sugar entirely if using sweet toppings, or substitute with ripe mashed bananas for a natural sweetness. Healthy doesn’t mean sacrificing flavor!
With these variations, your pancake poppers will never be boring. Explore and enjoy the possibilities! For those looking to make delightful combinations, consider checking out these smoothie bowl ideas for fantastic breakfast options.
How to Store and Freeze Pancake Poppers
Fridge: Store pancake poppers in an airtight container for up to 4 days. This keeps them fresh and ready for breakfast or snacks anytime.
Freezer: For long-term storage, freeze pancake poppers in a single layer until firm, then transfer to a freezer-safe bag. They can be kept for up to 3 months.
Reheating: To enjoy, simply reheat in the microwave for about 30 seconds or pop them in a preheated oven at 350°F (175°C) for 10 minutes until warmed through.
Serving Tip: Serve warm with your favorite toppings like syrup or fresh fruit to enhance their deliciousness!
Pancake Poppers Recipe FAQs
What type of flour is best for pancake poppers?
I recommend using all-purpose flour for a classic fluffy texture. However, whole wheat flour can add a healthy twist, while gluten-free blends are perfect for those with dietary restrictions. Just ensure the blend contains xanthan gum for the best results!
How should I store leftover pancake poppers?
After allowing your pancake poppers to cool completely, place them in an airtight container in the fridge where they will stay fresh for up to 4 days. This makes it easy to grab them for a quick breakfast or snack throughout the week.
Can I freeze pancake poppers, and if so, how?
Absolutely! To freeze, lay the pancake poppers in a single layer on a baking sheet until they’re firm, about 1-2 hours. Then, transfer them to a freezer-safe bag or container and store for up to 3 months. When you’re ready to enjoy them, simply reheat in the microwave for around 30 seconds or in a preheated oven at 350°F (175°C) for about 10 minutes.
What can I do if my pancake poppers are dense instead of fluffy?
The main culprits for dense pancake poppers are overmixing and too much flour. Make sure to mix just until the ingredients are combined and to measure flour correctly—using the spoon-and-level method can help! If you notice a thick batter, consider adding a splash more buttermilk to achieve the right consistency.
Are pancake poppers suitable for kids with allergies?
You can definitely adapt pancake poppers for various dietary needs! Use a gluten-free flour blend for those with gluten sensitivities, and for dairy-free options, substitute buttermilk with plant-based milk mixed with vinegar or lemon juice. Always check your mix-ins too—some chocolate chips may contain allergens depending on the brand!
What are some delicious mix-ins or toppings for pancake poppers?
The more the merrier when it comes to mix-ins! Blueberries, diced bananas, or chocolate chips are always a hit. For toppings, consider classic maple syrup, honey, or even fresh fruits with whipped cream for an extra treat. Experimenting with cheese or herbs can also create savory options for a different twist!
Pancake Poppers: Fluffy Bites for a Fun Breakfast Treat
Ingredients
Equipment
Method
- Preheat your oven to 375°F (190°C) and grease a mini muffin tin.
- In a large mixing bowl, whisk together the flour, sugar, baking powder, baking soda, and a pinch of salt.
- In another bowl, whisk together the buttermilk, egg, vanilla extract, and melted butter until smooth.
- Gradually pour the wet mixture into the bowl with the dry ingredients and mix gently until moistened.
- Fill each muffin cup about three-quarters full with batter and add any optional mix-ins.
- Bake for 12-15 minutes until golden brown and a toothpick comes out clean.
- Cool for 5 minutes, then remove from the tin and enjoy warm with toppings.
Leave a Reply