
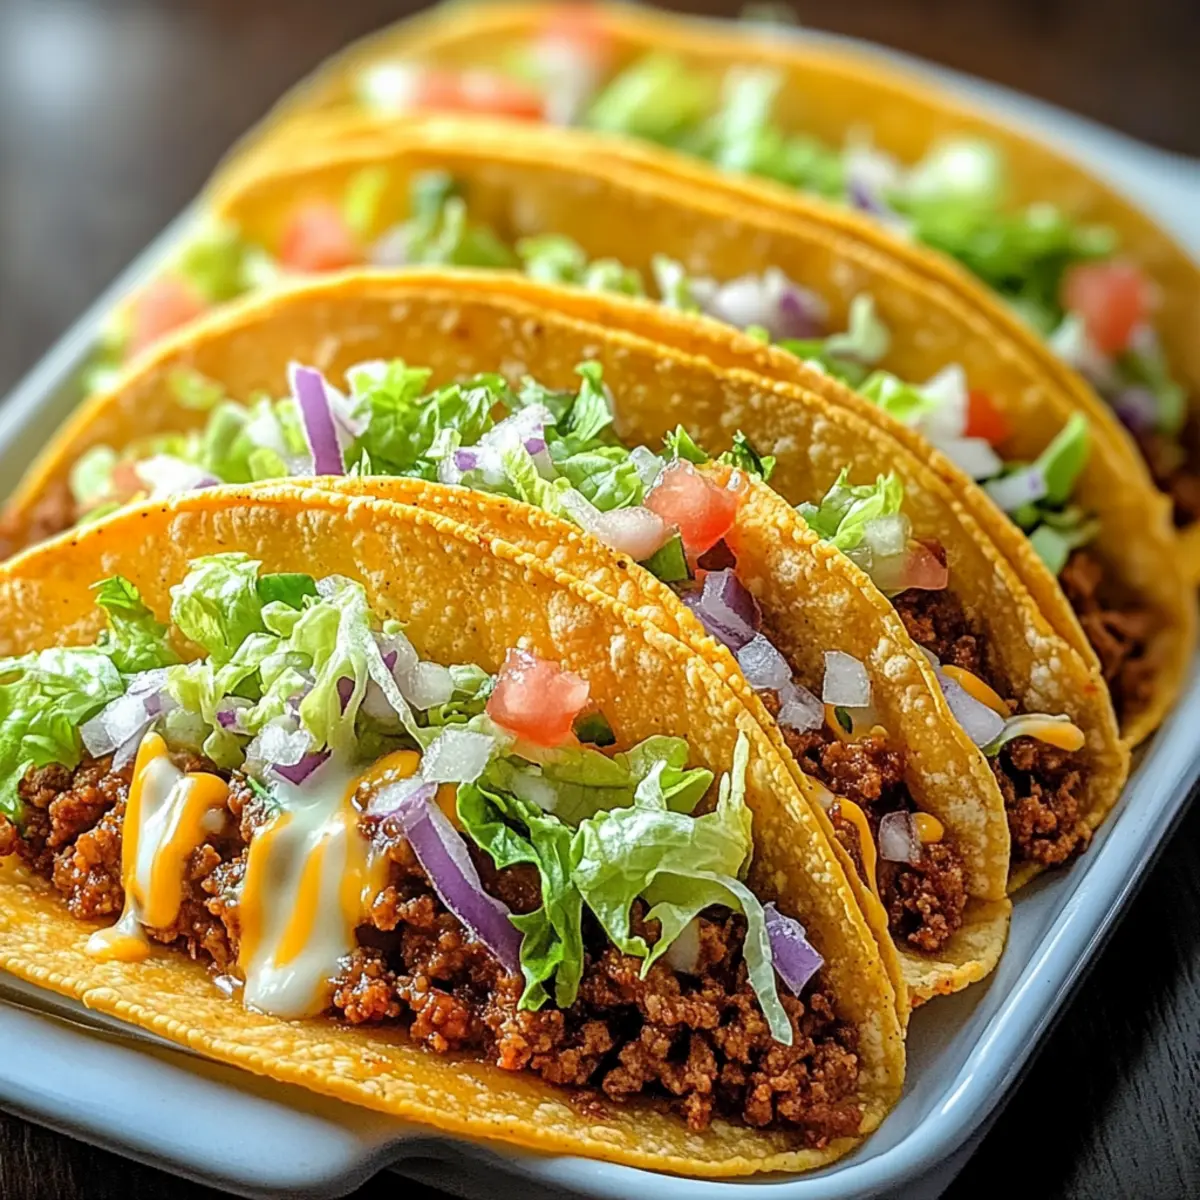
“Who knew a simple taco could spark the kind of joy that lights up a weeknight?” I wondered as I shuffled through my pantry, in search of a quick dinner solution. That’s when it hit me: Oven-Baked Cheesy Tacos! In just 35 minutes, you can whip up these crispy delights, effortlessly combining crunchy taco shells with melty cheese that can please even the pickiest eaters. Not only are they a quick dinner solution perfect for busy nights, but the customizable toppings let you or your guests personalize each bite. Whether you’re craving a cozy family dinner or planning a fun gathering with friends, these loaded tacos are bound to be a hit. Curious about how to create this cheesy goodness in your oven? Let’s dive in!
Why Are These Tacos a Game-Changer?
Speedy Preparation: With just 35 minutes, you’ll have a scrumptious meal ready to satisfy your cravings. Perfect for busy weeknights!
Customizable Toppings: Personalize each taco with your favorite toppings—from zesty avocado to fresh cilantro, everyone can create their dream dish.
Crispy Delight: The combination of oven-baked taco shells and ooey-gooey cheese creates a satisfying crunch that’s hard to resist.
Versatile Choices: Easily swap proteins or choose plant-based options for a delightful twist; they’re suited for every dietary preference!
Family-Friendly: These Oven-Baked Cheesy Tacos are sure to be a crowd-pleaser, making them an ideal choice for gatherings or game nights. Enjoy alongside hearty sides like Spanish rice for a complete feast!
Oven-Baked Cheesy Tacos Ingredients
For the Filling
• Ground Beef or Turkey – A hearty protein choice; for a vegetarian option, try black beans or lentils.
• Taco Seasoning – Adds a burst of flavor; consider making your own blend for a personal touch.
• Tomato Sauce – Provides a rich base; it adds moisture and depth to the filling.
For the Tacos
• Shredded Cheese (Cheddar or Mexican Blend) – The melty goodness essential for your Oven-Baked Cheesy Tacos; feel free to use dairy-free alternatives if necessary.
• Taco Shells – Choose between hard or soft shells based on your preference; gluten-free options are available!
For Aromatic Boost
• Olive Oil – Ideal for sautéing the onion and garlic; can be substituted with any cooking oil.
• Onion & Garlic – Impart wonderful aroma and taste; shallots or garlic powder work as substitutes if needed.
Seasoning Essentials
• Salt & Pepper – Essential for taste enhancement; adjust to your liking for that perfect flavor profile.
Step‑by‑Step Instructions for Oven-Baked Cheesy Tacos
Step 1: Preheat the Oven
Begin by preheating your oven to 375°F (190°C) to prepare for baking the Oven-Baked Cheesy Tacos. This step ensures even cooking and crispy taco shells. While the oven warms up, gather all your ingredients and equipment, including a skillet and a greased baking dish, for smooth assembly later.
Step 2: Sauté the Aromatics
Heat a tablespoon of olive oil in a skillet over medium heat. Once hot, add diced onion and minced garlic, sautéing for 2–3 minutes until they become fragrant and translucent. This aromatic foundation will elevate the flavor of your taco filling, creating a robust base for the Oven-Baked Cheesy Tacos.
Step 3: Cook the Meat
Add your choice of ground beef, turkey, or chicken to the skillet. Use a wooden spoon to break the meat apart as it cooks, approximately 5–7 minutes. Continue cooking until it turns a rich brown color, ensuring no pink remains. This browning enhances the taste and texture in your delicious tacos.
Step 4: Flavor the Filling
Once the meat is browned, stir in taco seasoning, tomato sauce, salt, and pepper. Allow this mixture to simmer for about 5 minutes, stirring occasionally. This simmering process melds the flavors beautifully, creating a delicious filling for your Oven-Baked Cheesy Tacos that’s packed with savory goodness.
Step 5: Assemble the Tacos
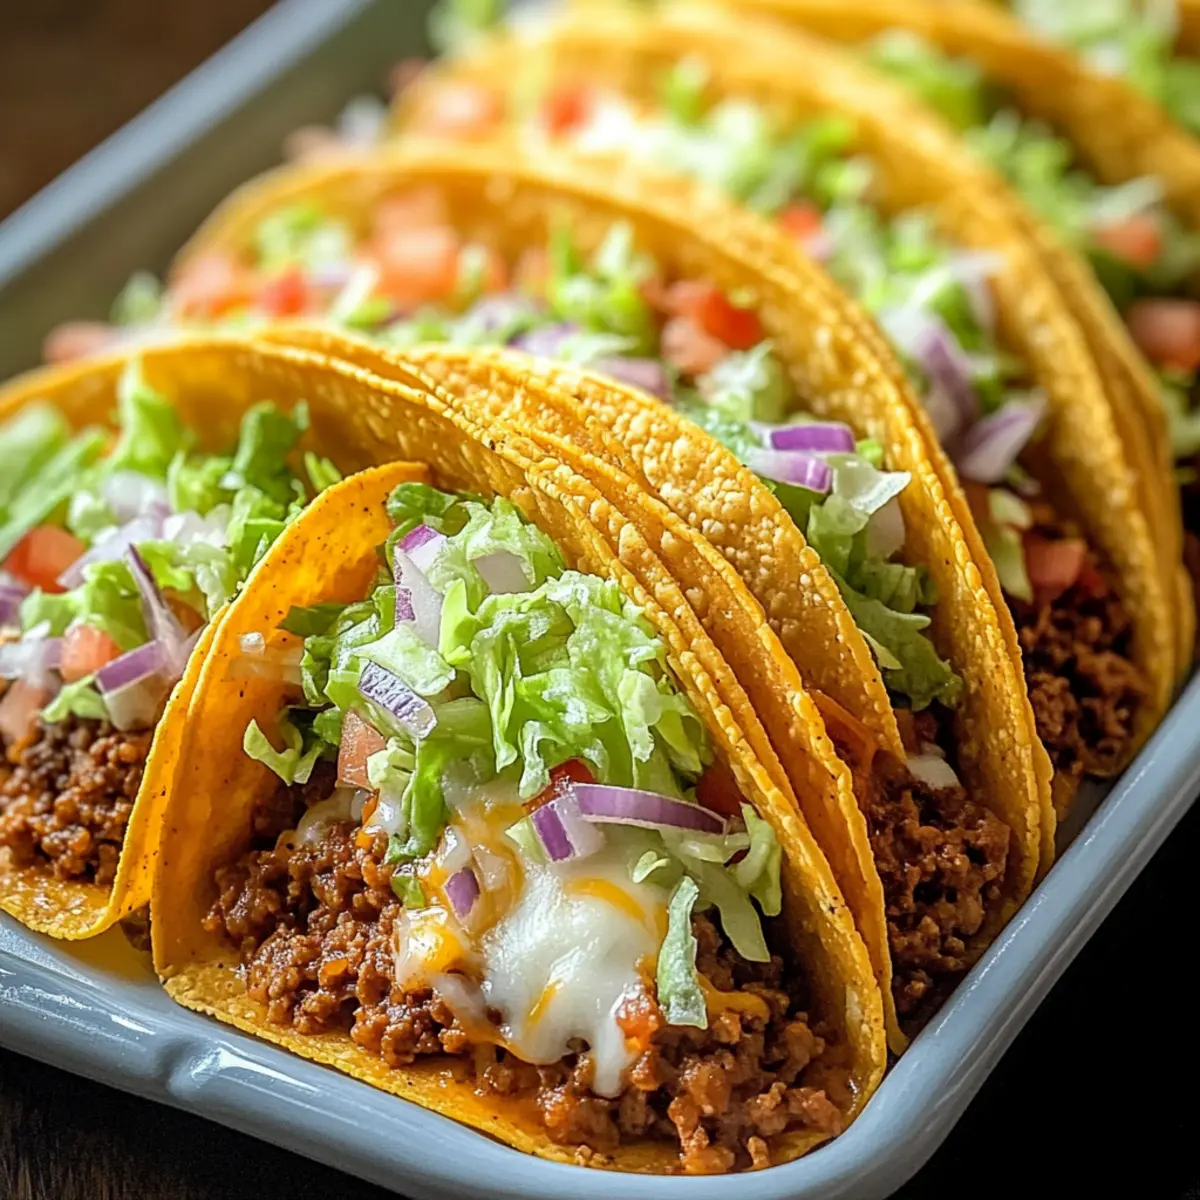
Warm your taco shells briefly to make them more pliable. Carefully fill each shell with the seasoned meat mixture, then generously sprinkle shredded cheese on top. This layers in melty goodness, essential for the ultimate cheesy experience in every bite of your Oven-Baked Cheesy Tacos.
Step 6: Bake to Perfection
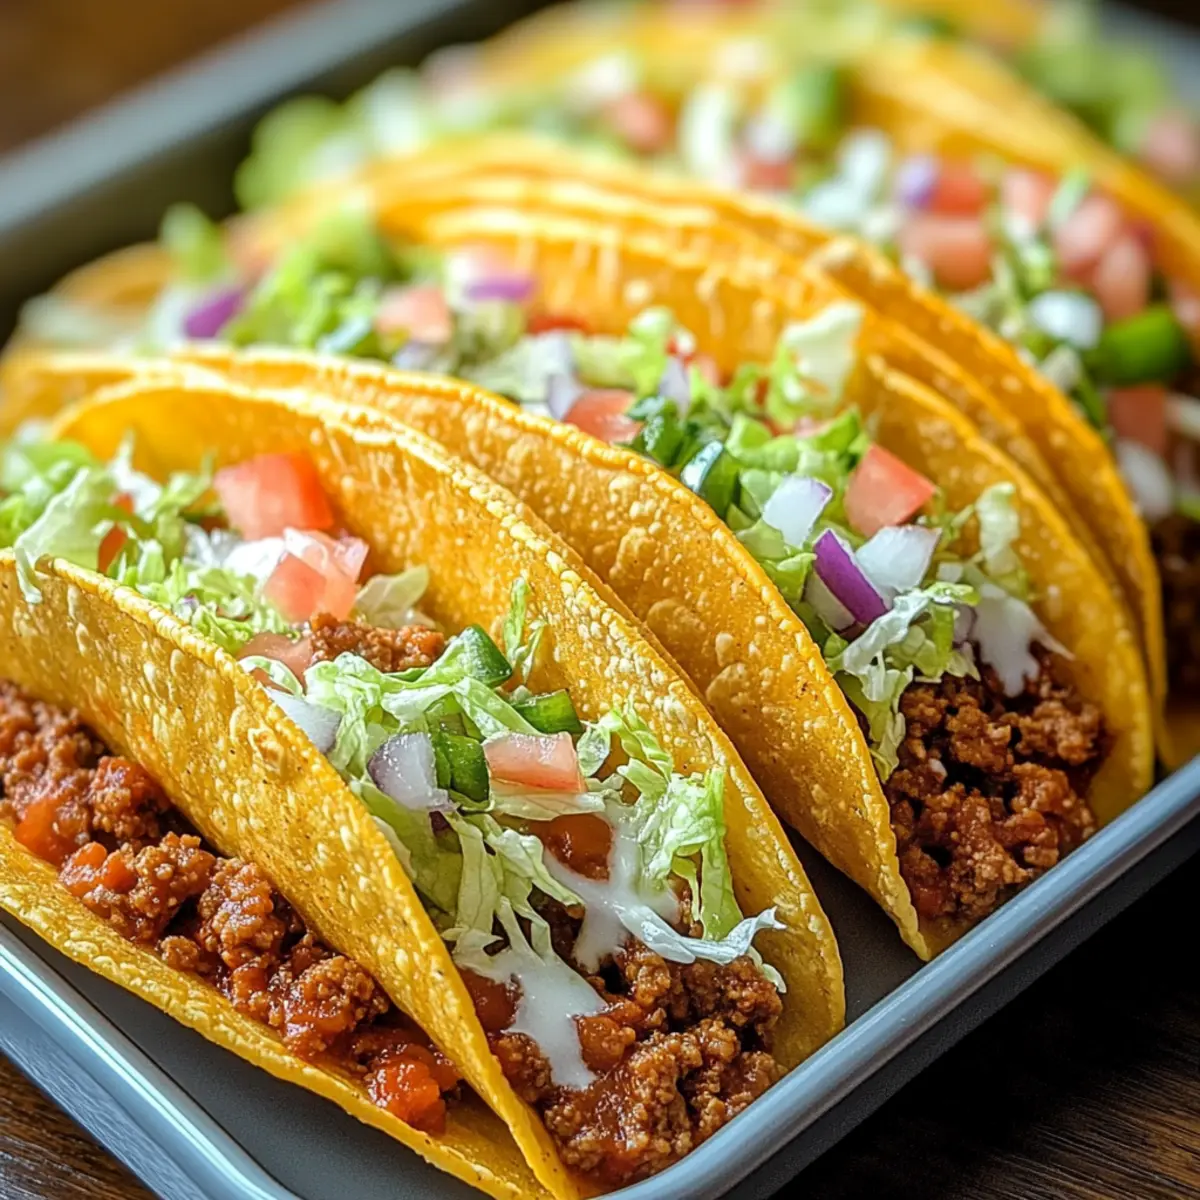
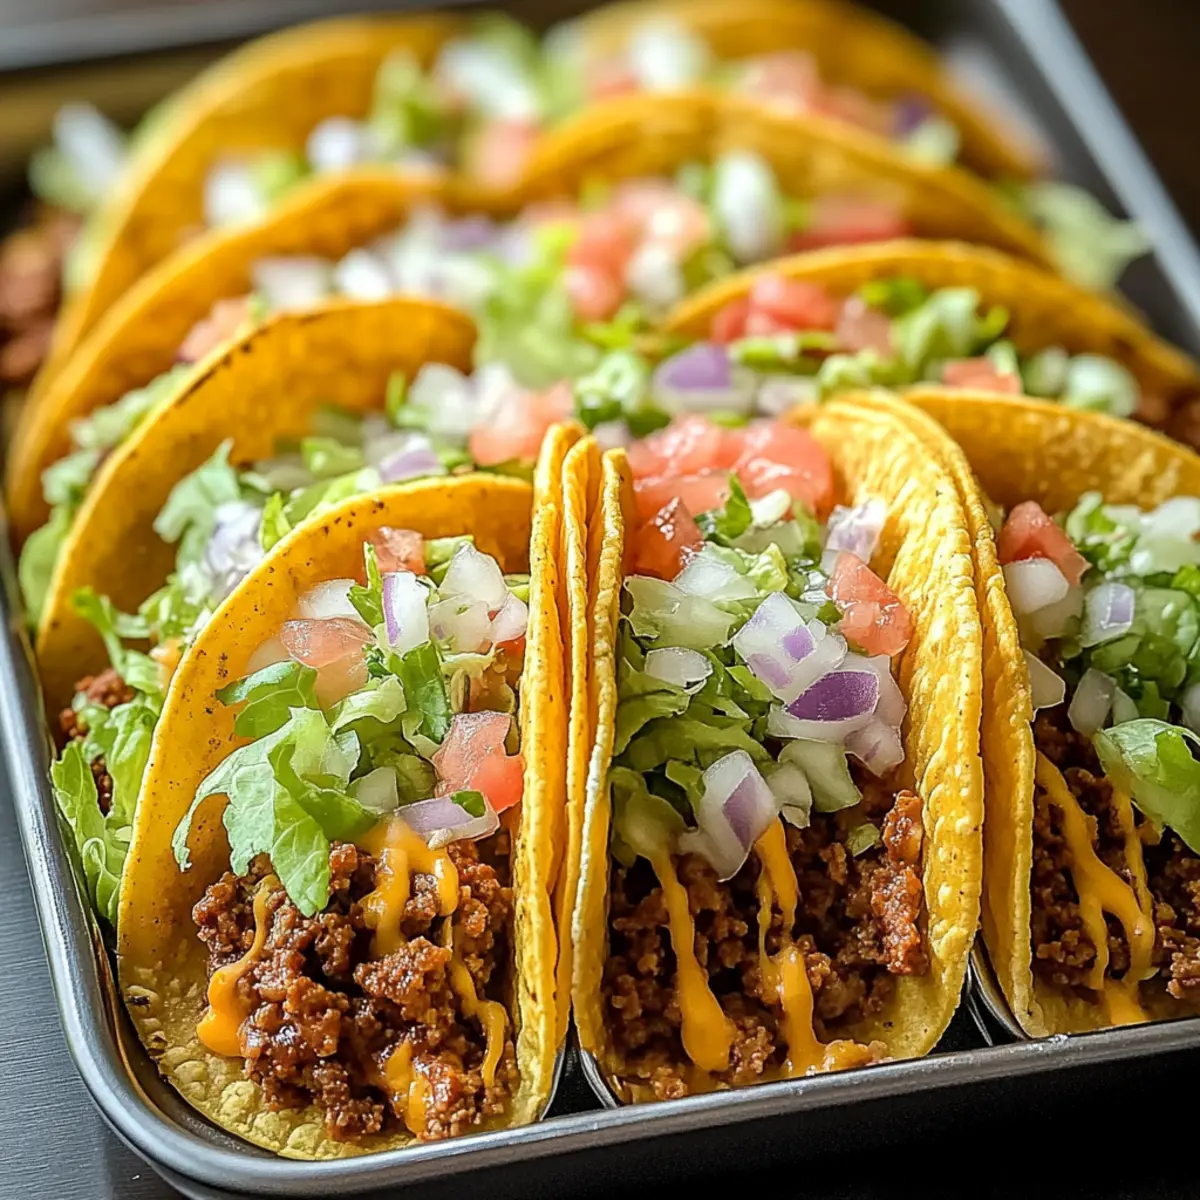
Place the filled taco shells upright in your greased baking dish. Slide them into the preheated oven and bake for 10-15 minutes. Keep an eye on the tacos, looking for bubbly cheese and crispy taco shells to indicate they’re ready. This melting process creates a satisfying contrast of flavors and textures.
Step 7: Add Fresh Toppings
Once baked to perfection, remove the tacos from the oven with care. Top them off with fresh ingredients like shredded lettuce, diced tomatoes, and chopped cilantro. These vibrant toppings will enhance the flavors and add a delightful crunch to your delicious Oven-Baked Cheesy Tacos. Serve immediately and enjoy!
Expert Tips for Oven-Baked Cheesy Tacos
- Preheat Properly: Preheating the oven ensures the taco shells get crispy. Avoid soggy shells by not skipping this essential step!
- Make Ahead: Assemble your tacos in advance and refrigerate unbaked. When it’s time to eat, just pop them in the oven for a quick dinner!
- Avoid Overfilling: Don’t stuff the taco shells too full. Overfilling can lead to spilling and uneven cooking. Stick to a moderate amount for the best results.
- Experiment with Cheese: While cheddar is a classic choice, try blending different cheeses for a unique taste. Mexican blends can elevate your Oven-Baked Cheesy Tacos!
- Store Leftovers Wisely: Keep any uneaten tacos in an airtight container for up to 3-4 days. Reheat in the oven to retain that delicious crispy texture!
Storage Tips for Oven-Baked Cheesy Tacos
Fridge: Store leftovers in an airtight container for up to 3-4 days. Reheat in the oven to keep the taco shells crispy and the cheese gooey.
Freezer: For longer storage, freeze assembled, unbaked tacos wrapped tightly in plastic wrap. They can last up to 2 months; bake directly from frozen, adding a few extra minutes to cooking time.
Reheating: To reheat tacos, place them in a preheated oven at 375°F (190°C) for about 10-12 minutes. This method helps maintain that delightful texture found in your original Oven-Baked Cheesy Tacos.
Assemble Ahead: You can prepare tacos in advance by assembling them and refrigerating just before baking. This makes for a quick dinner option when time is short!
Make Ahead Options
These Oven-Baked Cheesy Tacos are perfect for meal prep enthusiasts! You can assemble the tacos, fill them with the seasoned meat mixture, and refrigerate them for up to 24 hours before baking. To maintain their quality, cover the baking dish tightly with plastic wrap to prevent moisture buildup. When ready to serve, simply remove the wrap, sprinkle on the cheese, and bake as directed until bubbly and crispy. Alternatively, you can freeze the unbaked tacos for up to 3 months. Thaw overnight in the refrigerator before baking, ensuring you enjoy these cheesy delights just as delicious as when freshly made!
What to Serve with Oven-Baked Cheesy Tacos
Complete your delicious taco experience with these delightful pairings that enhance the flavors and textures of your meal.
-
Spanish Rice: A classic companion, this dish is both hearty and flavorful, providing a perfect backdrop for your tacos.
-
Fresh Guacamole: Creamy and rich, it adds a cool contrast to the spicy tacos, creating a harmonious balance of taste.
-
Zesty Corn Salad: This vibrantly-colored side dish delivers a refreshing crunch and a hint of sweetness that complements the savory tacos beautifully.
-
Refried Beans: Creamy and comforting, these beans bring an extra layer of protein and richness, making your meal even more satisfying.
-
Crisp Green Salad: A light salad with mixed greens and a tangy dressing revitalizes your palate, ensuring every bite of taco is as exciting as the first.
-
Margaritas or Limeade: Sip on these refreshing drinks that enhance the zesty flavors of the tacos, making your dining experience feel festive and fun.
-
Churros for Dessert: Indulge in these sweet, cinnamon-sugar-coated treats to round off your meal with a delightful crunch and sweetness.
These pairings not only satisfy but elevate your overall dining experience, making your Oven-Baked Cheesy Tacos truly unforgettable!
Oven-Baked Cheesy Tacos: Variations & Substitutions
Feel free to get creative with these Oven-Baked Cheesy Tacos—there’s a world of flavors waiting for you!
-
Vegetarian Option: Swap ground beef for black beans or lentils for a hearty, meatless taco filled with protein.
-
Dairy-Free: Use plant-based cheese to make this recipe suitable for lactose-intolerant diners without skimping on that cheesy goodness.
-
Taco Sauce Drizzle: Enhance the flavor by drizzling your favorite taco sauce over each taco before serving for an extra zesty kick.
-
Spice Level Boost: Add diced jalapeños or sprinkle chili powder into the filling to turn up the heat. It’s a quick and easy way to satisfy spice lovers!
-
Crunchy Toppings: Try adding crushed tortilla chips on top of the tacos for an extra layer of texture and flavor that perfectly contrasts with the melted cheese.
-
Fresh Herbs: Incorporate fresh herbs like cilantro or parsley as a vibrant topping for a refreshing twist that brightens each bite.
-
Experiment with Proteins: Ground chicken or turkey not only offers a lean option but can also change the flavor profile based on the seasoning used.
-
Gluten-Free Shells: To cater to gluten-sensitive diners, opt for corn-based or other gluten-free taco shells that still deliver on the crunch factor; your guests won’t even notice the difference!
As you can see, these tacos invite your creativity. For a delightful side, consider pairing with a fresh green salad or Spanish rice to complete your meal. Enjoy crafting your perfect taco experience!
Oven-Baked Cheesy Tacos Recipe FAQs
How do I choose the right taco shells?
When selecting taco shells, consider the type based on your preference for crunch or chew. Hard shells offer a satisfying crunch, while soft tortillas provide a classic bite. If you’re gluten-sensitive, don’t worry—there are various gluten-free taco shells available in most grocery stores that work wonderfully in this recipe!
How should I store my leftover Oven-Baked Cheesy Tacos?
Store any uneaten tacos in an airtight container in the fridge for up to 3-4 days. To enjoy them again, simply reheat in the oven at 375°F (190°C) for about 10-12 minutes to bring back that crispy texture. Avoid using the microwave, as it can lead to soggy shells.
Can I freeze these tacos for later?
Absolutely! To freeze, assemble your unbaked Oven-Baked Cheesy Tacos and wrap them tightly in plastic wrap. You can store them in the freezer for up to 2 months. When you’re ready to bake, take them out of the freezer and cook them directly from frozen, adding an extra 5-10 minutes to the baking time to ensure they heat through properly.
What if my taco filling is too liquidy?
If you find your taco filling is overly liquidy, it can change the consistency of your tacos. To fix this, let the mixture simmer on the stove for a few extra minutes without the lid. This allows some of the moisture to evaporate and results in a thicker filling that won’t make your taco shells soggy. You can also consider adding a thickening agent like cornstarch mixed with a little water.
Are these tacos suitable for people with dietary restrictions?
Yes! These Oven-Baked Cheesy Tacos can be easily customized for various dietary needs. For those who are lactose intolerant, simply switch to dairy-free cheese. If you need a gluten-free option, use appropriate taco shells, and for a vegetarian version, substitute the meat with black beans or lentils. Everyone can enjoy a delicious meal!
How can I spice up my taco toppings?
Don’t hesitate to get creative with your toppings! Popular options include sliced jalapeños for heat, guacamole for creaminess, or even unique additions like pickled red onions for a tangy kick. The more, the merrier, so feel free to experiment with flavors to find your perfect mixture!
Loaded Oven-Baked Cheesy Tacos for a Crunchy Dinner Delight
Ingredients
Equipment
Method
- Preheat your oven to 375°F (190°C). Gather all your ingredients and equipment.
- Heat olive oil in a skillet over medium heat. Add diced onion and minced garlic; sauté for 2–3 minutes until fragrant.
- Add ground meat to the skillet. Cook for about 5–7 minutes, breaking apart until browned.
- Stir in taco seasoning, tomato sauce, salt, and pepper. Simmer for about 5 minutes.
- Warm taco shells and fill each with the meat mixture. Top with shredded cheese.
- Place taco shells upright in a greased baking dish. Bake for 10-15 minutes until cheese is bubbly.
- Remove from oven and add fresh toppings like lettuce, tomatoes, and cilantro. Serve immediately.
Leave a Reply