
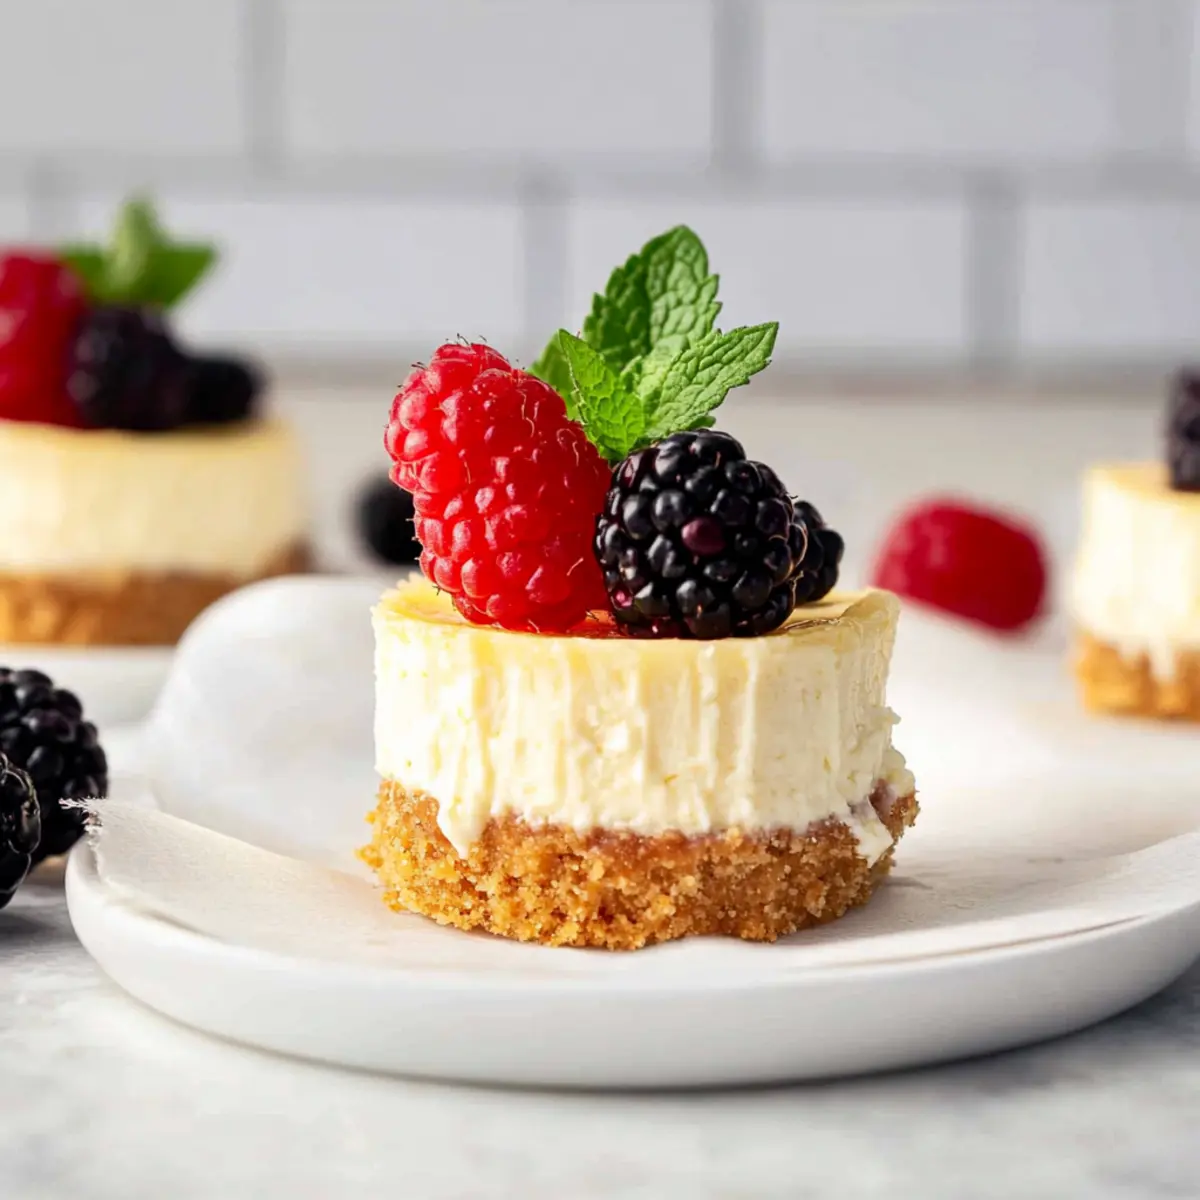
As the sweet aroma of warm vanilla wafts through the kitchen, I can’t help but smile, knowing that these Healthy Mini Protein Cheesecakes are about to steal the show. Each delicate bite is a treat for the senses—light, creamy, and deceptively satisfying—without the guilt of a traditional dessert. With over 9 grams of protein packed into each cheesecake, they’re not only a healthier option but also a fantastic way to curb those post-dinner cravings. Gluten-free and kid-approved, they’re perfect for summer gatherings or when you want to impress at a dinner party. Who says you can’t enjoy dessert while sticking to your goals? So, are you ready to whip up a batch of these delightful little wonders?
Why are Mini Protein Cheesecakes a Must-Try?
Guilt-Free Indulgence: These mini protein cheesecakes pack a punch with smooth texture and creamy flavor, all while keeping calories in check. Versatile Variations: Swap out ingredients based on your dietary needs—gluten-free, vegan, or low-carb options are easily adaptable. Quick and Easy: They’re a breeze to make, needing just a handful of ingredients and minimal prep time. Perfect for Sharing: These delightful treats are excellent for gatherings or family desserts, pleasing both kids and adults alike. Elevate your dessert game with a touch of uniqueness and flavor—try serving them with fresh berries and mint for an extra pop!
Mini Protein Cheesecakes Ingredients
For the Crust
• Graham Cracker Crumbs – Create a crispy base; use gluten-free graham crackers for a gluten-free treat.
• Salted Butter – Brings richness and binds the crust; coconut oil works for dairy-free.
For the Filling
• Cream Cheese – Adds creaminess; always use room temperature for easy mixing.
• Plain 0% Greek Yogurt – A healthier alternative to sour cream while boosting protein; any plain yogurt will do.
• Granulated Sugar – Sweetens the filling; can be replaced with erythritol for a sugar-free option.
• Egg & Egg Yolk – Provides structure; consider a flax egg for a vegan substitution.
• Vanilla Extract – Enhances flavor; choose pure extract for the best results.
• Lemon Juice & Zest – Brightens the cheesecake’s flavor; great for a refreshing twist.
• Arrowroot Starch (or Cornstarch) – Stabilizes the filling to achieve the perfect texture.
Feel free to enjoy the guilt-free delight of these Mini Protein Cheesecakes—each ingredient plays a crucial role in creating this scrumptious dessert!
Step‑by‑Step Instructions for Mini Protein Cheesecakes
Step 1: Preheat Your Oven
Begin by preheating your oven to 350°F (175°C). As the oven warms up, line a standard cupcake tin with 12 paper liners. This setup will hold your delicious mini protein cheesecakes as they bake. Make sure your ingredients are ready to go while the oven reaches the perfect temperature for baking.
Step 2: Make the Crust
In a food processor, pulse graham cracker crumbs until finely ground. In a medium bowl, combine the crumbs with melted salted butter until the mixture resembles wet sand. This will be the base of your cheese-cakes. Carefully spoon about 1.5 tablespoons of this mixture into each cupcake liner, pressing it down firmly to create an even crust.
Step 3: Bake the Crust
Once your crust mixture is pressed into the liners, place the tin in the preheated oven. Bake for 5–6 minutes, until the crust is set and lightly golden. You’ll know they are ready when they smell delightful and have a slightly firm texture. After removing them from the oven, allow the crusts to cool while you prepare the filling.
Step 4: Prepare the Filling
In a mixing bowl, add room-temperature cream cheese and beat with a hand mixer until smooth. Gradually incorporate plain 0% Greek yogurt, an egg, granulated sugar, vanilla extract, lemon juice, zest, and arrowroot starch. Mix just until combined to avoid overmixing. The filling should be creamy and smooth, perfect for your mini protein cheesecakes.
Step 5: Fill the Crusts
Evenly distribute the cheesecake filling into the cooled crusts, filling each liner to just below the top. This ensures a beautiful rise during baking. Use a spatula to smooth the tops if needed. With this step complete, your mini protein cheesecakes are ready for baking!
Step 6: Bake the Cheesecakes
Place the filled cupcake tin back into the oven and bake for 17–20 minutes. Look for the filling to be set but still slightly jiggly in the center. This means they’re perfectly done! Keep a close eye on them to prevent overbaking, as the filling continues to firm up as they cool.
Step 7: Cool and Chill
After baking, allow your mini protein cheesecakes to cool at room temperature for about 30 minutes. Once they’re slightly cooled, transfer them to the refrigerator and chill for at least 3 hours to set properly. This step is crucial for achieving that silky texture and enhances the flavors.
Step 8: Serve and Enjoy
When ready to serve, remove the mini protein cheesecakes from the fridge. Carefully peel them out of the liners, placing them on a decorative plate. Top with fresh berries and mint leaves for a delightful burst of flavor and color. Now savor the creamy, guilt-free indulgence of each mini cheesecakes!
Expert Tips for Mini Protein Cheesecakes
-
Room Temperature Ingredients: Ensure your cream cheese and yogurt are at room temperature. This leads to a smoother filling and prevents lumps.
-
Avoid Overmixing: Mix your filling just until combined. Overmixing can lead to a tough texture in the mini protein cheesecakes.
-
Watch the Baking Time: Check your cheesecakes frequently in the last few minutes of baking to avoid overbaking; they should be set but slightly jiggle in the center.
-
Cool Before Chilling: Allow your cheesecakes to cool at room temperature for about 30 minutes first, as this helps with texture and flavor development.
-
Flavor Variations: Don’t hesitate to switch up the flavors—adding chocolate chips or fruit purees can create a delicious twist and personalize your mini protein cheesecakes!
Make Ahead Options
These mini protein cheesecakes are a fantastic option for meal prep, saving you time on busy weeknights! You can prepare the crusts up to 24 hours in advance; simply make, bake, and let them cool before storing them in an airtight container. The filling can also be mixed ahead and refrigerated for up to 3 days; just ensure it’s tightly covered to maintain quality. When you’re ready to assemble, spoon the chilled filling into the crusts, bake, and chill them for at least 3 hours before serving. This method ensures you’ll have delicious, ready-to-enjoy desserts with minimal effort, making hosting or snacking a breeze!
Mini Protein Cheesecakes: Endless Possibilities
Feel free to unleash your creativity and make these mini protein cheesecakes your own with delicious variations.
-
Gluten-Free: Use gluten-free graham crackers or almond flour for the crust to accommodate gluten sensitivities while keeping that delightful crunch.
-
Dairy-Free: Swap cream cheese with a vegan cream cheese alternative and use coconut oil for the crust for a dairy-free dessert option. It’s a wonderful way to enjoy creamy cheesecakes without any dairy!
-
Vegan: Instead of eggs, utilize a flax egg (1 tablespoon of ground flaxseed mixed with 2.5 tablespoons of water) for a full-fledged vegan solution. The consistency remains just as delectable!
-
Flavor Boost: Stir in 1/3 cup of melted dark chocolate chips, or a swirl of your favorite fruit puree right in the batter for a surprise twist in every bite.
-
Sweetness Adjustment: Use natural sweeteners like honey or maple syrup instead of granulated sugar; just adjust the quantity for the desired sweetness.
-
Nutty Option: Enhance texture and flavor by replacing half of the graham cracker crumbs with crushed nuts, like pecans or walnuts. This idea can add a toasty depth to your cheesecakes.
-
Zesty Kick: Add an extra teaspoon of lemon zest or a half teaspoon of lime juice to the filling for a bright, tangy lift that really sets the flavors dancing.
-
Mini Cheesecake Parfaits: Layer the cheesecakes with yogurt or whipped coconut cream and fresh fruits for delightful parfaits that are visually stunning and delicious.
With these variations, you’ll never get bored of these delightful mini protein cheesecakes! Enjoy them at your next gathering or swear off store-bought desserts forever.
How to Store and Freeze Mini Protein Cheesecakes
Fridge: Keep your mini protein cheesecakes in an airtight container in the refrigerator for up to 5 days. Enjoy the creamy texture and flavors on demand!
Freezer: For longer storage, these cheesecakes can be frozen for up to 3 months. Wrap each cheesecake in plastic wrap and place them in a freezer-safe container.
Thawing: When ready to enjoy, thaw the frozen mini protein cheesecakes in the refrigerator overnight. This ensures they maintain their delightful consistency.
Serving After Storage: Serve chilled, garnished with fresh berries and mint, for a refreshing touch that enhances their flavors even after storage.
What to Serve with Healthy Mini Protein Cheesecakes?
Enhance your mini protein cheesecakes experience with these delightful pairings that bring flavors and textures together beautifully.
-
Fresh Berries: Juicy strawberries, blueberries, or raspberries add a burst of natural sweetness and a refreshing contrast to the creamy cheesecakes.
-
Mint Leaves: A sprinkle of fresh mint brightens up each bite, providing a refreshing finish that complements the dessert’s creamy texture.
-
Light Whipped Cream: A dollop of homemade or low-calorie whipped cream adds a light, airy texture, balancing the dense cheesecakes perfectly.
-
Coconut Flakes: Toasted coconut brings a slightly nutty flavor and a satisfying crunch that enhances the overall taste experience.
-
Dark Chocolate Shavings: For a touch of indulgence, sprinkle some dark chocolate shavings on top of your cheesecakes; the richness pairs wonderfully with the light dessert!
-
Iced Herbal Tea: Refreshing iced herbal tea or lemonade offers a cooling beverage option that balances the sweetness of the cheesecakes.
-
Fruit Salad: A colorful fruit salad as a side complements the cheesecakes beautifully; the vibrant flavors will excite your palate and brighten your plate.
-
Almond Biscotti: This crunchy treat is a delightful pairing, providing a satisfying texture contrast and a hint of nutty flavor that matches well with cheese.
-
Coffee or Espresso: A warm cup of coffee or a shot of espresso enhances the desserts’ flavors and provides a cozy finish to the meal.
Mini Protein Cheesecakes Recipe FAQs
What type of graham crackers should I use for a gluten-free version?
Absolutely! For a gluten-free crust, opt for gluten-free graham cracker crumbs. Many brands offer delicious alternatives that will provide the same delightful crunch and sweetness as traditional graham crackers. Just be sure to read the labels to ensure they’re certified gluten-free!
How should I store leftover mini protein cheesecakes?
Store your mini protein cheesecakes in an airtight container in the refrigerator for up to 5 days. If you’re like me and can’t resist leftovers, keeping them sealed will help preserve their creamy texture and flavors for when those sweet cravings hit!
Can I freeze mini protein cheesecakes? If so, how?
Yes, you can freeze them! Wrap each mini protein cheesecake in plastic wrap to prevent freezer burn and place them in a freezer-safe container. They can be frozen for up to 3 months! When you’re ready to enjoy, simply transfer them to the refrigerator and let them thaw overnight for the best texture.
What should I do if my cheesecake filling is too runny?
If you’re experiencing a runny filling, don’t fret! First, ensure you’ve added the right amount of arrowroot starch or cornstarch; it’s crucial for thickening. If it’s already baked, let it cool completely and then chill for a few hours, as this can sometimes help it set better. For the next batch, consider reducing the amount of yogurt slightly or adding more starch to achieve a thicker consistency before baking.
Are these mini cheesecakes suitable for individuals with nut allergies?
Very! These mini protein cheesecakes are made without nuts, making them a safe choice for those with nut allergies. However, always double-check ingredient labels, especially for substitutes, to ensure they’re allergy-friendly. If you plan to use variations like nut crusts, be sure to inform your guests!
Is there a vegan option for this mini protein cheesecake recipe?
Absolutely! To make these mini protein cheesecakes vegan, substitute the cream cheese and Greek yogurt with cashew cream or a dairy-free yogurt alternative. For the egg, use a flax egg by mixing 1 tablespoon of ground flaxseed with 2.5 tablespoons of water—let it sit for about 5 minutes to thicken before adding it to your filling mixture. Enjoy this guilt-free delight while adhering to your dietary preferences!
Mini Protein Cheesecakes: Guilt-Free Delight in Every Bite
Ingredients
Equipment
Method
- Preheat your oven to 350°F (175°C) and line a standard cupcake tin with 12 paper liners.
- In a food processor, pulse graham cracker crumbs until finely ground. Combine with melted salted butter in a medium bowl until it resembles wet sand.
- Press about 1.5 tablespoons of the mixture into each cupcake liner, creating an even crust.
- Bake the crusts in the preheated oven for 5–6 minutes until set and lightly golden, then cool.
- In a mixing bowl, beat room-temperature cream cheese until smooth. Gradually mix in Greek yogurt, an egg, sugar, vanilla, lemon juice, lemon zest, and arrowroot starch.
- Distribute the filling evenly into the cooled crusts, filling each liner just below the top.
- Bake the cheesecakes for 17–20 minutes until the filling is set but slightly jiggly in the center.
- Cool at room temperature for 30 minutes, then chill in the refrigerator for at least 3 hours.
- Serve chilled, topped with fresh berries and mint leaves.
Leave a Reply