
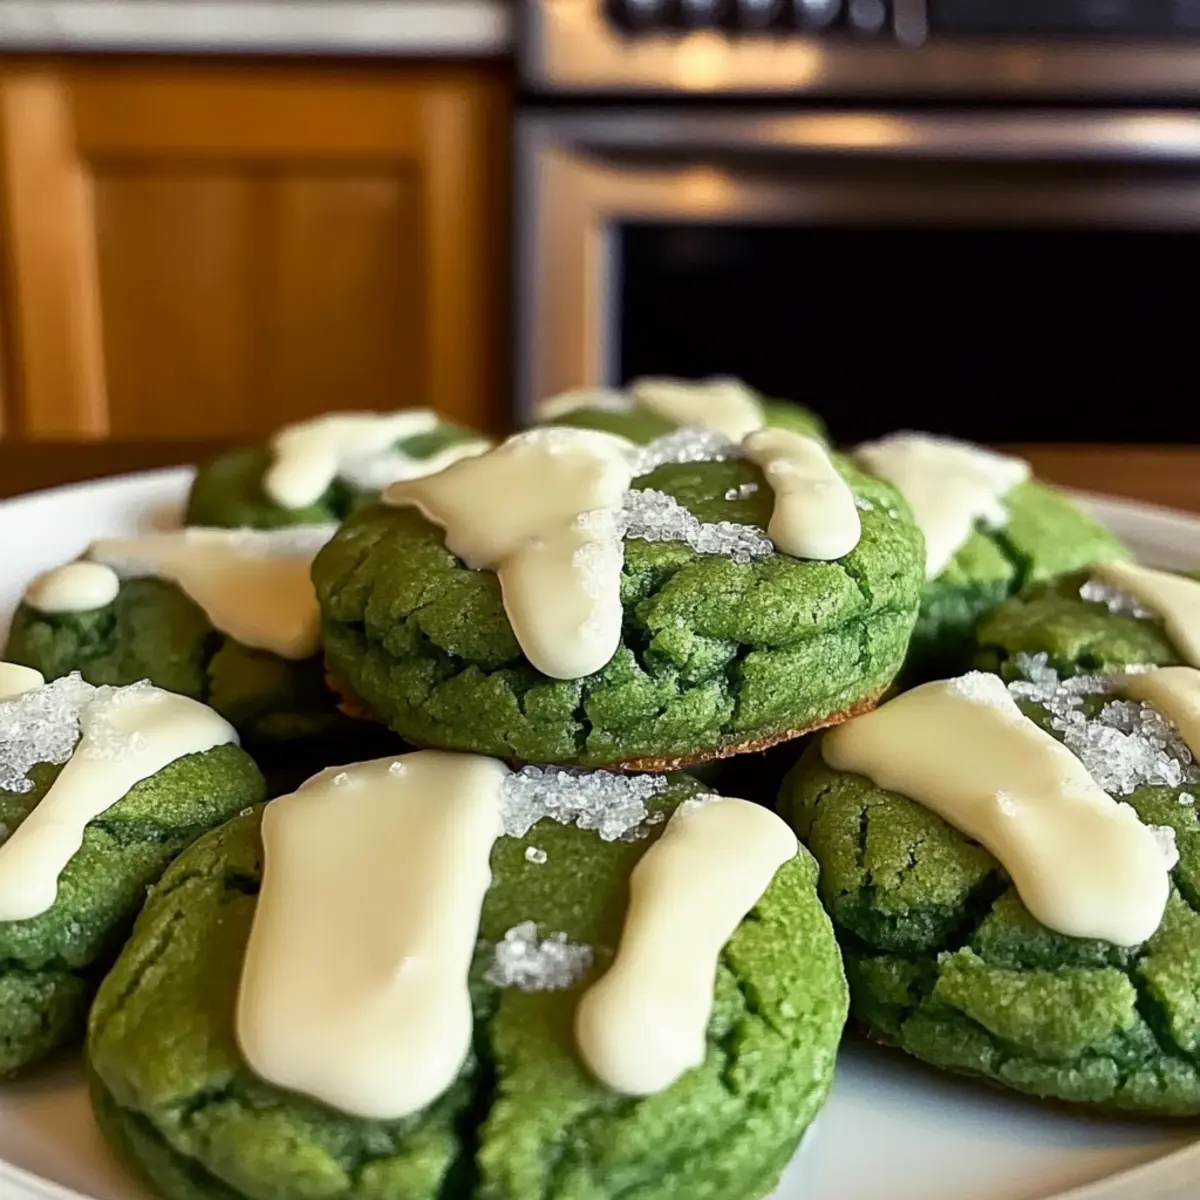
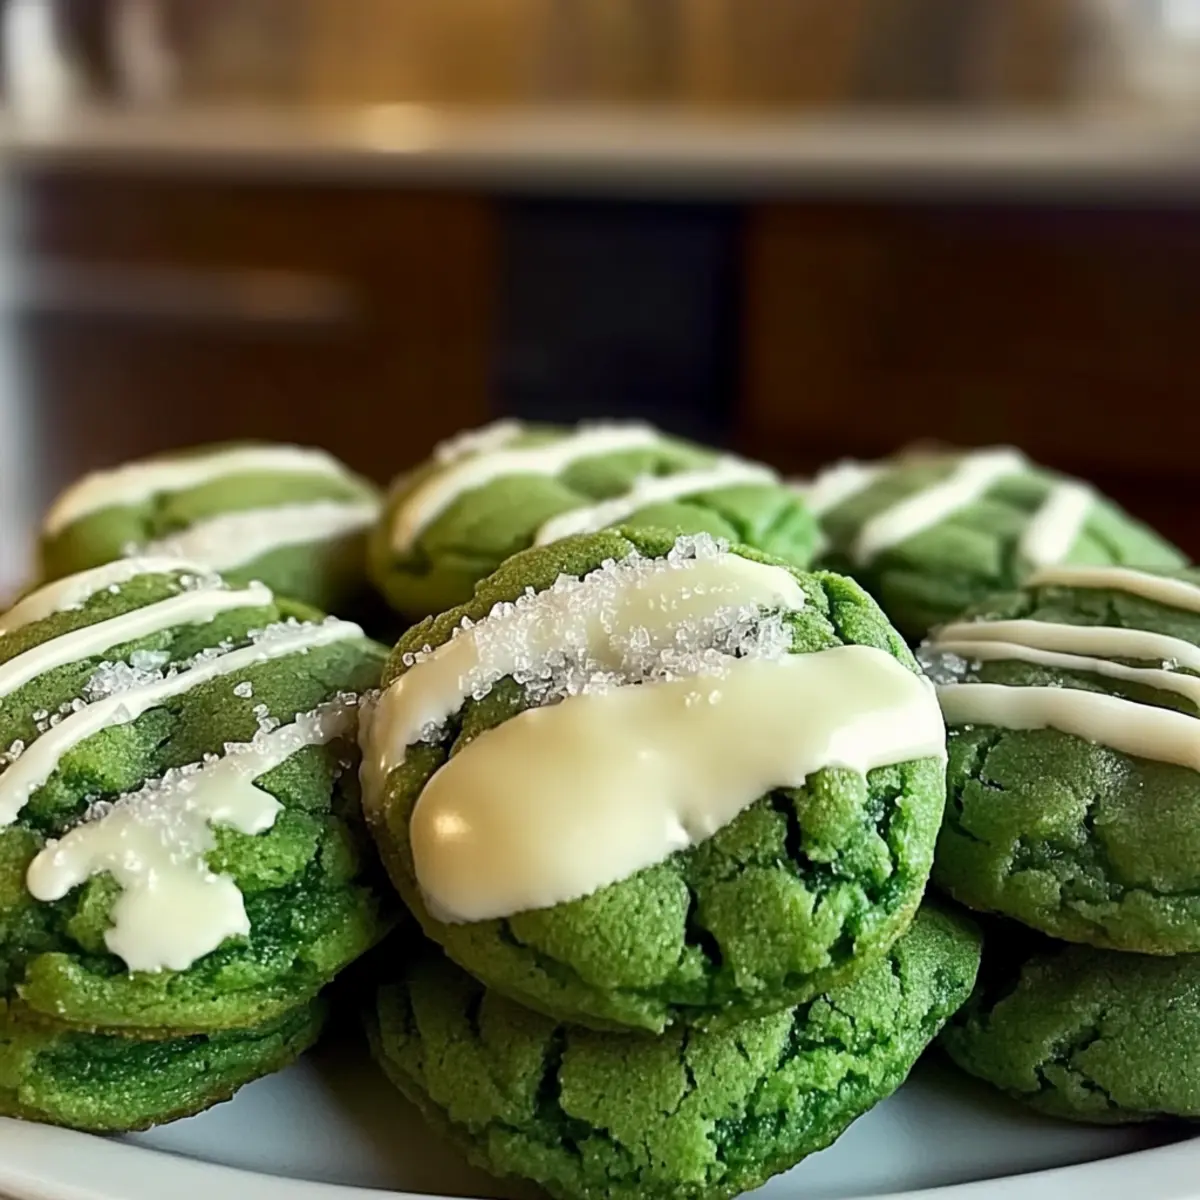
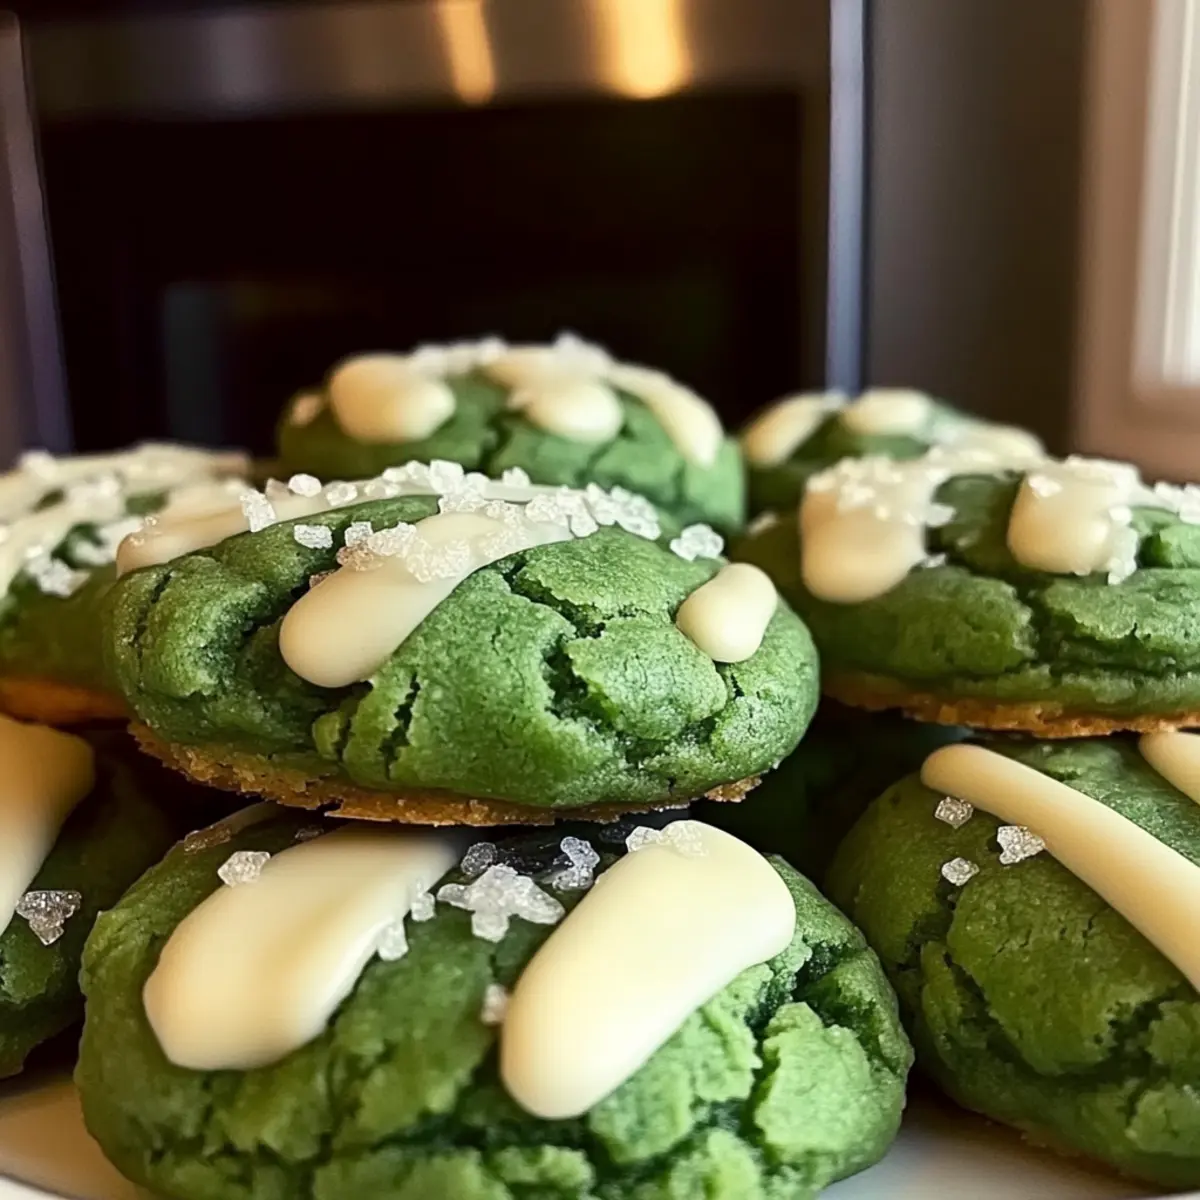
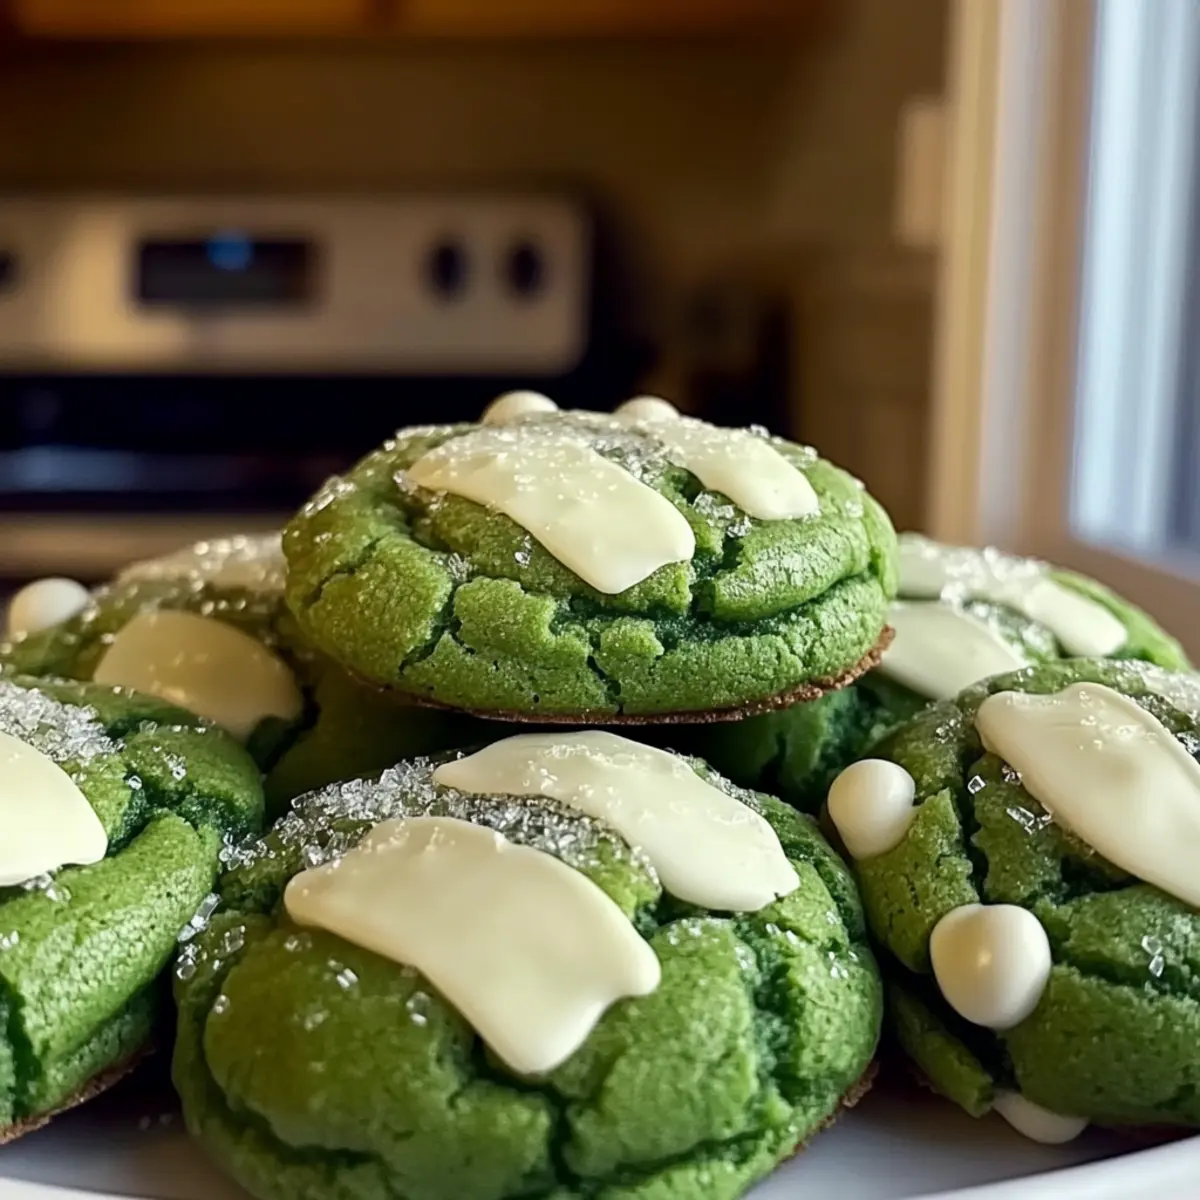
As I stood in my kitchen, the vibrant green of my fresh batch of Green Velvet Cookies caught my eye, reminding me that festive baking doesn’t have to be complicated! These scrumptious treats are a delightful twist on traditional cookies, packed with cream cheese to create that signature soft and cakey texture. Not only are they perfect for brightening up your St. Patrick’s Day celebrations, but their striking emerald hue will have everyone reaching for seconds. With a simple prep and minimal fuss, you can whip up a crowd-pleaser that brings joy and cheer to any occasion. Curious about how to make these irresistible cookies come to life? Let’s dive into the recipe together!
Why Are These Cookies So Special?
Irresistible Flavor: The combination of cream cheese and cocoa creates a uniquely delicious taste that’s both subtly sweet and slightly tangy.
Festive Appeal: Their vibrant green color makes them perfect for St. Patrick’s Day, adding a fun, celebratory touch to any gathering.
Easy to Make: With simple steps and common ingredients, you can have these delightful cookies ready in no time, perfect for impromptu baking sessions.
Versatile Option: Want to customize? Experiment with flavors by adding mint extract or swapping white chocolate for dark chocolate!
Crowd Favorite: Whether served at parties or enjoyed during a cozy night in, these Green Velvet Cookies are sure to impress friends and family alike.
Green Velvet Cookies Ingredients
• Prepare to whip up these festive treats with simple, delightful components!
For the Cookie Dough
- All-purpose flour – Provides structure to the cookies. Substitution: For gluten-free, use a gluten-free flour blend.
- Unsweetened cocoa powder – Adds slight cocoa flavor and richness. Substitution: Carob powder can be used for a caffeine-free option.
- Baking powder & baking soda – Leavening agents for cookie texture. Ensure they are fresh for optimal rise.
- Fine sea salt – Enhances overall flavor. Use kosher salt as an alternative if preferred.
- Unsalted butter – Provides moisture and richness. Substitution: Coconut oil for a dairy-free version.
- Cream cheese – Adds a soft, velvety texture and tangy flavor. Substitution: Mascarpone cheese for a different taste profile.
- Granulated sugar – Sweetness and aids in creating a tender crumb. Substitution: Brown sugar for a deeper flavor.
- Egg & egg yolk – Binds ingredients together and contributes to richness. No direct substitutes; use flax eggs for vegan options.
- Pure vanilla extract – Enhances the flavor profile. Substitution: Almond extract for a unique twist.
- Green gel food coloring – Achieves vibrant emerald green without altering dough consistency. Liquid food coloring can be used but may affect texture.
For the Drizzling
- White chocolate – Provides sweetness and a lovely contrast. Substitution: Dark chocolate for a more intense flavor.
- Coconut oil or vegetable shortening – Used for melting and drizzling. Substitution: Butter for a more classic flavor.
Now that you have this essential list of ingredients, you’re well on your way to baking a batch of beautiful Green Velvet Cookies!
Step‑by‑Step Instructions for Green Velvet Cookies
Step 1: Preheat the Oven
Begin by preheating your oven to 375°F (190°C). While the oven warms, line two baking sheets with parchment paper to prevent sticking and ensure even baking. This setup will prepare you for the delightful process of creating your Green Velvet Cookies, ensuring they come out perfectly soft and cakey.
Step 2: Prepare Dry Ingredients
In a medium bowl, sift together 2 cups of all-purpose flour, 2 tablespoons of unsweetened cocoa powder, 1 teaspoon of baking powder, 1 teaspoon of baking soda, and ½ teaspoon of fine sea salt. Sifting these ingredients helps to aerate the mixture, allowing for a lighter texture. Set this bowl aside as you move on to the wet ingredients.
Step 3: Cream Butter and Sugar
In a large mixing bowl, beat together ¾ cup of unsalted butter and 1 cup of granulated sugar using an electric mixer on medium speed until the mixture is light and fluffy, about 3-4 minutes. This creaming step is crucial for incorporating air into the mixture, which contributes to the soft, tender crumb of your Green Velvet Cookies.
Step 4: Incorporate Eggs and Wet Ingredients
Add 1 large egg and 1 egg yolk to the creamed butter and sugar, mixing until well combined. Then, blend in ½ cup of cream cheese, 1 teaspoon of pure vanilla extract, and a few drops of green gel food coloring. Finally, mix in 1 tablespoon of white vinegar for a slight tang. This vibrant, sticky mixture will form the base of your cookie dough.
Step 5: Combine Mixtures
Gradually add the dry ingredients to the wet mixture, stirring gently with a spatula until just combined. Be careful not to overmix—this will keep your Green Velvet Cookies soft and cakey. The dough should be somewhat thick and vibrant, showcasing that beautiful green color.
Step 6: Fold in White Chocolate
Lightly fold in 1 cup of white chocolate chips into the cookie dough using a spatula. This adds a delightful sweetness and a lovely contrast to the base flavors of your cookies. Ensure the chocolate is evenly distributed throughout the dough for that perfect bite in every cookie.
Step 7: Shape Cookies
Using a cookie scoop (approximately 1½ tablespoons), portion out the dough and roll each portion into a ball. For an extra festive touch, roll the dough balls in sanding sugar before placing them on the prepared baking sheets. This will create a delightful sparkle on the surface of your Green Velvet Cookies.
Step 8: Arrange for Baking
Place the cookie dough balls about 2 inches apart on the lined baking sheets. Gently press each ball down to flatten slightly—they should still maintain a rounded shape. This will allow them to spread beautifully while baking, creating those charming crackled edges typical of green velvet treats.
Step 9: Bake
Bake the cookies in your preheated oven for 10-12 minutes. You’ll know they are ready when the edges are set, but the centers remain soft. It’s important to keep an eye on them to avoid overbaking; the cookies will firm up as they cool.
Step 10: Cool
Once baked, let the cookies sit on the baking sheet for about 5 minutes. This resting period helps them set further. After that, carefully transfer them to a wire rack to cool completely, where they will finish achieving that perfect soft and chewy texture.
Green Velvet Cookies Variations & Substitutions
Feel free to get creative and make these enchanting cookies your own with some delightful twists!
- Mint-Infused: Add 1 teaspoon of mint extract to the dough for a refreshing twist that captures the essence of the holiday.
- Nutty Goodness: Fold in ½ cup of chopped walnuts or pecans for added crunch and a deeper flavor profile in each bite.
- Cocoa Swap: Replace cocoa powder with carob powder for a caffeine-free option that still maintains a rich taste.
- Fruit Addition: Incorporate ½ cup of dried cherries or cranberries for a touch of fruity sweetness that pairs beautifully with cream cheese.
- Color Twist: Mix blue and yellow food coloring instead of green for a fun pastel shade perfect for springtime celebrations.
- Dairy-Free Delight: Substitute cream cheese with mascarpone or a dairy-free cream cheese alternative, preserving that soft texture while fitting dietary needs.
- Luxurious Drizzle: Swap white chocolate for dark chocolate melting for an exquisite, bold flavor contrast that chocolate lovers will adore.
- Spiced Variation: Add ½ teaspoon of cinnamon or nutmeg to the dry ingredients for a warm hint of spice that enhances the festive spirit.
With these variations, you’ll not only celebrate St. Patrick’s Day but keep the joy of baking blossoming year-round. For more inspired baked goods, check out my favorite classic chocolate chip cookie and don’t forget to explore the world of gluten-free baking if you’re looking for tasty alternatives!
Expert Tips for Green Velvet Cookies
Chill Dough:
- Allow the cookie dough to chill for at least 30 minutes before baking. This helps improve texture and flavor while preventing spreading.
Avoid Overmixing:
- Gently mix the dry ingredients into the wet mixture just until combined. Overmixing can lead to tougher cookies, so keep it light.
Use Gel Coloring:
- Stick to gel food coloring instead of liquid. It gives vibrant color without adding extra moisture that can affect your cookie’s soft texture.
Check Your Oven:
- Oven temperatures can vary, so keep an eye on your cookies starting at the 10-minute mark. They’re ready when edges are set and centers appear slightly soft.
Storage Tips:
- Store your Green Velvet Cookies in an airtight container at room temperature for up to 5 days. For longer freshness, consider refrigerating.
How to Store and Freeze Green Velvet Cookies
Room Temperature: Keep your Green Velvet Cookies in an airtight container at room temperature for up to 5 days to maintain their softness and flavor.
Fridge: For an extra chilled treat, these cookies can be refrigerated in an airtight container for up to 1 week. Enjoy them cold for a delightful surprise!
Freezer: To freeze, place the cookies in a single layer on a baking sheet until firm, then transfer to a freezer-safe container or bag. They can be stored in the freezer for up to 3 months.
Reheating: If you’d like to enjoy them warm, simply microwave a frozen cookie for about 10-15 seconds or warm them in an oven at 350°F (175°C) for 5-7 minutes.
What to Serve with Green Velvet Cookies
Indulging in a batch of vibrant Green Velvet Cookies sets the stage for delightful pairings that will elevate your dessert experience.
-
Creamy Ice Cream: Vanilla or mint for a delightful contrast to the cookie’s tangy sweetness.
-
Rich Hot Chocolate: A warming drink with marshmallows perfectly complements the soft texture of the cookies. Serve it during cozy evenings.
-
Fresh Mint Leaves: Bright, fresh mint adds an aromatic touch that enhances the festive feel of your treat.
-
Coffee or Irish Coffee: A warm cup brings out the cookie’s rich flavors, making it a classic pairing for gatherings.
-
Decorative Fruit Platter: Juicy strawberries and citrus fruits provide a refreshing balance and a pop of color on the dessert table.
-
Chocolate Dipped Strawberries: The sweet, juicy strawberries with a chocolate coating echo the cookie’s flavors while adding a touch of elegance.
-
Lemon Zest Glaze: A tangy glaze drizzled atop the cookies brightens their taste and adds a lovely citrus finish.
-
Festive Beverage: Consider a sparkling mint lemonade for a refreshing drink that pairs beautifully with Green Velvet Cookies’ color and flavor.
With these pairings, your Green Velvet Cookies will shine as the star of any occasion, bringing joy and cheer to every bite!
Make Ahead Options
These Green Velvet Cookies are perfect for meal prep enthusiasts! You can prepare the cookie dough up to 24 hours in advance by mixing all the ingredients until combined, then covering the bowl with plastic wrap and refrigerating it. This keeps the dough fresh and allows the flavors to meld beautifully, ensuring they’re just as delicious when baked. You can also freeze the cookie dough for up to 3 months; simply scoop the balls, freeze them on a baking sheet, then transfer to an airtight container. When ready to bake, place the frozen dough directly on a baking sheet and add an extra minute or two to the baking time. Enjoy fresh, soft cookies with minimal effort any day of the week!
Green Velvet Cookies Recipe FAQs
How can I select the best ingredients for my Green Velvet Cookies?
Absolutely! For the best results, use fresh all-purpose flour, and make sure your baking powder and baking soda are active—usually, those have a shelf life of about 6 months. For flavor, opt for high-quality cream cheese and a good vanilla extract. When choosing cocoa powder, go for unsweetened; this provides a richer chocolate taste without added sugars. Fresh green gel food coloring will give your cookies their vibrant hue without altering the dough’s consistency.
What is the best way to store my Green Velvet Cookies?
Very! To keep your cookies soft and delicious, store them in an airtight container at room temperature for up to 5 days. If you want them chilled, you can refrigerate them in a sealed container for up to 1 week. Just remember to let them come to room temperature for about 10 minutes before indulging for the best texture after refrigeration!
Can I freeze the cookie dough for later use?
Yes, you can! To freeze your Green Velvet Cookie dough, scoop the dough into balls and place them on a baking sheet lined with parchment paper. Freeze the balls until solid (about 1-2 hours), then transfer them to a freezer-safe container or bag. They’ll stay fresh for up to 3 months. When you’re ready to bake, you can bake them straight from the freezer; just add an extra minute or two to your baking time!
What should I do if my cookies spread too much while baking?
Ah, don’t worry—this can happen! If your cookies spread excessively, it may be due to butter that was too soft. To troubleshoot, make sure to chill your dough for at least 30 minutes before baking. If it still happens, try adding a bit more flour (1-2 tablespoons) to the dough next time and ensure that your baking powder is fresh. This will help maintain their lovely shape.
Are there any dietary considerations I should keep in mind for my Green Velvet Cookies?
I often get asked this! If you have dietary restrictions, switching to gluten-free flour works well for those needing a GF option. Substitute coconut oil for butter to create a dairy-free version. If you’re looking for vegan alternatives, you can use flax eggs in place of regular eggs—just mix 1 tablespoon of ground flaxseed with 3 tablespoons of water and let it sit for 5 minutes until it thickens. Make sure to check for allergies, especially with chocolate and cream cheese alternatives.
Green Velvet Cookies: Irresistibly Soft & Festive Treats
Ingredients
Equipment
Method
- Preheat your oven to 375°F (190°C) and line two baking sheets with parchment paper.
- Sift together the flour, cocoa powder, baking powder, baking soda, and salt in a medium bowl. Set aside.
- In a large bowl, cream together the butter and sugar until light and fluffy, about 3-4 minutes.
- Add the egg, egg yolk, cream cheese, vanilla extract, and green gel food coloring, mixing until well combined.
- Gradually add the dry ingredients to the wet mixture, stirring gently until just combined.
- Fold in the white chocolate chips evenly throughout the dough.
- Using a cookie scoop, portion out the dough, roll into balls, and optionally roll in sanding sugar.
- Place the dough balls on the baking sheets, pressing slightly to flatten.
- Bake for 10-12 minutes until the edges are set but the centers are soft.
- Let the cookies cool on the baking sheet for 5 minutes before transferring to a wire rack.
Leave a Reply