
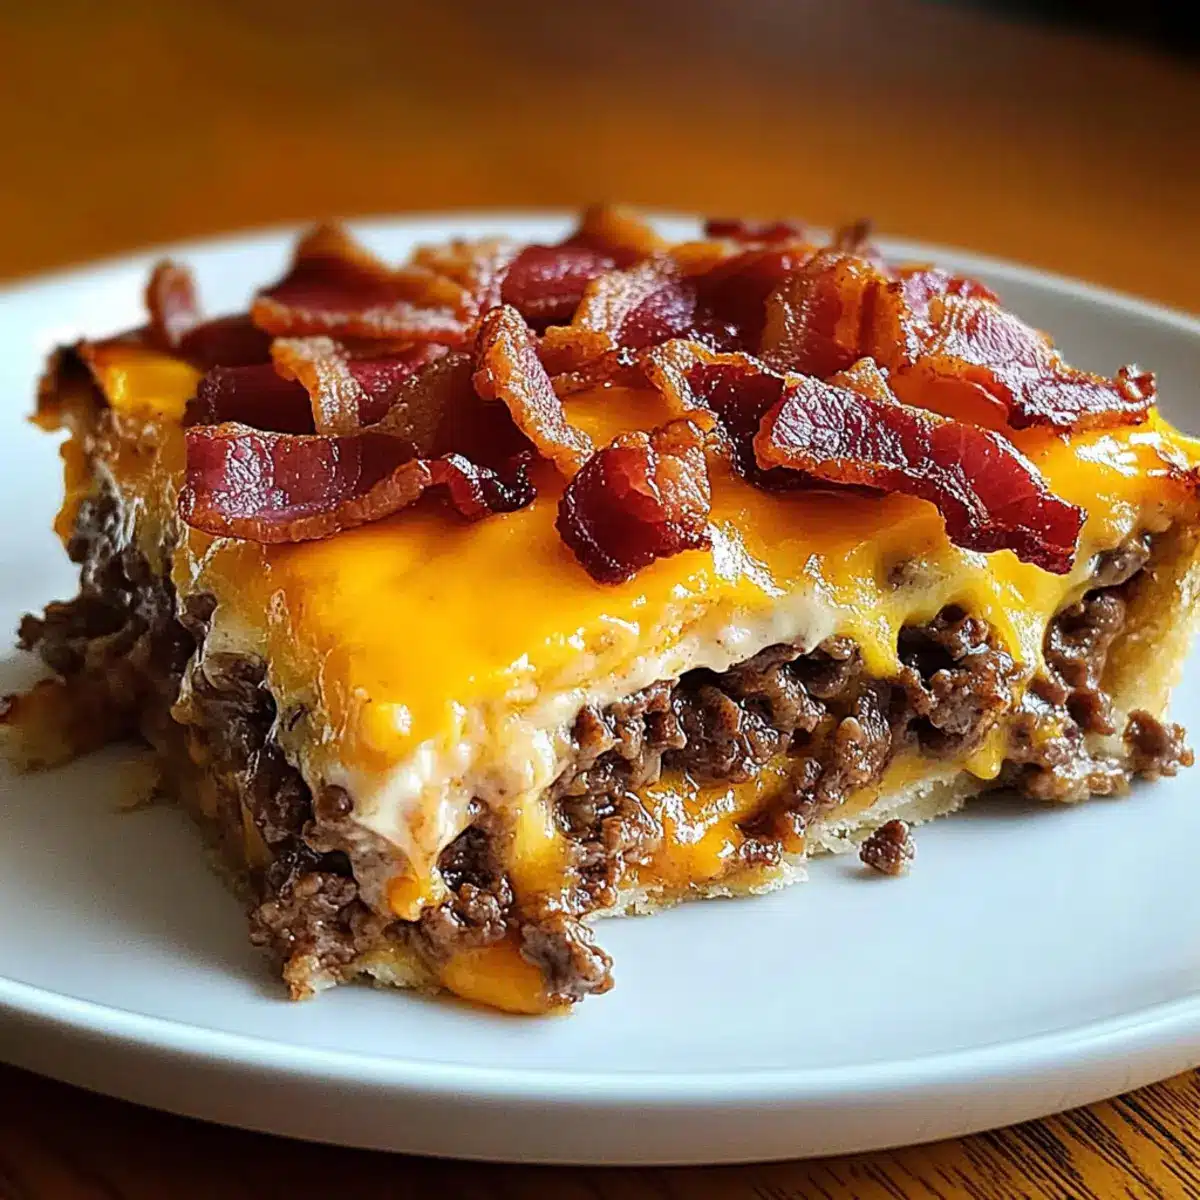
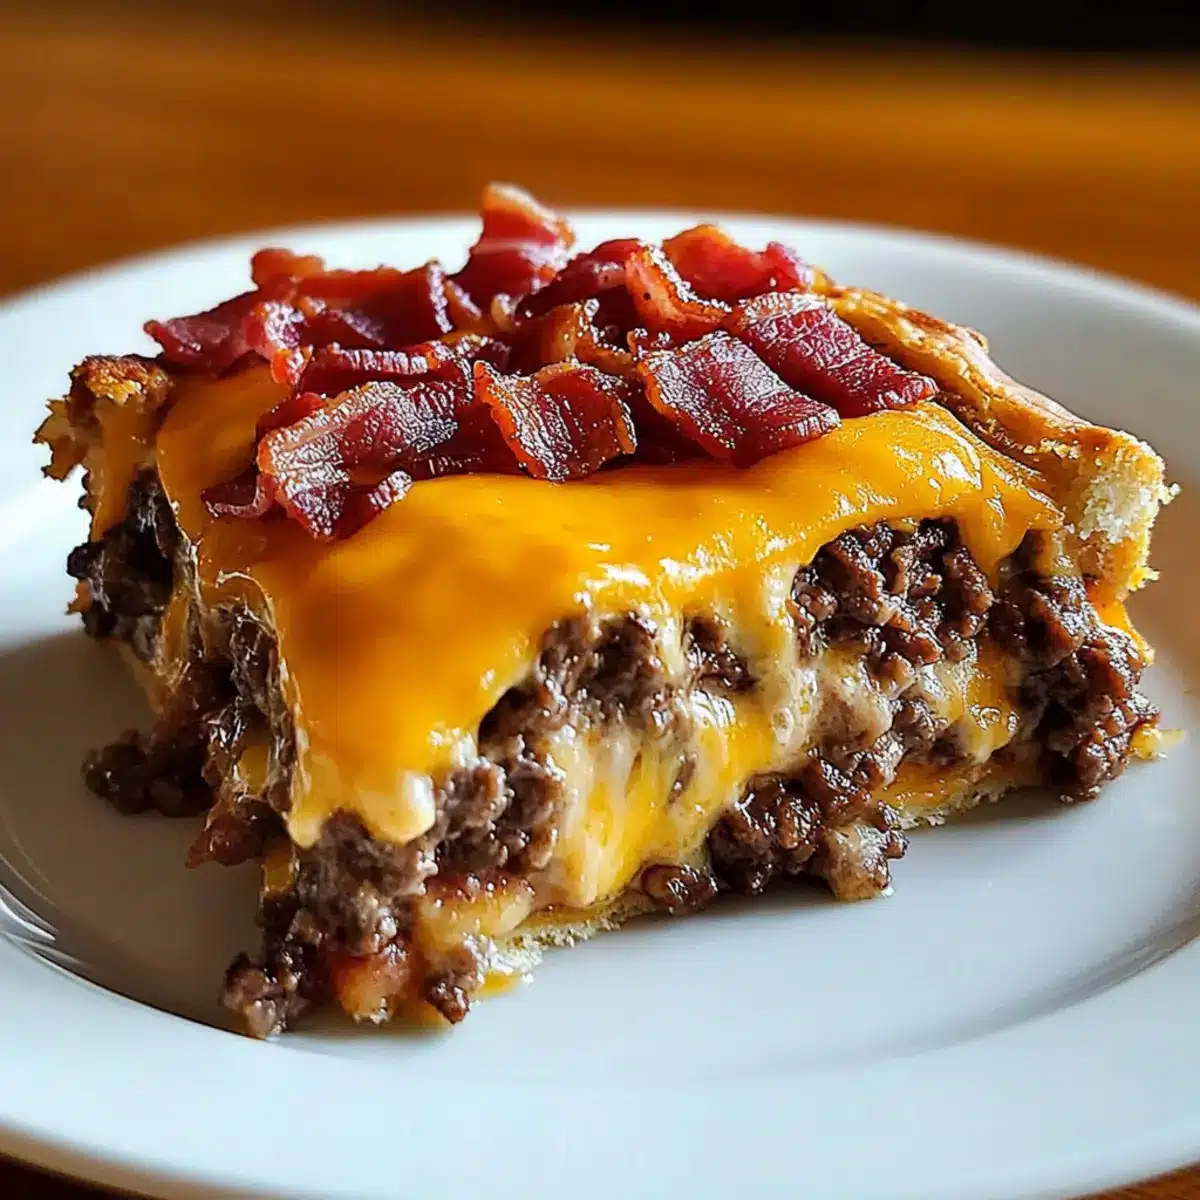
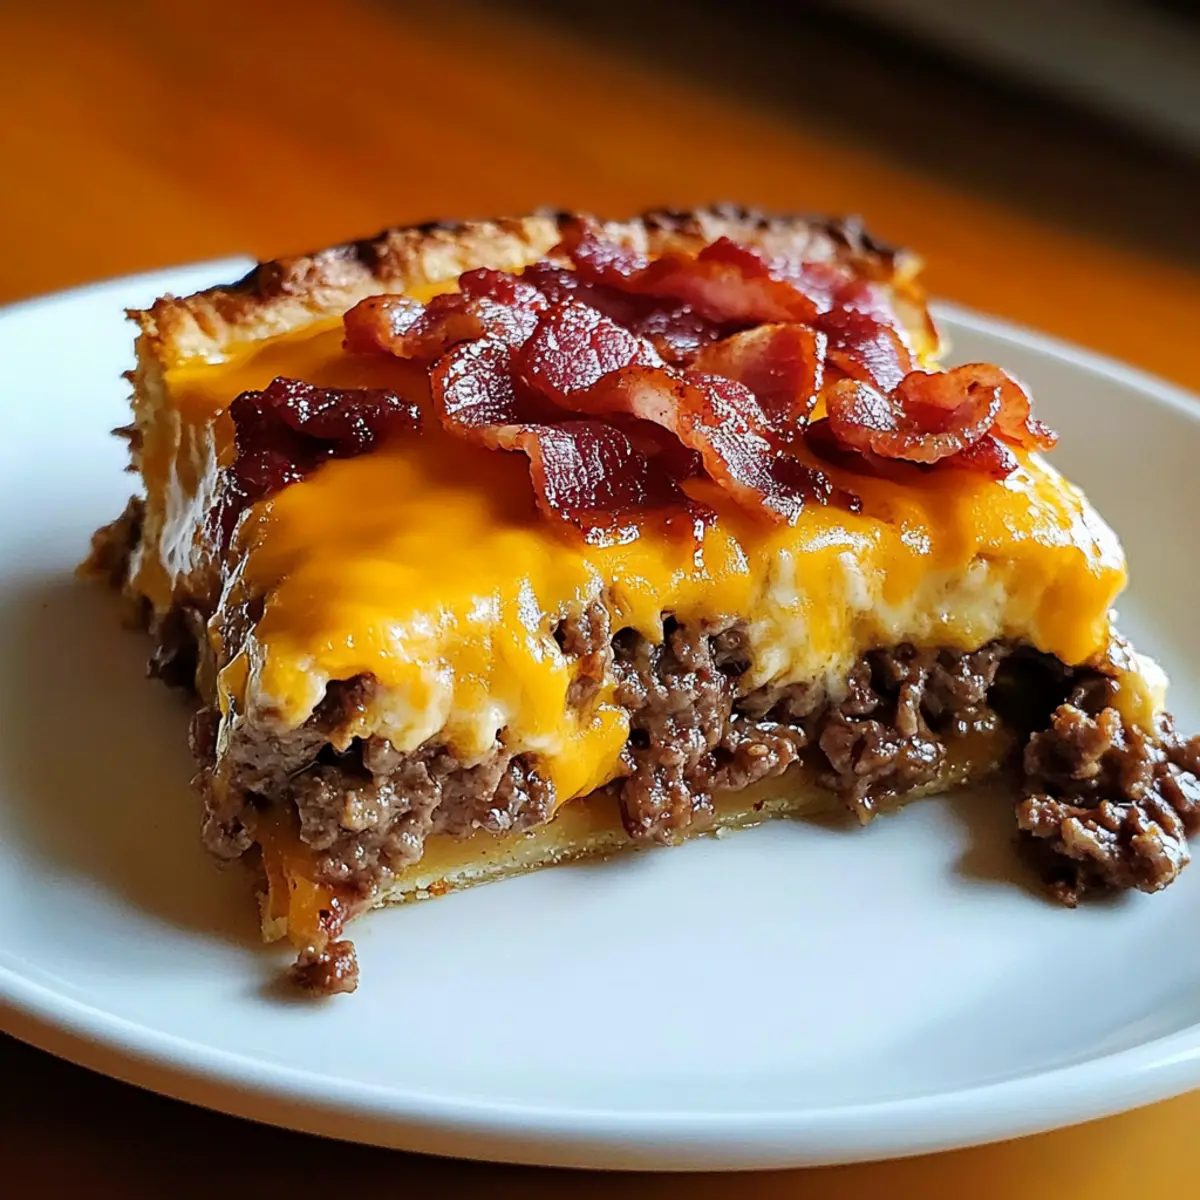
As I slid a golden-brown pie out of the oven, the unmistakable aroma of sizzling bacon mingled with savory beef enveloped my kitchen, causing my stomach to growl in anticipation. This Carnivore Bacon Cheeseburger Pie is not just any comfort food; it’s a delightful low-carb twist that brings all the flavors of a classic cheeseburger into a hearty, protein-packed meal. Ready in just 35 minutes, this dish stands as a testament to convenience without sacrificing taste. Whether you’re adhering to a carnivore diet or simply looking for something scrumptious to serve your loved ones, its creamy, custard-like texture and rich flavors are sure to please. Ready to discover how to make this indulgent yet guilt-free delight? Let’s dive in!
Why Is This Bacon Cheeseburger Pie Special?
Savory Indulgence: This Bacon Cheeseburger Pie combines crispy bacon, juicy beef, and melted cheese for a flavor explosion!
Low-Carb Delight: Perfect for those on a carnivore diet, it offers a satisfying taste without the carbs.
Quick to Prepare: Ready in just 35 minutes, making it an ideal option for busy weeknights or unexpected guests.
Versatile Flavors: Mix things up by substituting ground meats or cheeses for a unique twist each time.
Crowd-Pleasing Appeal: This dish is a guaranteed hit at gatherings, blending comfort food nostalgia with modern dietary needs, much like my favorite comfort food recipes.
Bacon Cheeseburger Pie Ingredients
For the Base
- Ground Beef – Provides protein and structure; opt for a 75-25% lean-to-fat ratio for optimal flavor.
- Bacon – Adds richness and extra flavor; can substitute with turkey bacon for a lighter option.
- Eggs – Acts as a binding agent, creating a custard-like texture; large eggs ensure consistency.
For the Creamy Mixture
- Double Cream/Heavy Cream – Adds creaminess and moisture; substitute with coconut cream for a dairy-free version.
- Cheddar Cheese – Contributes richness and creaminess; sharp cheddar enhances flavor and can be swapped for gouda or mozzarella.
For Seasoning and Cooking
- Salt – Enhances flavors; always taste before adding more to avoid over-salting.
- Butter – Used for greasing the pan to prevent sticking; can replace with olive oil for a dairy-free option.
This Bacon Cheeseburger Pie brings all your favorite flavors together in one delightful dish, making it a standout choice for any meal!
Step‑by‑Step Instructions for Bacon Cheeseburger Pie
Step 1: Preheat and Prepare
Begin by preheating your oven to 400°F (200°C). While the oven heats, generously grease a frying pan with butter to prevent sticking. This step ensures that your Bacon Cheeseburger Pie comes out effortlessly from the pan, leaving you with a perfectly shaped pie ready for baking.
Step 2: Cook the Meat Mixture
In the greased frying pan, chop three strips of bacon and add them along with the ground beef. Cook over medium heat, seasoning with salt and pepper, until the mixture is browned and the bacon is crispy, about 8-10 minutes. Stir occasionally to achieve even cooking, allowing the flavors to blend beautifully.
Step 3: Assemble the Base
Once the meat is cooked, transfer the mixture to a buttered baking dish, spreading it evenly across the bottom to form a solid base for your Bacon Cheeseburger Pie. This will create a satisfying foundation that holds the custard-like filling and adds depth to each delicious bite.
Step 4: Whisk the Eggs and Cream
In a mixing bowl, whisk together three large eggs until they are fully blended, creating a smooth mixture. Pour in the heavy cream and half of the shredded cheddar cheese, folding everything gently with a spatula until well combined. This creamy mixture will enhance the richness of your pie while keeping it moist.
Step 5: Pour and Top
Carefully pour the egg and cream mixture over the meat base, ensuring even coverage. Next, sprinkle the remaining cheddar cheese and any leftover bacon pieces on top. This layer will melt and bubble to form a delectable crust, ensuring that every slice of the Bacon Cheeseburger Pie is packed with flavor.
Step 6: Bake to Perfection
Place the baking dish in your preheated oven and bake for 25-30 minutes, or until the top is golden brown and bubbling. Keep an eye on it towards the end of the baking time, so it doesn’t overcook; this will give you a beautifully crusted pie that is both inviting and irresistible.
Step 7: Let it Rest
After removing the pie from the oven, allow it to rest for 10 minutes. This resting period is crucial as it helps the pie set and makes slicing much easier. The flavors will meld together while the pie cools slightly, enhancing your overall dining experience.
Step 8: Slice and Serve
Once rested, slice your Bacon Cheeseburger Pie into generous portions. Serve hot for a comforting meal that is sure to satisfy. You can pair it with a fresh side salad or sautéed vegetables for a complete and wholesome dining experience, perfect for anyone craving a delicious low-carb option.
Expert Tips for Bacon Cheeseburger Pie
- Use Fresh Ingredients: Fresh ground beef and bacon enhance flavors significantly; avoid pre-packaged meats which may lack freshness.
- Don’t Rush the Cooking: Allow your meat mixture to caramelize properly; this depth of flavor is key to a delicious Bacon Cheeseburger Pie.
- Rest Before Slicing: Always let the pie sit for 10 minutes after baking; this ensures clean cuts and improves texture, making each bite perfect.
- Experiment with Cheeses: Try various cheeses like gouda or pepper jack to find your favorite combination; it elevates the flavor profile wonderfully.
- Store Properly: Keep leftovers in an airtight container in the fridge for up to 3 days; reheating gently helps maintain the pie’s integrity.
What to Serve with Bacon Cheeseburger Pie?
Completing your meal with delightful sides and drinks will take your Bacon Cheeseburger Pie to the next level of comfort and satisfaction.
-
Crispy Green Salad: A fresh salad adds a refreshing crunch that balances the rich pie, enhancing every bite. Tossed with a tangy vinaigrette, its brightness will elevate the entire meal.
-
Roasted Brussels Sprouts: Tender, caramelized Brussels sprouts bring a nutty flavor that beautifully complements the savory richness of the pie. Their unique texture adds just the right touch.
-
Garlic Butter Mushrooms: Sauteed mushrooms in garlic butter provide an earthy and buttery contrast to the dish, making for an irresistible pairing. Their depth of flavor enhances your savory experience.
-
Zucchini Noodles: Light and low-carb, zucchini noodles are a perfect side that won’t weigh you down. Their freshness delivers a delightful crunch alongside the hearty pie.
-
Cheesy Cauliflower Mash: Creamy and velvety, this side mimics mashed potatoes while keeping carbs low. The added cheese harmonizes with the pie’s flavors for a comforting finish.
-
Sparkling Water with Lime: For a refreshing drink, sparkling water with a squeeze of lime cleanses the palate wonderfully. Its effervescence makes every bite of the pie even more enjoyable.
Bacon Cheeseburger Pie Variations
Feel free to let your creativity shine by customizing this delightful dish with these simple substitutions and tweaks!
-
Turkey Bacon: Swap traditional bacon for turkey bacon for a lighter version, without compromising on flavor.
-
Ground Turkey: Substitute ground beef with ground turkey or chicken for a leaner protein option, offering a milder taste.
-
Spice It Up: Add diced jalapeños or cayenne pepper to the meat mixture if you crave a spicy kick, elevating that comfort food experience.
-
Cheesy Fun: Experiment with different cheeses like pepper jack for a spicier bite or gouda for a creamy, rich twist that enhances the overall flavor.
-
Dairy-Free Delight: Replace heavy cream with coconut cream and use a dairy-free cheese alternative for a wholesome vegan option, allowing everyone to enjoy the pie!
-
Herb Infusion: Stir in fresh herbs like parsley or thyme with the meat mixture for a fresh, aromatic touch that is sure to brighten up the flavors.
-
Vegetable Boost: Sneak in some sautéed onions or bell peppers into the meat mix for added texture and nutrition, making the dish even heartier.
-
Onion Rings Topping: For a fun, crunchy texture, top the pie with crispy onion rings before baking, offering an unexpected but delicious layer of flavor that will amaze your guests.
By adding your personal flair, each time you whip up this Bacon Cheeseburger Pie, it can be a new delight waiting to be savored—much like the memories created around each meal!
Make Ahead Options
These Bacon Cheeseburger Pie options are perfect for busy home cooks looking to save time during the week! You can prepare the meat mixture of ground beef and bacon up to 3 days in advance; simply cook it and store it in an airtight container in the refrigerator. Additionally, you can whisk the eggs and cream together and keep that mixture ready for up to 24 hours before baking, which can help maintain the fresh flavors. When you’re ready to serve, just layer the prepped components in your buttered baking dish, pour the egg mixture over, and bake as directed. This preparation method allows you to enjoy all the deliciousness of the Bacon Cheeseburger Pie with minimal effort, making weeknight dinners a breeze!
Storage Tips for Bacon Cheeseburger Pie
Fridge: Store leftovers in an airtight container for up to 3 days to maintain freshness and flavor.
Freezer: You can freeze portions of the Bacon Cheeseburger Pie for up to 3 months. Wrap slices tightly in plastic wrap before placing them in a freezer-safe bag.
Reheating: To reheat, thaw overnight in the fridge and warm in the oven at 350°F (175°C) for about 15-20 minutes until warmed through, preserving the pie’s creaminess.
Bacon Cheeseburger Pie Recipe FAQs
How do I choose the best ground beef for my Bacon Cheeseburger Pie?
Absolutely! For optimal flavor and juiciness, I recommend using ground beef with a 75-25% lean-to-fat ratio. This ensures your pie is rich and satisfying while still holding its shape. Look for beef that is bright red with minimal dark spots, as this indicates freshness.
What is the best way to store leftovers from my Bacon Cheeseburger Pie?
Very! Store any leftovers in an airtight container in the fridge, where they’ll stay fresh for up to 3 days. If you want to keep it longer, consider freezing portions by wrapping them tightly in plastic wrap and then placing them in a freezer-safe bag.
Can I freeze my Bacon Cheeseburger Pie? If so, how?
Certainly! To freeze, first let the pie cool completely. Then, slice it into portions and wrap each slice tightly in plastic wrap. Place the wrapped slices in a freezer-safe bag, removing as much air as possible. You can freeze it for up to 3 months. When you’re ready to enjoy it, thaw overnight in the fridge before reheating.
What if my Bacon Cheeseburger Pie doesn’t set properly after baking?
No worries! If your pie didn’t set, it might be due to undercooking or too much moisture. Make sure to bake it just until the edges are firm and the top is golden brown. If it seems too liquidy after baking, it might have needed a little more time in the oven. Always let it rest for 10 minutes before slicing; this allows it to firm up.
Are there any dietary considerations to keep in mind for my Bacon Cheeseburger Pie?
Absolutely! Make sure to consider any allergies to dairy or intolerances. You can easily substitute heavy cream with coconut cream for a dairy-free option. Also, if you have dietary restrictions regarding meat, consider using ground turkey or chicken, making this Bacon Cheeseburger Pie suitable for low-carb diets while accommodating different dietary preferences.
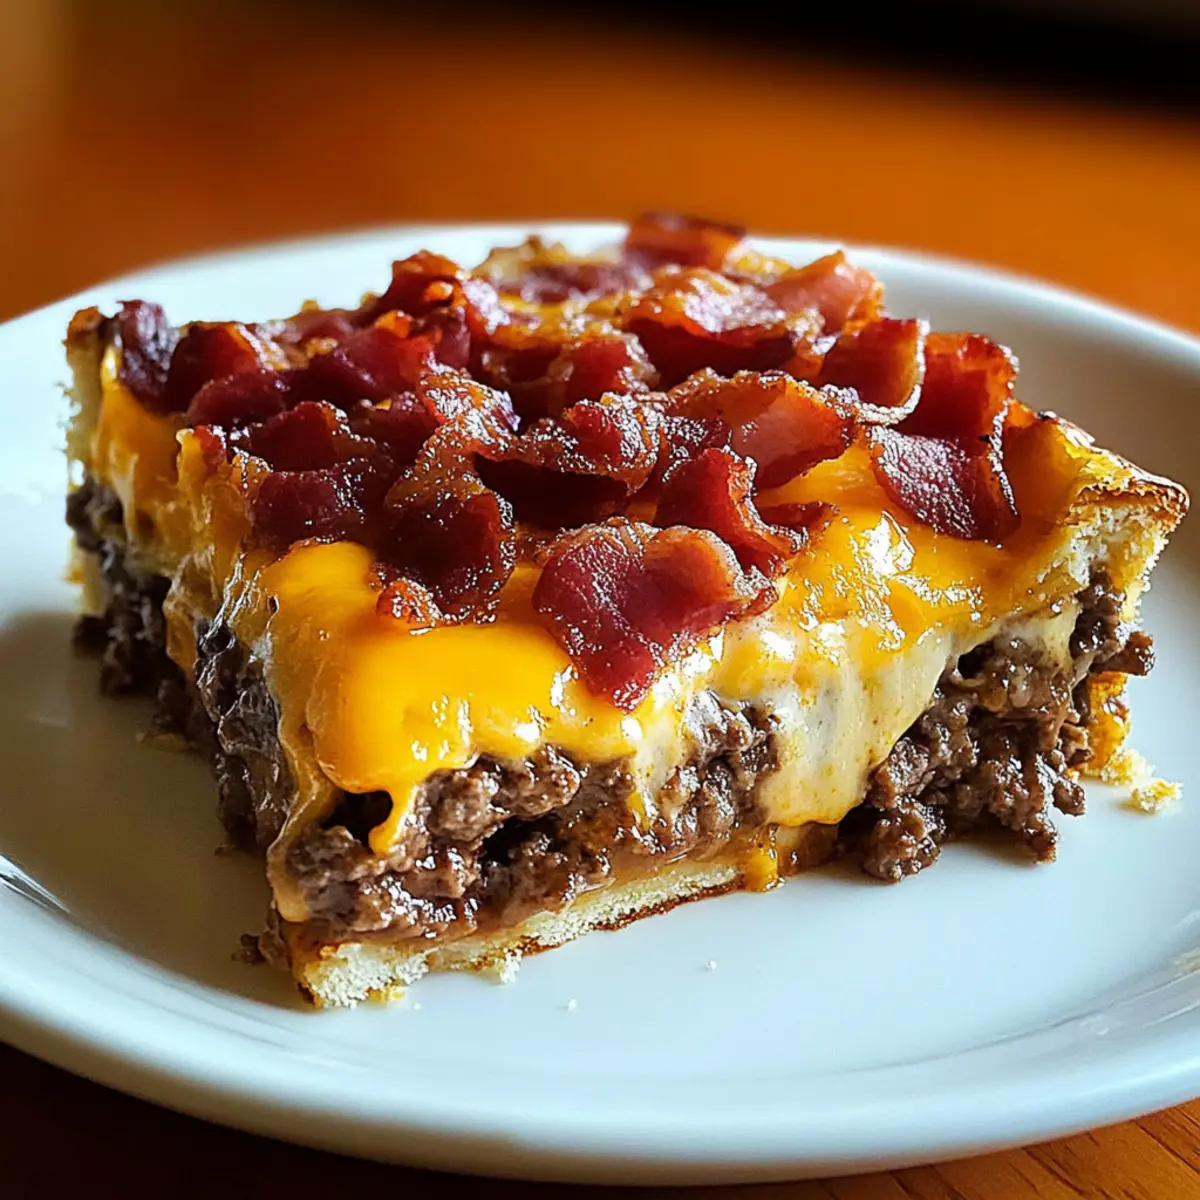
Savory Bacon Cheeseburger Pie for Ultimate Comfort Food Bliss
Ingredients
Equipment
Method
- Preheat your oven to 400°F (200°C) and grease a frying pan with butter.
- Cook bacon and ground beef in the frying pan over medium heat for 8-10 minutes.
- Transfer the meat mixture to a buttered baking dish, spreading evenly.
- In a bowl, whisk together eggs, heavy cream, and half of the cheddar cheese.
- Pour the egg mixture over the meat base and top with remaining cheese and bacon.
- Bake for 25-30 minutes until golden brown and bubbling.
- Let the pie rest for 10 minutes before slicing and serving.
- Serve hot with a side salad or sautéed vegetables.
Leave a Reply