
The moment I unwrapped a little pouch of cotton candy at the fair, I was transported back to carefree childhood days filled with laughter and sugary treats. Inspired by that sweet nostalgia, I created this Cotton Candy Cookies Recipe, which combines whimsical flair with chewy, delightful flavor. These colorful cookies are not just perfect for brightening up a party; they’re also a fun baking project that anyone can tackle, making them a surefire hit whether you’re a seasoned chef or just starting out. Plus, they accommodate dietary preferences too, being both gluten-free and dairy-free options! Ready to bring joy to your kitchen and fill the air with delicious memories? Let’s dive into making these cotton candy cookies together!
Why Try Cotton Candy Cookies?
Nostalgic Treats: These cookies transport you back to carefree childhood fairs with every bite.
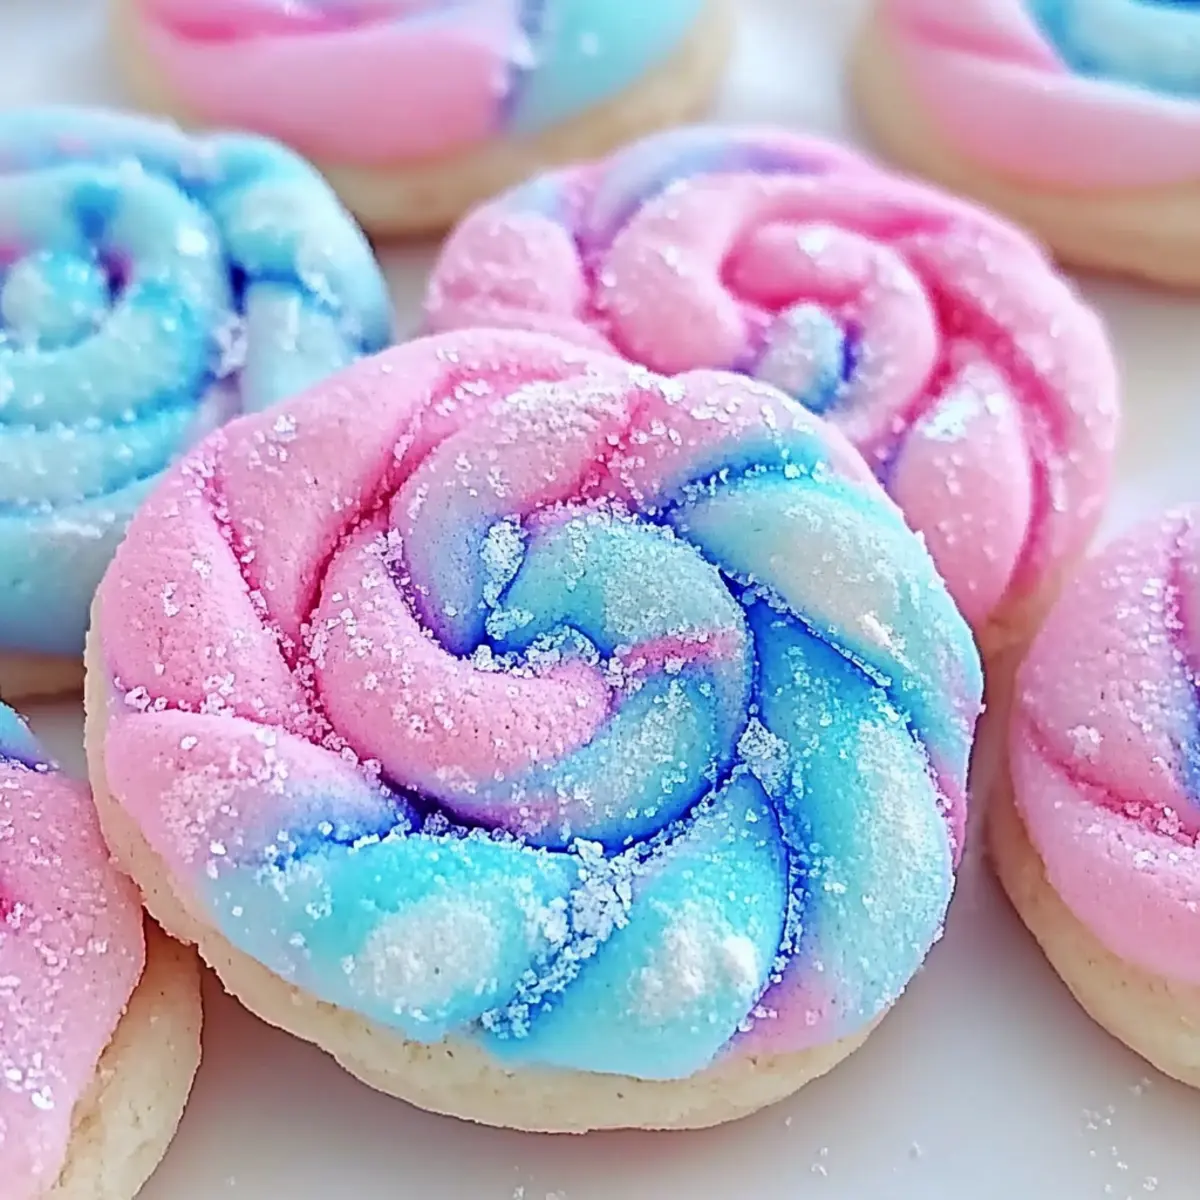
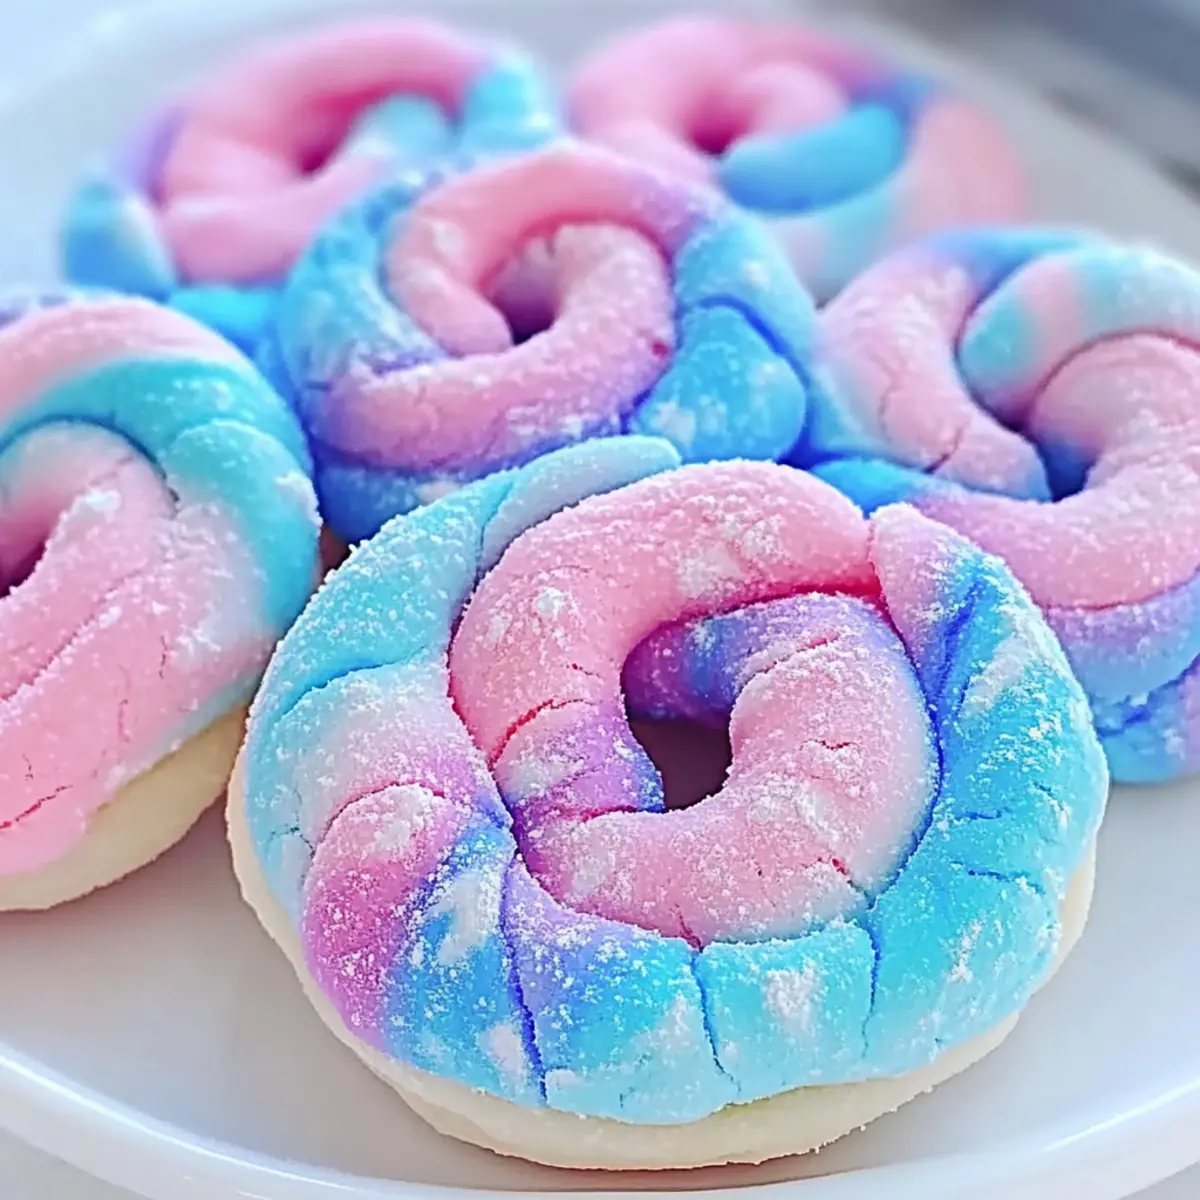
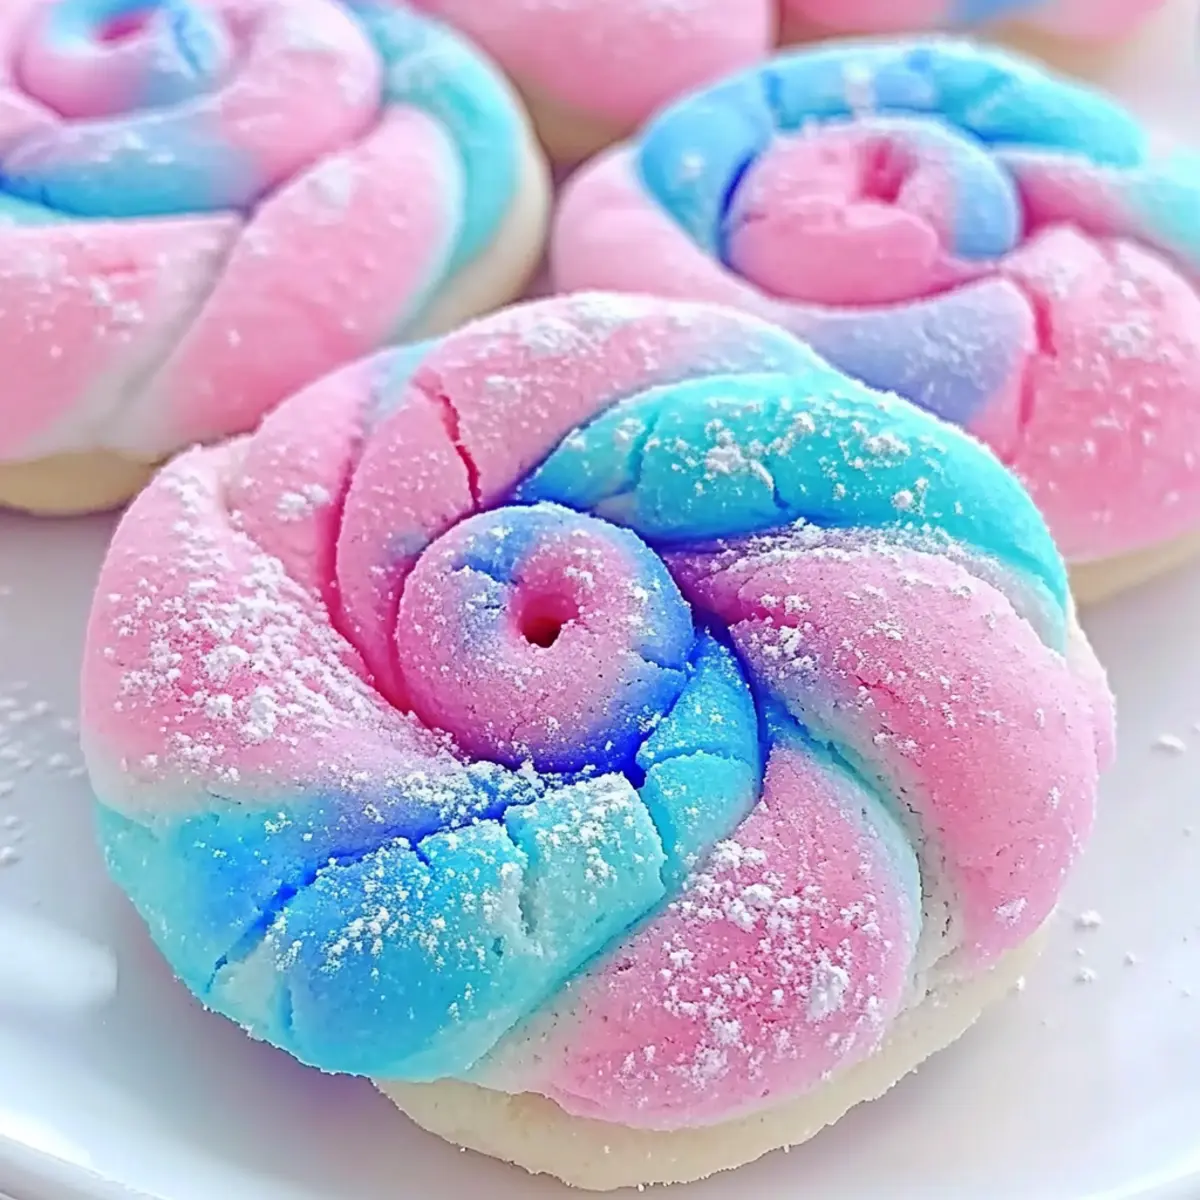
Colorful Fun: Vibrant swirls of pink and blue make them a visual delight perfect for brightening any gathering.
Chewy Texture: With their soft and chewy consistency, they’ll melt in your mouth, leaving you craving more.
Diet-Friendly Options: Whether you’re gluten-free or dairy-free, this recipe ensures everyone can enjoy the fun!
Easy to Make: Even novice bakers can whip these up, making them a great weekend project for the whole family.
From birthday bashes to festive celebrations, these Cotton Candy Cookies are sure to impress!
Cotton Candy Cookies Recipe Ingredients
• Get ready to bake a delightful treat!
- For the Batter
- All-Purpose Flour – Provides the structure; substitute with gluten-free flour blend for a gluten-free option.
- Granulated Sugar – Essential for sweetness and texture, giving you that classic cookie flavor.
- Baking Powder – Acts as a leavening agent, ensuring your cookies rise beautifully.
- Baking Soda – Works in tandem with buttermilk to enhance the cookie’s fluffy texture.
- Salt – Balances out the sweetness for a well-rounded flavor profile.
- Unsalted Butter – Adds moisture and richness; opt for vegan margarine for a dairy-free option.
- Buttermilk – Tenderizes the dough; use plant-based milk mixed with lemon juice for a dairy-free alternative.
- Large Egg – Binds the ingredients and adds moisture; can be replaced with a flaxseed egg for vegan baking.
- Vanilla Extract – Infuses warmth and depth into the cookies.
- Gel Food Coloring (Pink and Blue) – Creates the fun, colorful swirls; avoid liquid coloring for best results.
- Cotton Candy Flavoring (optional) – Intensifies the nostalgic cotton candy taste for a whimsical twist.
Let’s gather these goodies and jump into a world of colorful, chewy cookies that will sweep you off your feet!
Step‑by‑Step Instructions for Cotton Candy Cookies Recipe
Step 1: Preheat the Oven
Begin by preheating your oven to 350°F (175°C). While the oven heats, line two baking sheets with parchment paper to ensure your Cotton Candy Cookies bake evenly and don’t stick. This setup creates a smooth workflow, making the baking process delightful and stress-free.
Step 2: Mix Dry Ingredients
In a large mixing bowl, whisk together 2 cups of all-purpose flour, 1 teaspoon of baking powder, 1/2 teaspoon of baking soda, and 1/4 teaspoon of salt. This will help incorporate air, giving your cookies a fluffy texture. Make sure to blend the dry ingredients thoroughly until they are well combined, creating a light, airy mixture.
Step 3: Cream Butter and Sugar
In a separate bowl, cream together 1 cup of softened unsalted butter and 1 cup of granulated sugar with an electric mixer. Beat the mixture for about 2-3 minutes until it’s light and fluffy, turning a pale yellow color. This step is crucial for achieving the right texture in your Cotton Candy Cookies, so be sure to take your time.
Step 4: Add Wet Ingredients
Next, mix in one large egg, 2 teaspoons of vanilla extract, and 1/2 cup of buttermilk to your creamed butter and sugar. Use your mixer on medium speed until the mixture is smooth and creamy, making sure to scrape down the sides of the bowl as needed. This will enhance the flavor profile and moisture in your cookie dough.
Step 5: Combine Mixtures
Now, gradually add the dry flour mixture to the wet ingredients. Stir gently until everything is just combined, being careful not to overmix; this ensures your Cotton Candy Cookies remain soft and chewy. You should see a thick, cohesive dough forming, ready for the fun part!
Step 6: Color the Dough
Divide the cookie dough into two equal portions. Add a few drops of pink gel food coloring to one portion and blue gel food coloring to the other. Mix each portion gently until the colors are evenly distributed throughout the dough, creating vibrant swirls. This step adds that whimsical touch that makes your cookies visually stunning.
Step 7: Form Cookies
Take small amounts of the pink and blue dough and roll them into balls, about 1 inch in diameter. Gently swirl the two colors together to create a marbled effect before placing them on your lined baking sheets, leaving about 2 inches of space between each cookie. This spacing allows them to spread while baking.
Step 8: Bake
Place the baking sheets in the preheated oven and bake your Cotton Candy Cookies for 10-12 minutes. Keep an eye on them, and look for lightly golden edges as your cue; the centers should remain soft and slightly underbaked. This ensures they retain that chewy texture you love.
Step 9: Cool
Once done, remove the baking sheets from the oven and let the cookies cool for about 5 minutes. Then, carefully transfer the warm Cotton Candy Cookies to a wire rack to cool completely. This final cooling process allows them to set properly, maintaining their delightful, fluffy texture.
Expert Tips for Cotton Candy Cookies
-
Mind the Mixing: Avoid overmixing the dough to ensure a soft, chewy texture in your Cotton Candy Cookies. Gentle folding is key!
-
Watch the Oven: Keep a close eye on baking time. Cookies should be delicately golden around the edges but soft in the center; this avoids dryness.
-
Perfect Color Swirls: Use gel food coloring for the best results. Liquid dyes can alter dough consistency, leading to unsatisfactory cookie texture.
-
Chill the Dough (Optional): For even more controlled spreading, chill the dough for 30 minutes before baking. This helps achieve a better shape.
-
Add Magical Sprinkles: For that extra touch of fun, feel free to mix in sprinkles or edible glitter to make your Cotton Candy Cookies even more festive!
How to Store and Freeze Cotton Candy Cookies
Room Temperature: Store cooked Cotton Candy Cookies in an airtight container at room temperature for up to 1 week for maximum freshness.
Fridge: For slightly longer storage, keep them in the fridge in an airtight container for up to 2 weeks. This helps maintain their chewiness.
Freezer: Freeze the cookies in a single layer, then transfer to a freezer-safe container or bag for up to 3 months. Separate layers with parchment paper to prevent sticking.
Reheating: To enjoy your refrigerated or frozen cookies, simply warm them in the microwave for about 10-15 seconds or bake at 350°F (175°C) for 5 minutes until heated through.
Make Ahead Options
These Cotton Candy Cookies are perfect for busy weeknights or festive gatherings, allowing you to prep in advance and save time! You can make the dough up to 24 hours ahead; simply mix it, divide it into the colored portions, and refrigerate the dough wrapped tightly in plastic wrap. This helps maintain its quality and prevents the dough from drying out. When you’re ready to bake, just take the dough out, roll it, and bake as instructed. For longer storage, you can freeze the shaped cookie balls for up to 3 months and bake them straight from the freezer without thawing—a great time-saver for surprise guests!
What to Serve with Cotton Candy Cookies
Bring joy and delight to your table by pairing these whimsical treats with fun sides and drinks.
-
Milkshakes: A classic pairing! Creamy milkshakes enhance the nostalgia, making your cotton candy cookies even more indulgent.
-
Colorful Fruit Salad: Fresh, vibrant fruits balance the sweetness of the cookies, adding a refreshing element to your dessert lineup.
-
Whipped Cream Dip: A light and fluffy dip takes these cookies to the next level, adding extra creaminess and flavor with every bite.
-
Ice Cream Sundaes: Top off your cookies with a scoop of ice cream, drizzled with chocolate sauce, for a carnival treat you won’t forget.
-
Sparkling Lemonade: The zesty brightness of sparkling lemonade offers a delightful contrast to the cookies’ sweetness, keeping the mood light and festive.
-
Party Mix: A crunchy and savory snack mix adds some texture, providing a delightful counterpoint to the chewy cookies.
-
Cotton Candy: Lean into the theme! Serve some fluffy cotton candy alongside for a true carnival experience right at home.
-
Chocolate Dipped Strawberries: These sweet gems add elegance to your dessert table and complement the cotton candy flavor beautifully.
Consider these epic pairings, and watch your family and friends smile in delight with every bite!
Cotton Candy Cookies Recipe Variations
Feel free to get creative with your Cotton Candy Cookies and make them uniquely yours!
-
Dairy-Free: Swap buttermilk with almond or coconut milk, mixing in a splash of vinegar for a dairy-free alternative. The flavor remains delightful, ensuring everyone can enjoy these treats!
-
Gluten-Free: Substitute all-purpose flour with a gluten-free flour blend. This tweak makes it accessible for those avoiding gluten, still preserving the chewy goodness of the original cookie.
-
Vegan: Replace the large egg with a flaxseed egg (1 tablespoon ground flaxseed mixed with 2.5 tablespoons water). It binds the ingredients beautifully while keeping the cookies plant-based.
-
Flavor Boost: Incorporate a teaspoon of cotton candy flavoring to enhance that nostalgic taste. This little addition will elevate the cookies, making them even more reminiscent of the fair.
-
Fun Textures: Add 1/2 cup of mini marshmallows or white chocolate chips for a delightful textural twist. The gooey bits will make each bite even more enjoyable!
-
Extra Festivity: Sprinkle edible glitter or colorful sprinkles on top before baking. This extra touch transforms your cookies into a whimsical treat that’s perfect for celebrations.
-
Zesty Touch: Mix in a teaspoon of lemon or orange zest to brighten up the flavor. The citrus will add a fresh hint, balancing the sugary sweetness beautifully.
-
Spicy Kick: If you enjoy a bit of heat, try adding a pinch of cayenne pepper to the dough. This surprising element will create a unique flavor profile that’s intriguing and delicious.
These variations can take your Cotton Candy Cookies from delightful to extraordinary! Dive into the fun and share your baking experiences!

Cotton Candy Cookies Recipe FAQs
How do I choose the right ingredients for my Cotton Candy Cookies?
Absolutely! For the best Cotton Candy Cookies, select fresh, high-quality ingredients. Use all-purpose flour for structure, but if you need a gluten-free option, a gluten-free flour blend works beautifully. Choose unsalted butter for flavor control, and ensure your eggs are fresh. When it comes to colors, opt for gel food coloring instead of liquid to maintain the dough’s consistency; this prevents any unwanted alterations in texture.
What’s the best way to store Cotton Candy Cookies after baking?
Very! To keep your Cotton Candy Cookies fresh, store them in an airtight container at room temperature for up to 1 week. This keeps their delightful chewy texture intact. If you notice the cookies start to harden, adding a slice of bread to the container can help maintain moisture. For longer storage, consider refrigerating them, where they can last for up to 2 weeks.
Can I freeze these cookies, and if so, how?
Absolutely! Freezing is a fantastic way to save your Cotton Candy Cookies for later enjoyment. First, let the cookies cool completely. Then, place them in a single layer on a baking sheet and freeze for 1-2 hours until firm. After that, transfer them to a freezer-safe container or bag, separating layers with parchment paper to avoid sticking. They can be frozen for up to 3 months! To enjoy, simply reheat in the microwave for 10-15 seconds or bake at 350°F (175°C) for about 5 minutes.
What should I do if my cookie dough is too sticky?
No worries! If your Cotton Candy Cookies dough turns out sticky, it might be due to over-mixing or using too much liquid. Gradually add a bit more flour, one tablespoon at a time, until the dough reaches a manageable consistency. Make sure not to overwork the dough, as this can affect the cookies’ final texture. It’s all about achieving that perfect balance for chewy cookies!
Are these cookies suitable for people with dietary restrictions like gluten or dairy allergies?
Definitely! This Cotton Candy Cookies recipe can easily accommodate dietary needs. To make it gluten-free, substitute the all-purpose flour with a reliable gluten-free flour blend. For a dairy-free version, replace unsalted butter with vegan margarine and use plant-based milk mixed with lemon juice instead of buttermilk. You can even use a flaxseed egg instead of a regular egg to make it vegan-friendly. With these swaps, everyone can enjoy the fun!
How long do these cookies last in the fridge?
Very! Cotton Candy Cookies can be stored in the refrigerator for up to 2 weeks. Just make sure to keep them in an airtight container to maintain moisture and chewiness. When you’re ready to enjoy them again, a quick warm-up in the microwave (10-15 seconds) or a brief bake will bring them back to their delightful softness!
Cotton Candy Cookies Recipe: Chewy Fun for Every Occasion
Ingredients
Equipment
Method
- Preheat your oven to 350°F (175°C) and line two baking sheets with parchment paper.
- In a large bowl, whisk together all-purpose flour, baking powder, baking soda, and salt.
- In a separate bowl, cream together unsalted butter and granulated sugar until light and fluffy.
- Mix in one large egg, vanilla extract, and buttermilk, and ensure the mixture is smooth.
- Gradually add the dry mixture to the wet mixture and stir until just combined.
- Divide dough and color one half pink and the other half blue using gel food coloring.
- Roll dough into 1-inch balls, swirling pink and blue together for a marbled effect.
- Place on lined sheets, leaving space between each cookie.
- Bake for 10-12 minutes until edges are lightly golden; centers should remain soft.
- Cool cookies on a wire rack for about 5 minutes before transferring.
Leave a Reply