
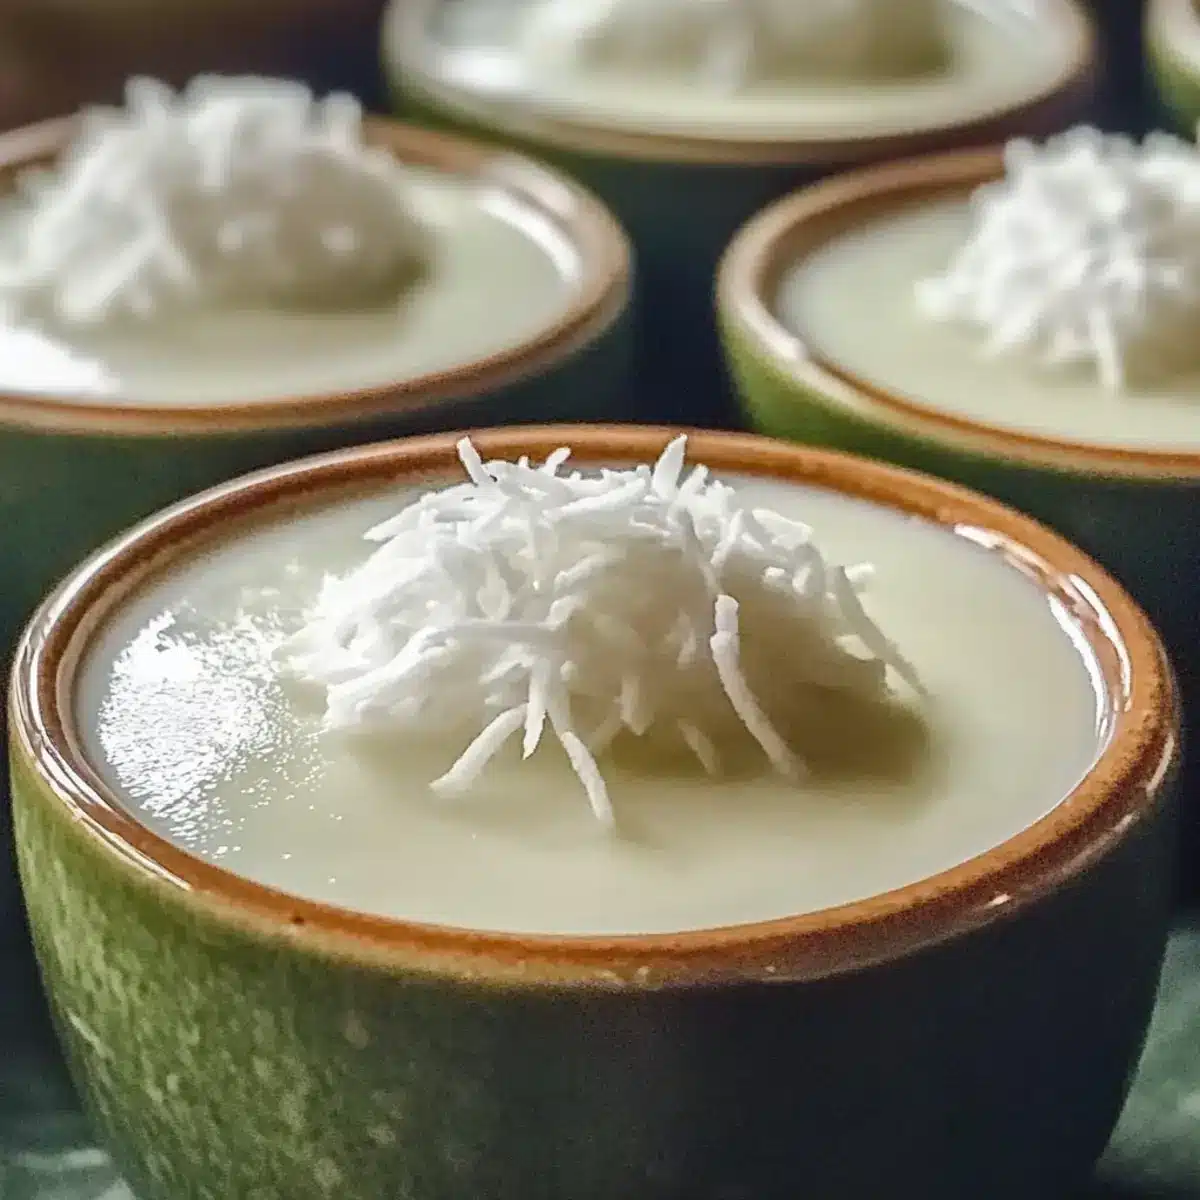
As I whisk together the luscious layers of my Thai Coconut Custard, there’s a moment of pure magic; the fragrant aroma of pandan fills the kitchen, promising a sweet escape. This delightful dessert, known as Khanom Thuai, showcases the beauty of Thai cuisine with its harmonious blend of vibrant flavors. What makes this recipe truly special is not just its irresistible balance of sweet and salty, but also its gluten-free and dairy-free nature, making it accessible to many. Plus, it’s incredibly quick to prepare, allowing you to enjoy a taste of Thailand in just a fraction of the time it takes to grab takeout. So, are you ready to treat your taste buds to a tropical delight that’s as fun to make as it is to savor? Let’s dive into this delightful journey together!

Why is Thai Coconut Custard Irresistible?
Delightfully Unique: This dessert marries sweet pandan custard with a salty coconut cream layer, resulting in a balanced flavor profile.
Quick and Easy: You can whip up this delicious dessert in no time, perfect for those who crave homemade goodness without the fuss.
Gluten-Free and Dairy-Free: Enjoy a comforting treat that accommodates various dietary preferences, including vegan options!
Cultural Experience: This recipe deepens your connection to Thai culinary traditions, making it a fantastic conversation starter.
Versatile Serving Options: Whether served on its own or paired with tropical fruits, it’s a delightful addition to any dessert table.
Thai Coconut Custard Ingredients
For the Custard Base
- Rice Flour – Provides structure to the custard; you can substitute with all-purpose flour for a different texture.
- Tapioca Flour – Enhances chewiness and offers a slightly elastic texture; substituting it with cornstarch may alter the final result.
- Pandan Juice – Infuses natural flavor and color; if unavailable, dilute pandan extract with water for a similar effect.
- Palm Sugar or Brown Sugar – Sweetens the custard; palm sugar gives a deeper flavor but brown sugar works just fine.
- Salt – Balances the sweetness in the custard; essential for depth of flavor.
For the Coconut Cream Topping
- Coconut Cream – Creates a rich, creamy top layer; for a lighter consistency, coconut milk can be used, though it may not be as thick.
- Salt (for topping) – Adds a contrasting flavor to the custard’s sweetness; omitting it would lessen the overall taste balance.
This Thai Coconut Custard recipe is an enchanting journey into the flavors of Thailand, creating a delightful dessert to impress anyone.
Step‑by‑Step Instructions for Thai Coconut Custard
Step 1: Prepare Cups
Begin by lightly greasing 12 small ceramic cups or silicone molds with a bit of oil to prevent sticking. Alternatively, you can use a mini muffin pan for a fun presentation. Set your steamer over a pot of simmering water, allowing the steam to build up while you prepare the custard layers.
Step 2: Make Bottom Layer
In a mixing bowl, whisk together the rice flour, tapioca flour, pandan juice, palm sugar, and a pinch of salt until the mixture is smooth and free of lumps. The consistency should be pourable yet slightly thick. This fragrant batter will form the sweet base layer of your Thai Coconut Custard.
Step 3: Steam Bottom Layer
Carefully pour the prepared batter into the greased cups, filling them halfway to allow room for the top layer. Place the cups in the steamer and cover with a lid. Steam over medium heat for 5-6 minutes, or until the custard is just set but still a little jiggly in the center.
Step 4: Make Top Layer
While the bottom layer is steaming, prepare the top layer by whisking together the coconut cream, rice flour, and a pinch of salt in a separate bowl until smooth and combining perfectly. This rich mixture will create the creamy, salty topping for your Thai Coconut Custard, balancing the sweetness below.
Step 5: Steam Top Layer
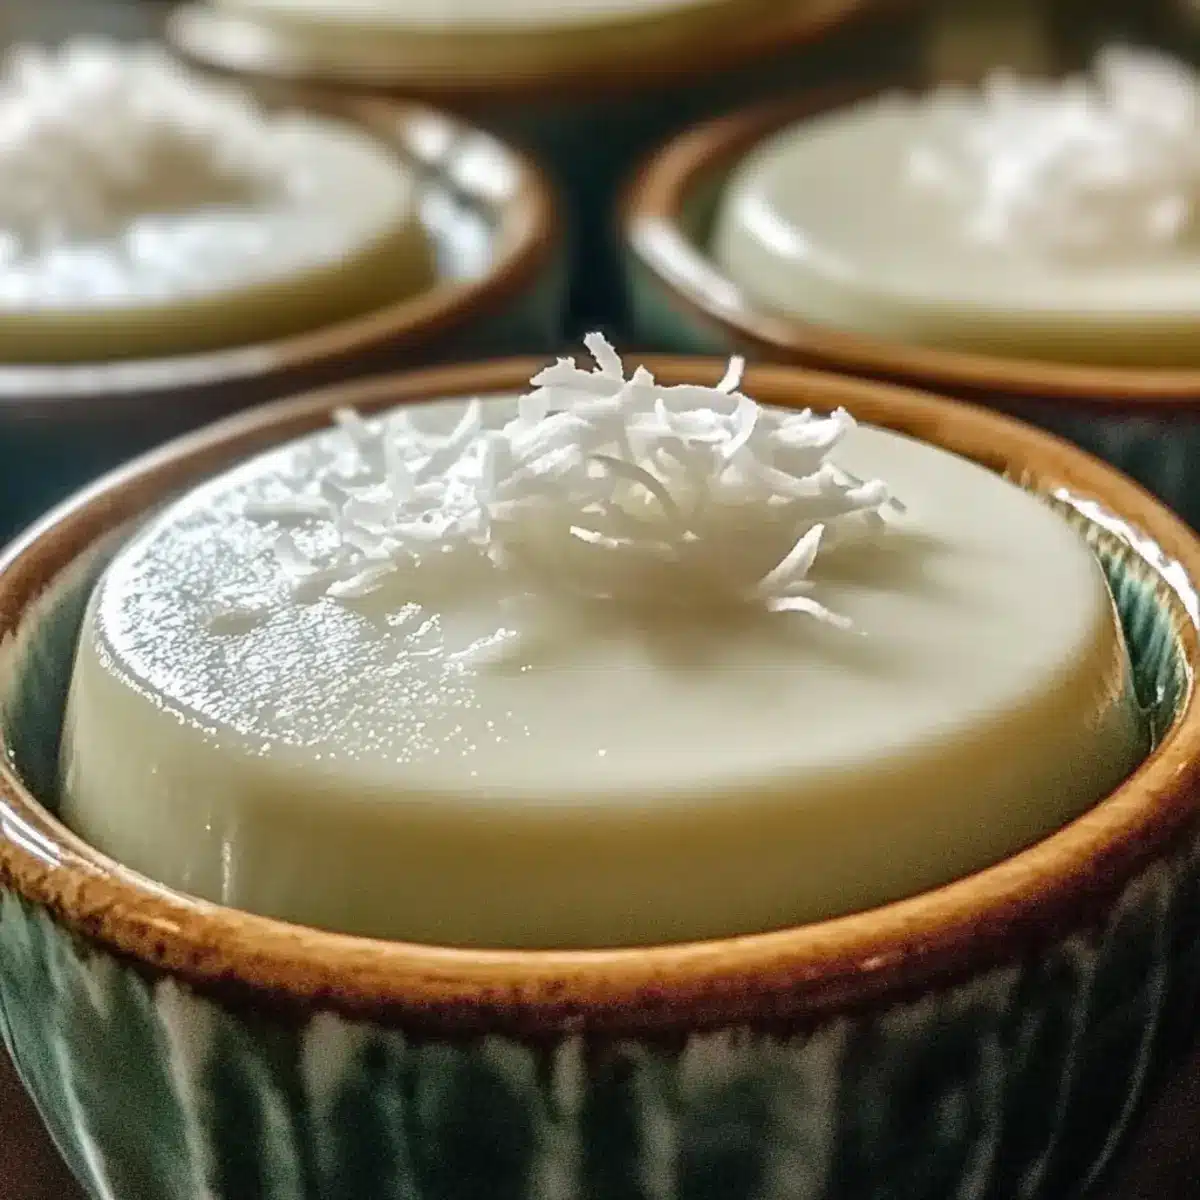
Once the bottom layer is set, gently pour the coconut cream mixture over the top of the base layer in each cup. Return the cups to the steamer and cover again. Steam for an additional 5-7 minutes until the top layer is fully set and appears glossy, indicating it’s ready to cool.
Step 6: Cool and Serve
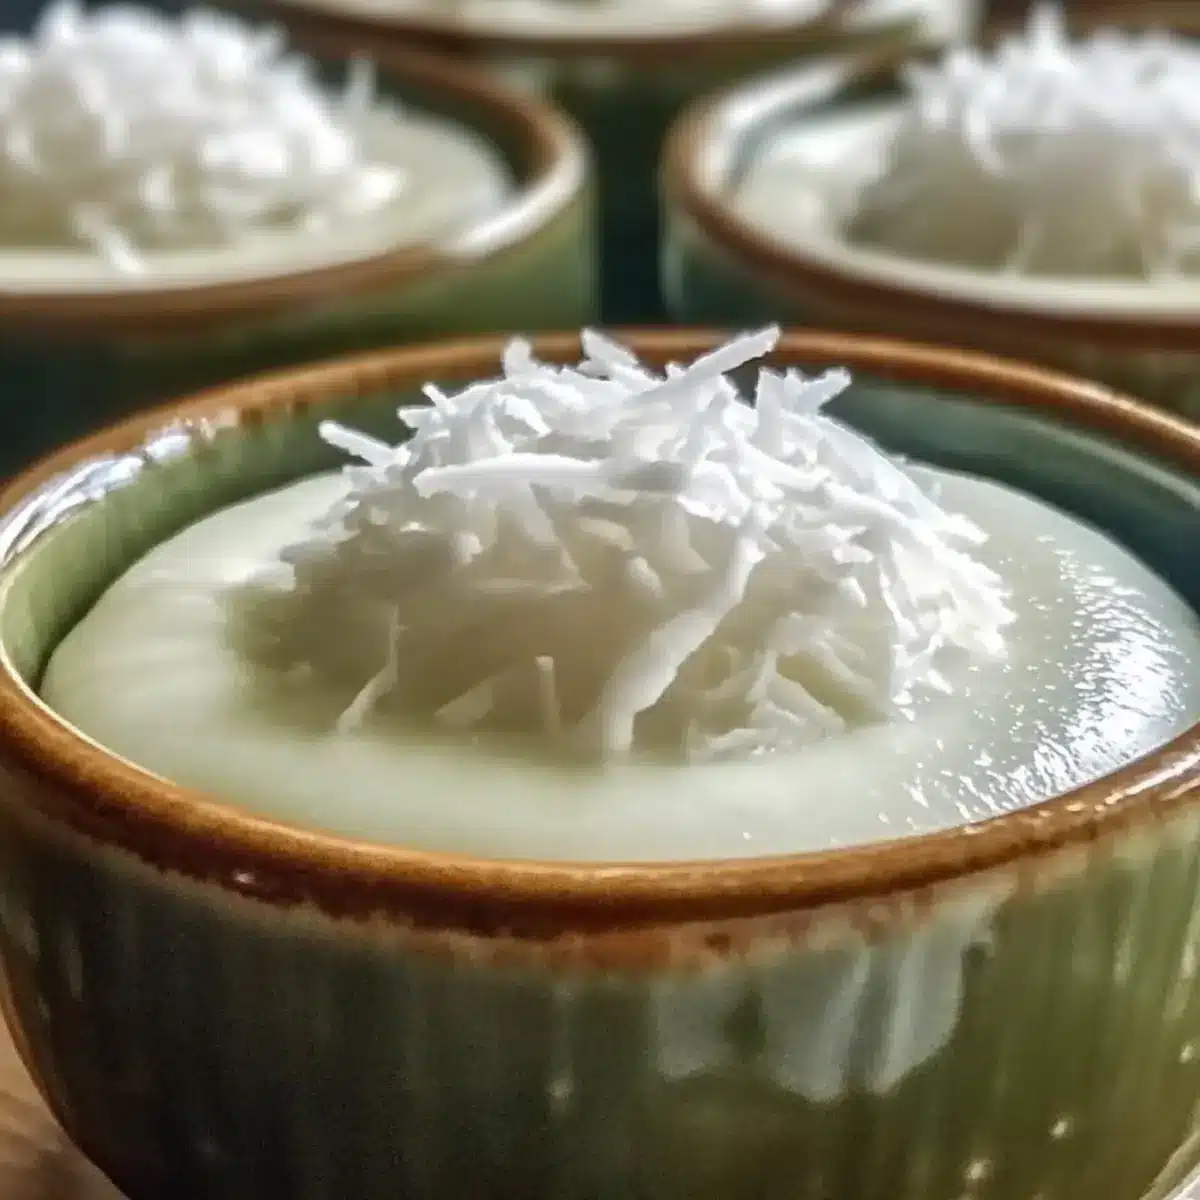
Carefully remove the cups from the steamer using tongs and let them cool slightly. Once cool enough to handle, you can serve the Thai Coconut Custard warm or chill it in the refrigerator for a refreshing treat. Enjoy this delightful dessert as is or paired with fresh fruits for a burst of flavor!
Thai Coconut Custard Variations and Substitutions
Feel free to get creative with your Thai Coconut Custard, embracing flavors and textures that suit your preferences!
- Dairy-Free: Substitute coconut cream with coconut milk for a lighter topping, though the texture will be less thick.
- Sweetener Swap: Try using coconut sugar or maple syrup instead of palm or brown sugar for a different flavor profile.
- Extra Flavor: Add a few drops of vanilla extract to either layer for a warm, aromatic touch that elevates the custard.
- Fruit Fusion: Incorporate fresh fruit purees, like mango or passionfruit, into the bottom layer for a fruity twist that brightens every bite.
- Nutty Delight: Mix in some finely shredded coconut with the top layer for added texture and an intensified coconut flavor.
- Pandan Essence: If fresh pandan is unavailable, consider using a drop of pandan extract mixed with water to maintain its vibrant flavor.
- Vegan-Friendly: Ensure your sweetener is labeled vegan, as some sugars are processed with animal products; this keeps your dessert totally plant-based!
- Heat Lover’s Twist: For a spicy kick, sprinkle in a pinch of crushed red pepper flakes to the top layer for a surprise heat that beautifully contrasts with sweetness.
These variations not only allow you to tailor the dessert to your taste but also create exciting new culinary adventures. If you’re curious about additional flavor combinations, you might enjoy experimenting with some creative dessert ideas or diving deeper into Thai culinary traditions for inspiration!
How to Store and Freeze Thai Coconut Custard
Fridge: Store leftover Thai Coconut Custard in an airtight container in the fridge for up to 2 days. This helps maintain its soft texture and delightful flavor.
Freezer: While not typically recommended, you can freeze it for up to 1 month. Wrap each cup tightly in plastic wrap before placing them in a freezer bag to avoid freezer burn.
Reheating: To enjoy your custard, thaw it overnight in the fridge. Reheat gently in a steamer or microwave until warmed through, ensuring it stays moist.
Serving Suggestion: Add a sprinkle of fresh coconut or a drizzle of honey when serving leftovers to refresh the flavors and enhance presentation.
What to Serve with Thai Coconut Custard (Khanom Thuai)
Imagine ending a lovely meal with a unique dessert that dances between sweet and salty, adding vibrancy to your table.
- Fresh Mango Slices: Juicy, tender mango adds a tropical sweetness that contrasts beautifully with the custard’s creamy layers. Their vibrant color also enhances your presentation.
- Coconut Sticky Rice: This chewy, subtly sweet dish complements the custard, creating a cohesive Thai flavor experience that feels indulgent and comforting.
- Crispy Spring Rolls: The crispy texture of these light snacks balances the soft layers of the custard, providing a pleasant mix of textures that’s simply delightful.
- Thai Iced Tea: Serve this sweet, creamy beverage alongside the custard for a refreshing drink that echoes the custard’s flavors while cooling your palate.
- Pineapple Salsa: Bright and zesty, a fresh pineapple salsa introduces acidity that cuts through the richness of the creamy topping, making every bite invigorating.
- Shredded Coconut Topping: A sprinkle of toasted coconut adds crunch and an extra layer of coconut flavor, enhancing the tropical feel of the dessert.
- Coconut Water: Light and refreshing, coconut water offers a delicate pairing without overpowering the flavors of the custard, perfect for a warm day.
- Fruit Salad: A colorful mix of seasonal fruits brings freshness and brightness, complementing the richness of the Thai Coconut Custard beautifully.
Make Ahead Options
These Thai Coconut Custards are a fantastic option for meal prep, saving you precious time during busy weeknights! You can make the custards up to 24 hours in advance. Simply follow the recipe through to the steaming step, allowing them to cool completely before transferring them to the refrigerator. To maintain quality, store them in an airtight container, which helps preserve their delicate texture and flavor. When you’re ready to serve, simply take them out of the fridge, allowing them to come to room temperature or serve them slightly chilled. Enjoy these delightful Thai Coconut Custards with minimal fuss, ensuring they are just as delicious as when freshly made!
Expert Tips for Thai Coconut Custard
- Fresh Pandan Juice: For an authentic flavor, always opt for homemade pandan juice for your Thai Coconut Custard if possible.
- Steam Carefully: Ensure the water in your steamer doesn’t touch the custard cups; this prevents the custard from becoming watery.
- Cooling Time: Don’t rush the cooling process; allow the custard to cool slightly before serving for the best texture and flavor experience.
- Storage Tips: Keep leftover Thai Coconut Custard in the refrigerator for up to two days, covered to maintain freshness.
- Ease of Release: If your custards stick, gently run a small spoon around the edges to help loosen them before serving.
Thai Coconut Custard (Khanom Thuai) Recipe FAQs
What is the best way to select ripe ingredients for this recipe?
Absolutely! When selecting ingredients, look for rice flour and tapioca flour that are fresh and not clumping. For pandan, choose leaves that are vibrant green and fragrant. If fresh is unavailable, opt for high-quality pandan extract. Coconut cream should be thick and creamy, so check the texture and look for any separation in the can; it should be smooth without dark spots.
How should I store leftover Thai Coconut Custard?
Store any leftover Thai Coconut Custard in an airtight container in the fridge for up to 2 days. Allow it to cool completely before covering it to prevent condensation. This helps maintain its delightful texture and flavor!
Can I freeze Thai Coconut Custard for later use?
Very! You can freeze it for up to 1 month, although it is best enjoyed fresh. Wrap each cup tightly in plastic wrap and place them in a freezer-safe bag to avoid freezer burn. To reheat, thaw in the fridge overnight and gently steam or microwave until warmed through.
What should I do if my custard doesn’t release easily from the cups?
If your custards don’t come out clean, don’t worry! Simply run a small spoon around the edges of each cup to gently loosen them. Then, flip them over onto a plate. If they still resist, give them a gentle shake while lifting to encourage release.
Is this Thai Coconut Custard suitable for those with dietary restrictions?
Absolutely! This recipe is both gluten-free and dairy-free, making it accessible to a variety of diets. Just ensure you use gluten-free certified grains and choose vegan sugars for a completely plant-based treat. If you’re making this for a gathering, feel free to include allergen information in case some guests have specific dietary concerns.
How long can I keep the Thai Coconut Custard in the freezer?
You can keep the Thai Coconut Custard in the freezer for up to 1 month. When ready to enjoy, place it in the fridge overnight to thaw. Once thawed, reheat gently in a steamer to preserve its original creamy texture.
Indulge in Thai Coconut Custard: A Sweet Harmony of Flavors
Ingredients
Equipment
Method
- Begin by lightly greasing 12 small ceramic cups or silicone molds with oil to prevent sticking. Set your steamer over simmering water.
- In a mixing bowl, whisk together the rice flour, tapioca flour, pandan juice, palm sugar, and a pinch of salt until smooth.
- Pour the batter into greased cups, filling them halfway. Steam over medium heat for 5-6 minutes until just set but a little jiggly.
- Prepare the top layer by whisking together coconut cream, rice flour, and salt in a separate bowl until smooth.
- Pour coconut cream mixture over the bottom layer once set. Steam for an additional 5-7 minutes until glossy.
- Remove cups from steamer and let them cool slightly. Serve warm or chill in the refrigerator.
Leave a Reply