
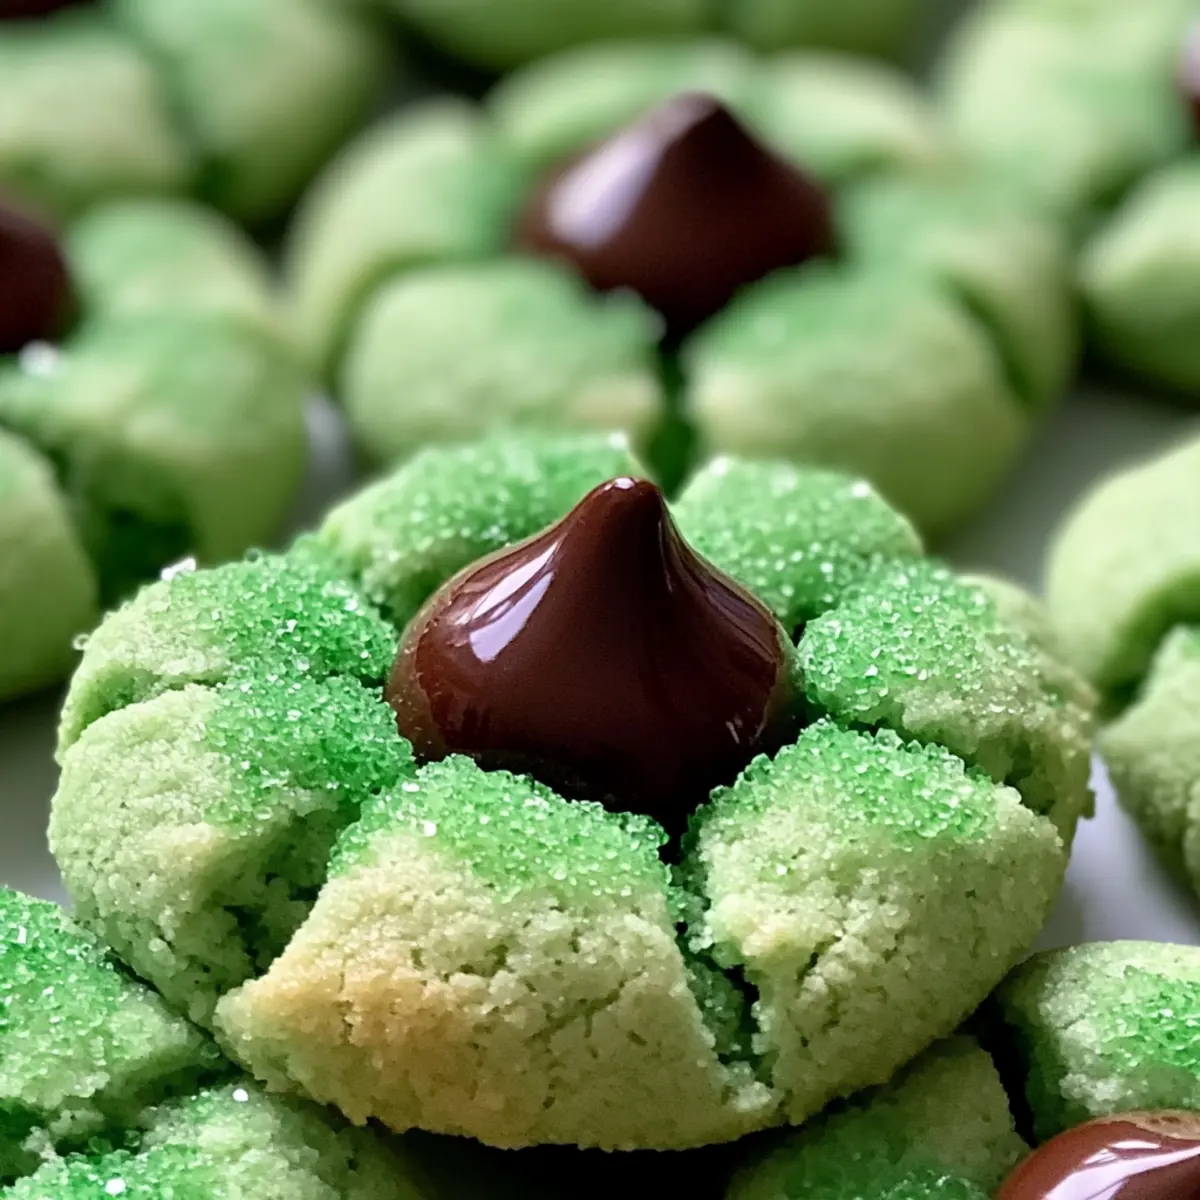
As I prepared for St. Patrick’s Day, I stumbled upon an old family tradition that brought back a flood of memories—baking Mint Blossom Cookies. The moment I mixed the rich chocolate with that refreshing hint of mint, I felt like a kid again, eagerly awaiting the warm, gooey goodness that would fill our kitchen. These St. Patrick’s Day Mint Blossom Cookies are not just a treat; they’re a festive delight that combines the soft, chewy texture we all love with an eye-catching sparkly green coating. They’re incredibly quick to whip up, making them perfect for anyone looking for a last-minute crowd-pleaser. Plus, they’re as fun to make as they are to eat! Curious how to bring this delightful nostalgia to your oven? Let’s dive into making these scrumptious cookies together!

Why Are These Cookies So Irresistible?
Festive Vibes: These St. Patrick’s Day Mint Blossom Cookies are packed with cheerful colors and flavors that embody the spirit of the holiday!
Quick and Easy: With simple ingredients and straightforward steps, you can whip these cookies up in no time, making them perfect for unexpected guests or last-minute celebrations.
Crowd-Pleaser: Their delightful combination of rich chocolate and refreshing mint will appeal to both kids and adults, ensuring your baked goods are the star of any gathering!
Versatile Options: Want to switch things up? Feel free to customize with different candies or flavor extracts for a unique twist each time you bake.
Nostalgic Touch: Each bite transports you back in time, offering a warm, gooey center reminiscent of cherished childhood treats.
Perfect Pairing: Serve these cookies with a cozy cup of Irish coffee for an elevated experience that’s sure to impress! You can also explore other festive ideas for your St. Patrick’s Day celebration.
St. Patrick’s Day Mint Blossom Cookies Ingredients
For the Cookie Dough
- All-Purpose Flour – Adds structure and body to the cookies; gluten-free flour can be used for a gluten-free option.
- Baking Soda – Acts as a leavening agent; avoid substituting it with baking powder without adjustments.
- Baking Powder – Provides additional leavening for a chewy texture; can be omitted if you only use baking soda.
- Fine Sea Salt – Enhances flavors and balances sweetness; kosher salt can be used but adjust the amount as needed.
- Unsalted Butter – Delivers richness and moisture; margarine works as a dairy-free alternative.
- Granulated Sugar – Sweetens and contributes to a crisp texture; substitute with coconut sugar for a lower-glycemic choice.
- Light Brown Sugar – Adds moisture and a depth of flavor; dark brown sugar is an excellent substitute.
- Large Eggs – Binds the ingredients and provides moisture; consider flax eggs for a vegan option.
- Pure Peppermint Extract – Infuses a delightful mint flavor; make sure to use pure to really capture the essence.
- Pure Vanilla Extract – Complements the chocolate flavor beautifully; vanilla bean or paste can also work wonderfully.
- Green Gel Food Coloring (optional) – Brightens the visual appeal; omit this for a natural color or try matcha.
For Rolling and Decoration
- Granulated Sugar – Used for the initial cookie coating; powdered sugar offers a different finish if preferred.
- Green Sanding Sugar – Adds a decorative element perfect for St. Patrick’s Day; color sugar can be swapped if desired.
For the Center
- Dark Chocolate Kisses or Chocolate Candies – The rich chocolate centerpiece of each cookie; feel free to substitute with any mint-flavored chocolate candy for a unique twist.
These yummy St. Patrick’s Day Mint Blossom Cookies are not only festive but also filled with flavor that your family and friends will adore!
Step‑by‑Step Instructions for St. Patrick’s Day Mint Blossom Cookies
Step 1: Preheat the Oven
Begin by preheating your oven to 350°F (175°C). This crucial step ensures your St. Patrick’s Day Mint Blossom Cookies bake evenly and achieve that delightful, chewy texture. While the oven heats, line your baking sheets with parchment paper to prevent the cookies from sticking, setting yourself up for easy cleanup.
Step 2: Prepare the Dry Ingredients
In a mixing bowl, sift together 2 cups of all-purpose flour, 1 teaspoon of baking soda, 1/2 teaspoon of baking powder, and 1/4 teaspoon of fine sea salt. This blend forms the foundation of your cookies, providing structure and balance. Sifting helps aerate the flour, ensuring a fluffy cookie dough, which is essential for the soft, chewy texture you desire.
Step 3: Cream Butter and Sugars
In a large mixing bowl, beat together 1 cup of unsalted butter with 1/2 cup of granulated sugar and 1/2 cup of light brown sugar until the mixture becomes light and fluffy, about 3-5 minutes with an electric mixer. This process incorporates air, making your St. Patrick’s Day Mint Blossom Cookies soft. You’ll know it’s ready when the mixture is pale and has nearly doubled in size.
Step 4: Add Wet Ingredients
Next, incorporate 2 large eggs, 1 teaspoon of pure peppermint extract, and 1 teaspoon of pure vanilla extract into the butter-sugar mixture. Blend until everything is smooth and fully combined. The peppermint extract adds that signature flavor, ensuring each bite of your cookies is filled with delightful minty goodness.
Step 5: Combine Dry Ingredients
Gradually add the dry ingredients to the wet mixture, mixing on low speed until just combined. The dough should be soft and slightly sticky, which is perfect for shaping your cookies. Take care not to overmix, as this can lead to tougher cookies, and remember that this step is key to achieving those tender St. Patrick’s Day Mint Blossom Cookies.
Step 6: Chill the Dough
Cover the cookie dough with plastic wrap and refrigerate it for at least 30 minutes. Chilling the dough prevents the cookies from spreading too much while baking, allowing them to maintain their shape and chewy center. This crucial step results in beautifully formed cookies that have a delightful texture.
Step 7: Shape the Cookies
Once chilled, scoop the dough into 1-tablespoon balls. Roll each ball first in granulated sugar and then coat them in green sanding sugar for that festive touch. The double coating creates a wonderful crunch on the outside, contrasting perfectly with the soft minty interior of your St. Patrick’s Day Mint Blossom Cookies.
Step 8: Bake the Cookies
Place the sugar-coated dough balls on your lined baking sheets, leaving enough space between each to allow for spreading. Bake the cookies in your preheated oven for 9-11 minutes, or until the edges are set but the centers appear soft. This gives the perfect chewy texture, so keep an eye on them to avoid overbaking.
Step 9: Add the Chocolate Centers
As soon as you remove the cookies from the oven, gently press a dark chocolate kiss or chocolate candy into the center of each cookie. This step creates a beautiful and delicious chocolate center that melts slightly into the warm cookie, giving a lovely gooey finish that enhances the overall chocolate-mint flavor.
Step 10: Cool Down
Allow your St. Patrick’s Day Mint Blossom Cookies to cool on the baking sheets for at least 15 minutes. This resting period helps them firm up, making it easier to transfer them without losing that delightful chocolate center. Enjoy the festive aroma wafting through your kitchen as they cool!
Make Ahead Options
These St. Patrick’s Day Mint Blossom Cookies are perfect for busy home cooks seeking to save time while still creating delicious treats! You can prepare the cookie dough up to 24 hours in advance—just cover it tightly with plastic wrap and refrigerate. For longer storage, roll the dough into balls and freeze for up to 3 months. When you’re ready to bake, there’s no need to thaw; simply add a couple of extra minutes to the baking time. To maintain quality, keep the dough chilled until baking to ensure the cookies hold their shape and texture. Follow the baking and topping instructions as usual, and you’ll enjoy these festive cookies with minimal effort!
What to Serve with St. Patrick’s Day Mint Blossom Cookies
Indulge your senses as you create an unforgettable meal that pairs perfectly with these festive chocolate-mint treats.
-
Irish Coffee: A classic pairing, rich coffee blended with Irish whiskey and cream complements the minty sweetness perfectly.
-
Cold Milk: This timeless combination adds a comforting touch, balancing the rich chocolate and refreshing mint with creamy goodness.
-
Creamy Mashed Potatoes: Their buttery texture contrasts beautifully with the cookies’ crunch, making for a heartwarming meal.
-
Fresh Fruit Salad: A colorful blend of citrus and berries provides a refreshing contrast, enhancing the cookies’ sweetness with vibrant flavors.
-
Mint Chocolate Ice Cream: For the ultimate dessert experience, serve a scoop alongside the cookies for a double-dose of minty delight.
-
Chocolate Stout Cake: Incorporating deep, rich flavors, this cake is a decadent dessert that pairs seamlessly with the cookies for a festive feast.
-
Green Tea: Its subtle earthy taste cuts through the sweetness, providing a refined pairing to enhance the overall experience.
-
Festive Platter: Serve the cookies on a platter adorned with green and gold decor, elevating the celebration and showcasing your delicious creation!
Expert Tips for St. Patrick’s Day Mint Blossom Cookies
-
Chill for Success: Make sure to chill the dough for at least 30 minutes. This step prevents the cookies from spreading too much during baking, ensuring they remain chewy and delicious.
-
Perfect Chocolate Placement: Press chocolate candies into the cookies immediately after baking. This ensures they melt slightly into the cookie, creating a gooey, flavorful center without sliding off.
-
Don’t Overmix: When combining wet and dry ingredients, mix just until incorporated. Overmixing can lead to tougher cookies instead of the tender, soft texture you want in these St. Patrick’s Day Mint Blossom Cookies.
-
Watch the Baking Time: Keep an eye on your cookies while baking. They should be set at the edges but still soft in the middle. Overbaking can result in dry cookies instead of the delightful chews you aim for.
-
Flavor Experimentation: Feel free to tweak flavors! Substituting mint chocolate with other candies or flavored extracts like almond can add your own twist to the classic recipe.
St. Patrick’s Day Mint Blossom Cookies Variations
Feel free to get creative and make these cookies your own while delighting in their delicious charm!
-
Nutty Surprise: Add 1/2 cup of chopped walnuts or pecans to the dough for a delightful crunch that complements the chewy texture perfectly. The added nuttiness brings warmth, making them even more comforting!
-
Chocolate Chip Boost: Fold in 1 cup of chocolate chips along with the dry ingredients. This extra chocolatey goodness elevates the cookie experience for true chocoholics.
-
Vegan Option: Use flax eggs (1 tablespoon ground flaxseed mixed with 3 tablespoons water per egg) and substitute margarine for butter. Enjoy the same delicious minty flavor without the dairy.
-
Mint Chocolate Variation: Swap the dark chocolate kisses for mint-flavored chocolate candies to intensify that refreshing minty delight in every bite. The burst of flavor is simply intoxicating!
-
Orange Zest Twist: Incorporate a tablespoon of fresh orange zest into the cookie dough. This brightens up the flavor profile, adding a surprising citrus note that pairs beautifully with chocolate.
-
Cocoa Powder Inclusion: Replace 1/4 cup of flour with cocoa powder for an ultra-chocolaty cookie. This creates a delightful chocolate mint experience that’s twice as indulgent!
-
Inferno Kick: Mix in a pinch of cayenne pepper to the dough for a spicy surprise that’ll tickle your taste buds. The heat contrasts with the sweetness, creating an exciting flavor adventure.
-
Easier Cleanup: If you’re tight on time, roll your cookies in powdered sugar instead of sanding sugar for a quick yet delightful finish. It also adds a sweet, snowy appearance—all charm, no fuss!
Dive into these delicious variations and explore the world of flavors that your St. Patrick’s Day Mint Blossom Cookies can hold!
How to Store and Freeze St. Patrick’s Day Mint Blossom Cookies
Room Temperature: Store cookies in an airtight container at room temperature for up to one week to maintain their freshness and chewy texture.
Fridge: If you prefer your cookies slightly chilled, you can refrigerate them. They will stay fresh for up to two weeks, just make sure they’re well-wrapped.
Freezer: For long-term storage, freeze the cookies in an airtight container with parchment paper between layers for up to three months. Thaw them overnight in the fridge before enjoying.
Reheating: To enjoy a warm cookie again, pop it in the microwave for about 10-15 seconds, or warm it in a 350°F (175°C) oven for 5-7 minutes, bringing those delightful flavors back to life.

St. Patrick’s Day Mint Blossom Cookies Recipe FAQs
How can I tell if the ingredients are ripe or fresh?
Absolutely! When selecting ingredients, ensure your eggs are firm and uncracked, and that your butter is fresh and unspoiled. For flour, check for any clumps or odd smells. Fresh baking powder and baking soda should bubble when mixed with vinegar or water. For the dark chocolate kisses, choose candies that are still shiny and free of any dull spots, which could indicate they are past their best.
What’s the best way to store leftover cookies?
You can store your St. Patrick’s Day Mint Blossom Cookies at room temperature in an airtight container for up to one week. To maintain their chewy texture, ensure that the container is sealed well. If you happen to have any leftover cookies after a week, they’ll still be good refrigerated for up to two weeks—just wrap them tightly!
Can I freeze the cookie dough for later use?
Absolutely! To freeze the unbaked cookie dough, scoop it into 1-tablespoon balls and place them on a baking sheet lined with parchment paper. Freeze until solid, then transfer the dough balls to a freezer bag. These can be stored for up to three months. When you’re ready to bake, simply preheat your oven and bake the frozen dough balls straight from the freezer, adding a couple of extra minutes to the baking time.
Why are my cookies spreading too much while baking?
Very! If your cookies spread too much, it’s likely due to the dough being too warm or the butter being overly soft. Make sure to chill your cookie dough for at least 30 minutes before baking, as this helps maintain the shape. If they still spread, consider adding a little extra flour to your mix next time to achieve a thicker dough consistency.
Are these cookies safe for my pets to eat?
No, keep in mind that chocolate, including dark chocolate, is toxic to dogs and cats. It’s best to keep these delightful St. Patrick’s Day Mint Blossom Cookies away from your furry friends. If you’re looking for a pet-friendly treat, consider baking some plain peanut butter cookies using pet-safe ingredients!
What should I do if I want to add nuts to my cookie dough?
To incorporate nuts into your St. Patrick’s Day Mint Blossom Cookies, simply add about 1/2 to 3/4 cup of chopped nuts (like pecans or walnuts) when you’re mixing in the dry ingredients. This can add a lovely crunch and flavor to your cookies, making each bite even more delightful. Just be sure to adjust the texture slightly by adding a bit more flour if the dough feels too wet with the added ingredients.

St. Patrick’s Day Mint Blossom Cookies That Wow Every Bite
Ingredients
Equipment
Method
- Preheat your oven to 350°F (175°C) and line baking sheets with parchment paper.
- Sift together flour, baking soda, baking powder, and salt in a mixing bowl.
- Cream butter with granulated sugar and brown sugar until light and fluffy, about 3-5 minutes.
- Add eggs, peppermint extract, and vanilla extract to the butter-sugar mixture and blend until smooth.
- Gradually mix dry ingredients into the wet mixture until just combined.
- Cover and refrigerate the dough for at least 30 minutes.
- Scoop dough into balls, roll in granulated sugar, then coat in green sanding sugar.
- Place on baking sheets and bake for 9-11 minutes until edges are set.
- Press a chocolate kiss into the center of each cookie immediately after baking.
- Cool on baking sheets for at least 15 minutes before transferring to a wire rack.
Leave a Reply