
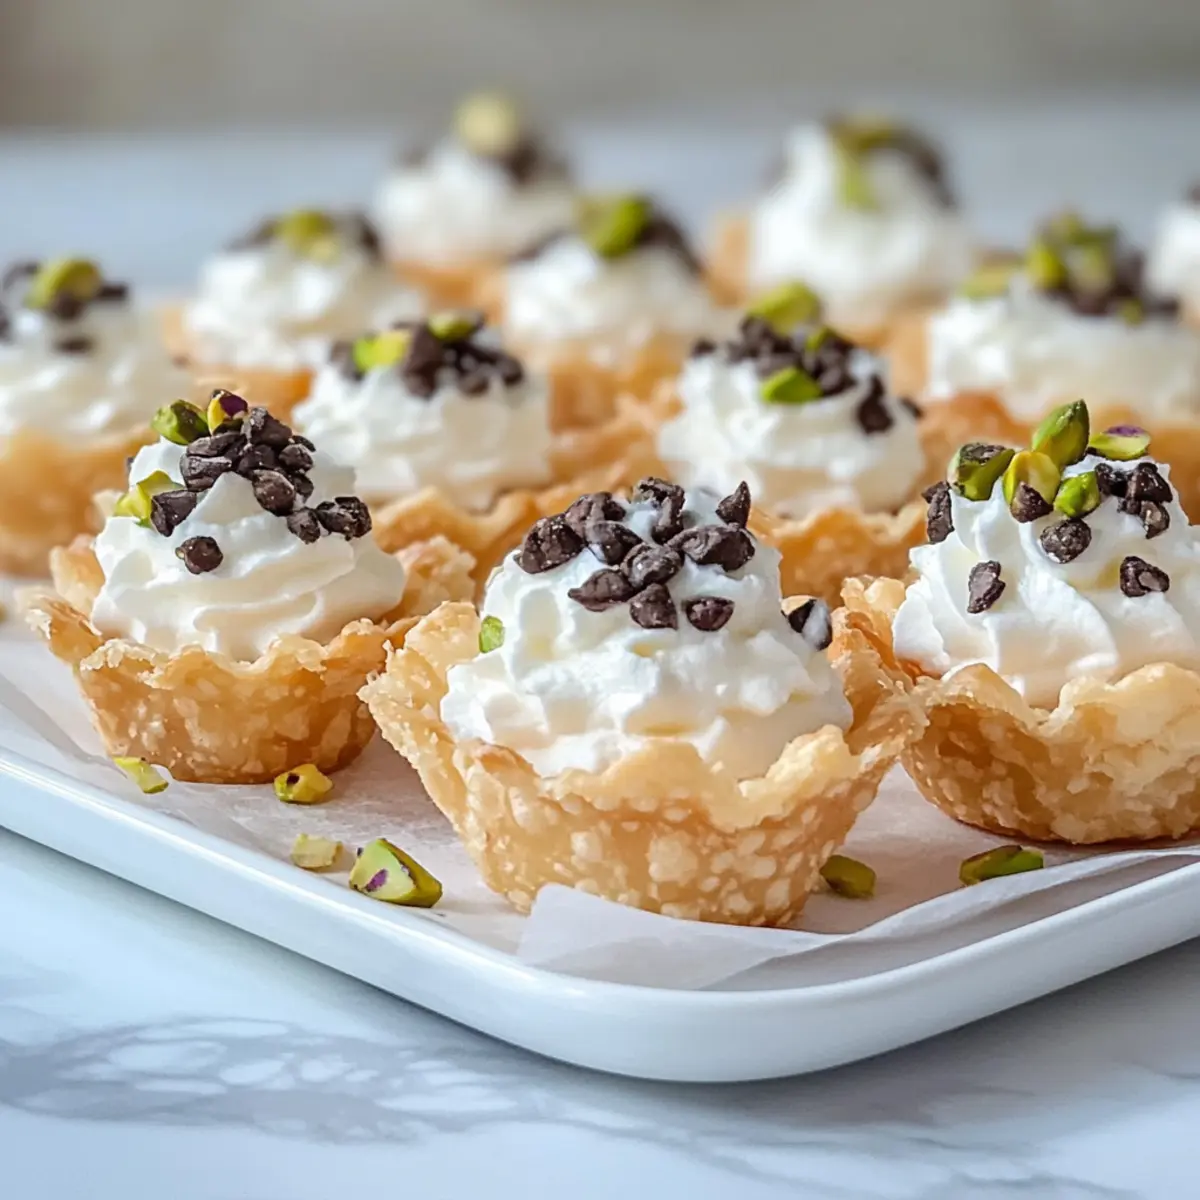
As I pulled open the fridge, a little wave of panic hit me—my dessert for tonight’s gathering was still uncooked! Thankfully, I had all the ingredients to whip up these Mini Cannoli Cups, my go-to recipe that never fails to impress. Designed to be a gorgeous dessert that requires no baking, this sweet delight is not only a crowd-pleaser but also so simple to whip up with just a few ingredients. All it takes is a creamy filling tucked into crispy shells, and before you know it, you’ve created a stunning treat that your guests will adore. Plus, they can be prepped in advance, giving you one less thing to worry about before your company arrives. Want to discover how to transform these classic flavors into an adorable dessert? Let’s dive in!
Why You’ll Love These Gorgeous Dessert Cups
Effortless Preparation: With no baking required, you can whip up these Mini Cannoli Cups in no time, perfect for busy evenings.
Delightfully Versatile: Experiment with flavors or swap out ingredients, allowing you to customize each cup based on your mood or seasonal ingredients.
Kid-Friendly Fun: Kids will love helping to fill the shells, making this a great family activity that also results in a delicious treat.
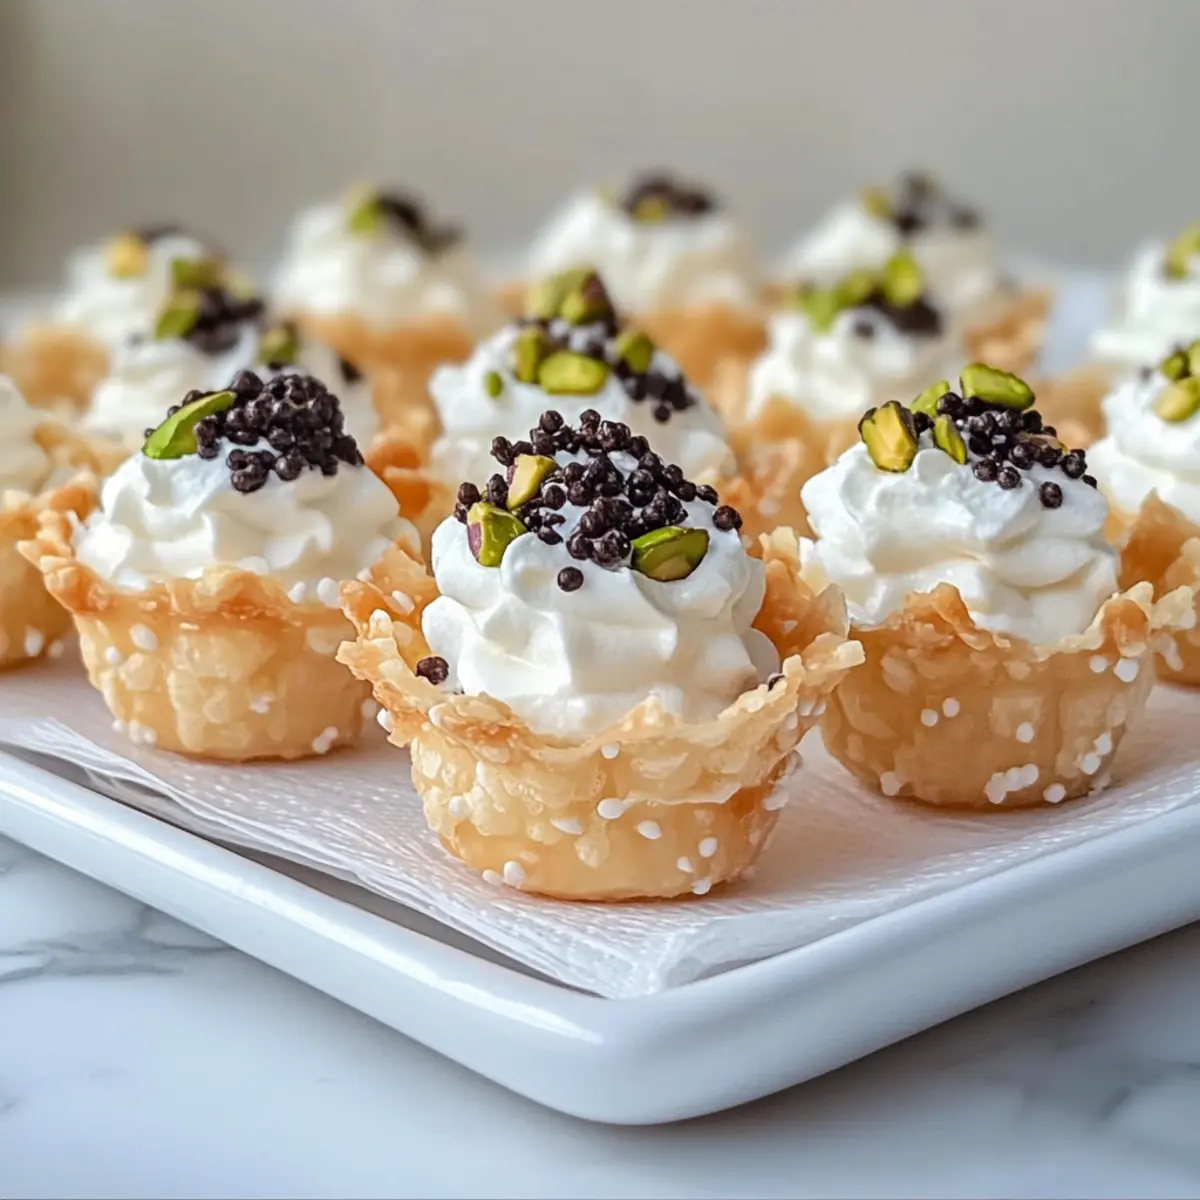
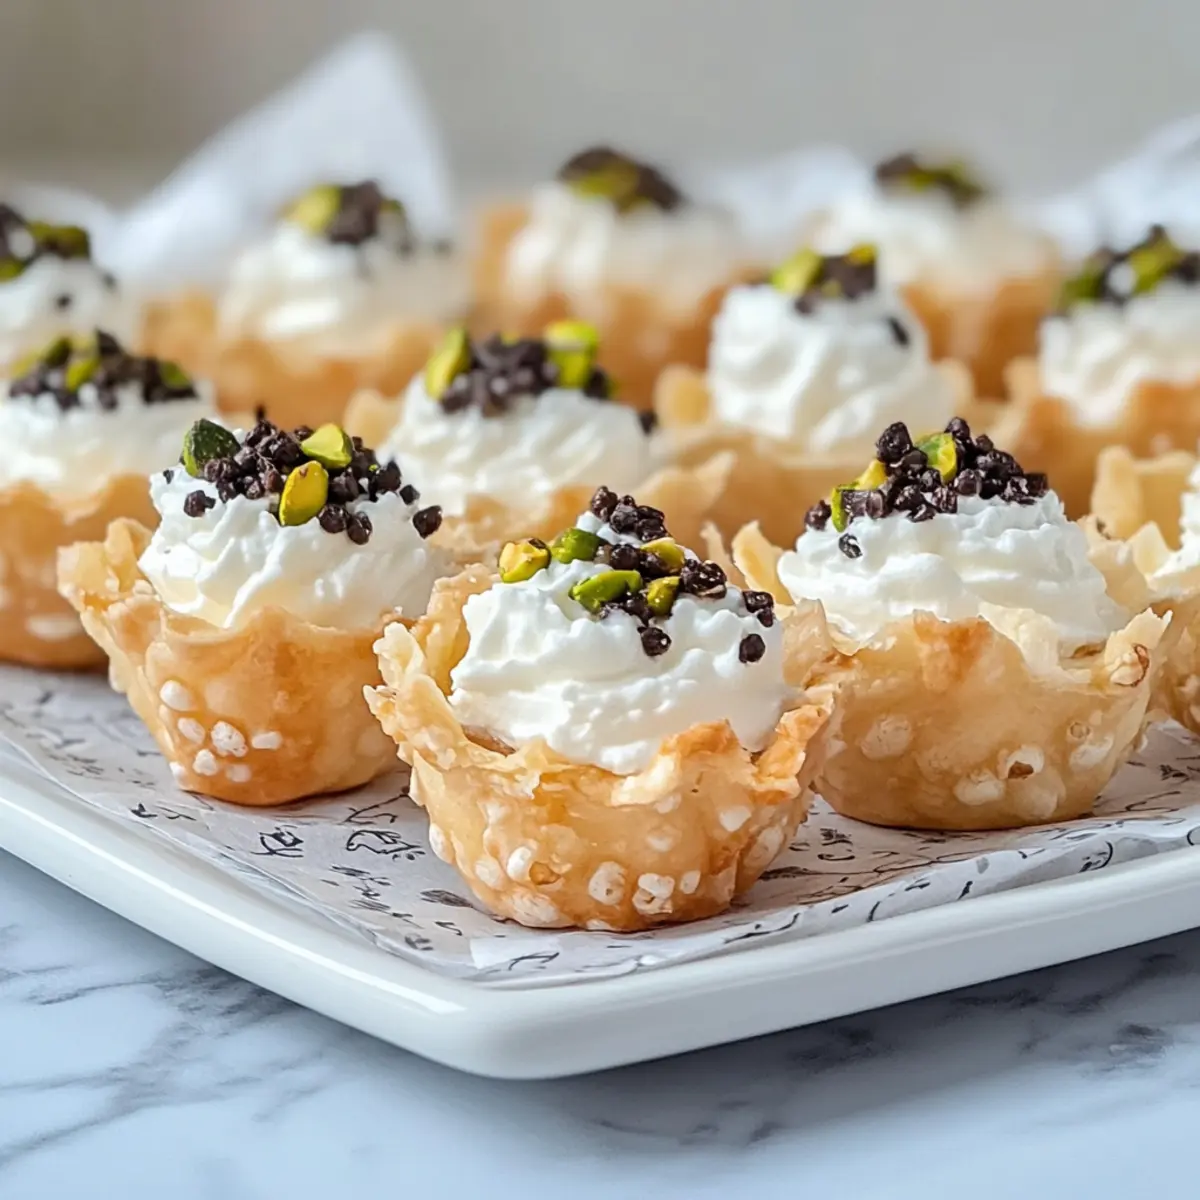
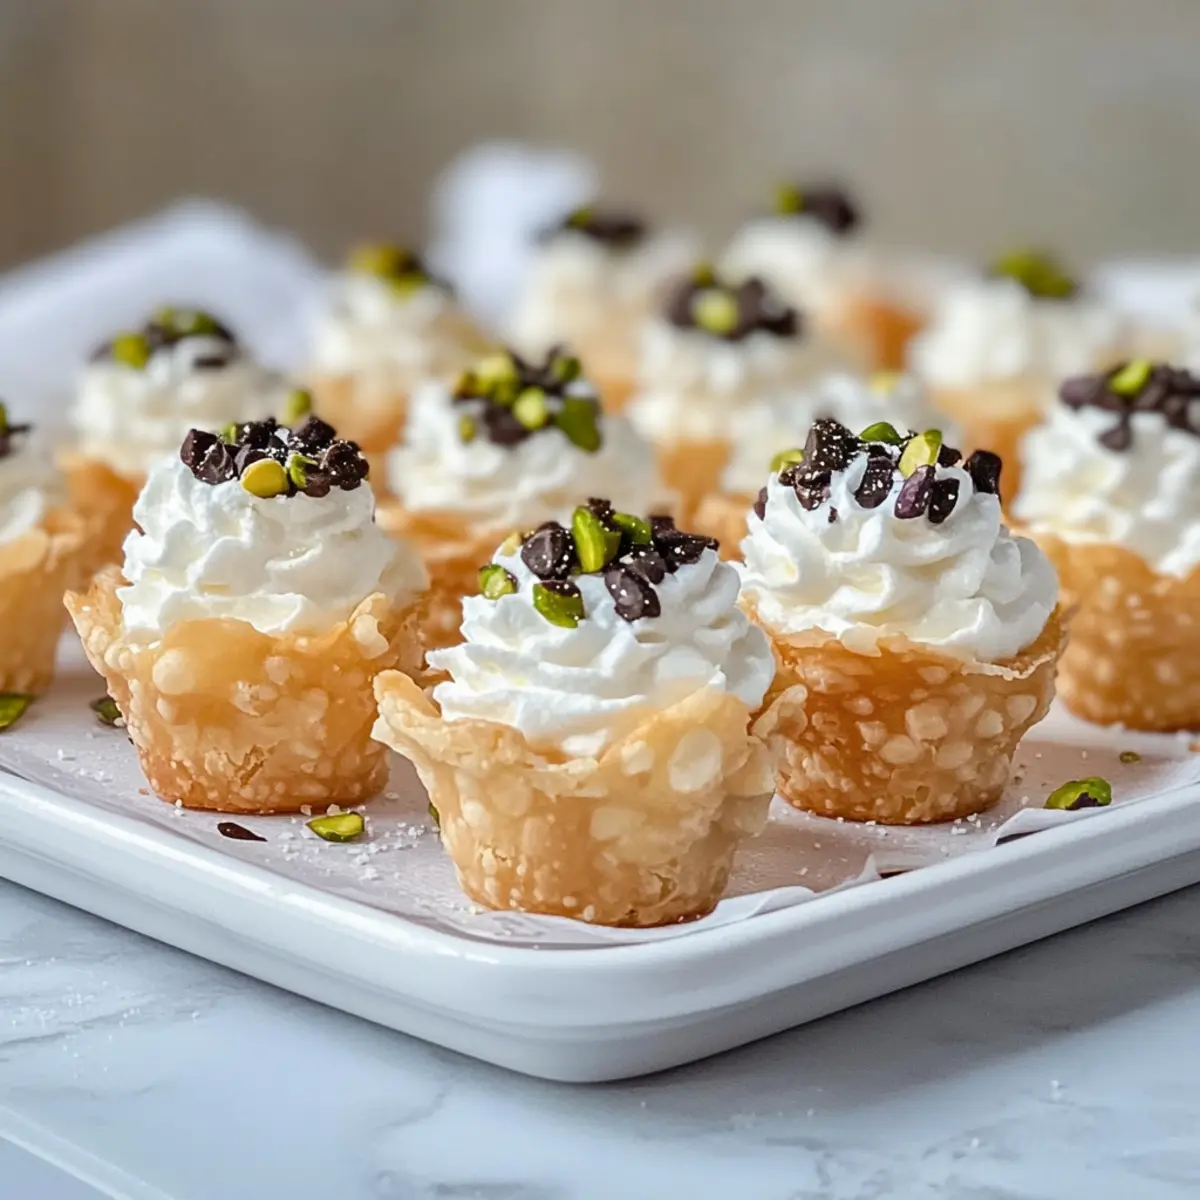
Impressive Presentation: Serve these gorgeous dessert cups at any gathering, and watch your guests be wowed by their elegance and beauty.
Make-Ahead Convenience: Prep them a day in advance so you can focus on enjoying your time with guests—just assemble before serving for that fresh crunch!
Gorgeous Dessert Cups Ingredients
For the Filling
- Mascarpone Cheese – This creamy base delivers the rich flavor signature to these gorgeous dessert cups; you can use ricotta for a lighter option.
- Powdered Sugar – Adds just the right amount of sweetness; adjust based on your taste preference.
- Vanilla Extract – Enhances the filling’s flavor; almond extract can be used for a unique twist.
For the Shells
- Mini Cannoli Shells – These delightful shells hold the filling and can be store-bought for convenience or homemade for a special touch.
For the Decorations
- Chocolate Chips – Optional but delicious; sprinkle on top for added flavor and decoration or swap with chopped nuts for a different texture.
- Whipped Cream – Adds a light, creamy topping; non-dairy whipped cream can be used for a dairy-free version.
- Pistachios or Cherries (for garnish) – Not just for looks! They provide aesthetics and added flavor; feel free to substitute with any preferred nuts or fruits.
Get ready to create these gorgeous dessert cups that delight both the eye and the palate!
Step‑by‑Step Instructions for Gorgeous Dessert Cups
Step 1: Prepare the Filling
In a mixing bowl, combine 1 cup of mascarpone cheese, ½ cup of powdered sugar, and 1 teaspoon of vanilla extract. Using a hand mixer, beat the mixture on medium speed for about 2-3 minutes, until it becomes smooth and creamy. Make sure there are no lumps. This luscious filling is the star of your Mini Cannoli Cups, so take your time to achieve that perfect texture!
Step 2: Fill the Shells
Grab a piping bag fitted with a star tip, or simply use a spoon. Carefully fill the mini cannoli shells with the prepared mascarpone mixture, ensuring each shell is generously packed, but avoiding overfilling to prevent spillage. Arrange the filled shells on a serving platter, creating an appealing display for your gorgeous dessert cups that will have everyone excited to dig in!
Step 3: Add Chocolate Chips
If you’d like some extra flavor, take ¼ cup of mini chocolate chips and either dip the ends of the filled cannoli shells or sprinkle them on top of the filling. This adds a delightful touch and visual appeal to your Mini Cannoli Cups. A light dusting or a few chips peeking out will enhance the beauty of your dessert!
Step 4: Chill
Once your cannoli cups are filled and garnished, place them in the refrigerator for at least 30 minutes. Chilling allows the filling to set and the flavors to meld beautifully. As the shells chill, they’ll retain their crispiness while you prepare for the grand reveal of your gorgeous dessert cups!
Step 5: Garnish & Serve
Just before serving, add a dollop of whipped cream on top of each Mini Cannoli Cup. Finish off your gorgeous dessert cups with a sprinkle of crushed pistachios or a cherry on top for a pop of color and added taste. Display your beautiful creation on a decorative platter for an elegant touch and watch them disappear at your gathering!
Expert Tips for Gorgeous Dessert Cups
- Creamy Consistency: Make sure the mascarpone cheese is at room temperature; this ensures a smooth filling and helps avoid lumps.
- Avoid Overfilling: To keep the Mini Cannoli Cups neat, fill them generously but don’t overflow; overfilling can lead to mess and soggy shells.
- Flavor Enhancer: For an extra zing, consider adding citrus zest (like orange or lemon) to the filling; it brightens the flavor without overpowering the sweetness.
- Chill Time: Don’t skip the refrigeration step; chilling for at least 30 minutes allows the flavors to meld and maintains the beautiful texture of these gorgeous dessert cups.
- Make-Ahead Magic: Prepare the filling ahead of time; however, fill the shells just before serving to keep them crispy and fresh.
Gorgeous Dessert Cups Variations & Substitutions
Feel free to personalize these delightful dessert cups with a few simple swaps and get creative with flavors!
-
Dairy-Free: Substitute mascarpone cheese with coconut cream for a rich and creamy vegan option that’s incredibly satisfying.
-
Gluten-Free: Use gluten-free cannoli shells or create your cups with crushed gluten-free cookies for a fabulous alternative.
-
Flavor Twist: Add lemon zest or almond extract instead of vanilla for a refreshing twist that will brighten up the filling. Experiment with different flavors!
-
Fruit-Filled Delight: Swap the chocolate chips for diced strawberries or raspberries inside the filling for a burst of juicy sweetness in every bite.
-
Nutty Crunch: Replace pistachios with crushed hazelnuts or almonds for a different texture and a delightful nutty note that complements the creamy filling beautifully.
-
Chocolate Lovers: For a decadent twist, mix cocoa powder into the mascarpone filling or use chocolate cups instead of cannoli shells for extra chocolaty goodness.
-
Festive Flair: Add a hint of peppermint extract to the filling for a holiday-themed treat that’s perfect for the winter season!
-
Layered Cups: Consider turning them into layered cups by alternating layers of the filling and cookie crumbs, creating an impressive presentation that’s sure to impress!
For even more sweet inspiration, dive into our delightful Strawberry Shortcake Cups or the beloved No-Bake Lotus Biscoff Cheesecake Cups for a delicious twist on dessert!
How to Store and Freeze Gorgeous Dessert Cups
Fridge: Keep the filled Mini Cannoli Cups covered in the refrigerator for up to 2 days. This will help maintain their freshness and the crispiness of the shells.
Make-Ahead: You can prepare the filling a day in advance and store it in an airtight container in the fridge. Just assemble the cups before serving for the best texture.
Freezer: If you plan to freeze, do not fill the shells. Instead, store the filling in an airtight container for up to 2 months and thaw it in the fridge before assembling.
Assembly Tip: For optimal crunch, avoid assembling the gorgeous dessert cups until just before serving; this ensures the shells remain crispy and delightful.
What to Serve with Mini Cannoli Cups
Indulge in a symphony of flavors and textures that pair beautifully with these delightful dessert cups.
- Italian Coffee: Enhances the dessert’s richness; the robust flavor of espresso complements the creamy filling perfectly.
- Fresh Berries: A mix of strawberries, blueberries, and raspberries adds a refreshing burst of flavor and color to your dessert plate.
- Pistachio Biscotti: Offers a delightful crunch and nutty flavor that harmonizes with the creamy sweetness of the cannoli cups.
- Chocolate Affogato: Pour hot espresso over a scoop of vanilla ice cream for a decadent dessert combo that perfectly complements the Mini Cannoli Cups.
- Limoncello: This zesty Italian liqueur provides a refreshing contrast, cleansing the palate after the rich dessert.
- Peach Sorbet: A light and fruity option that pairs wonderfully, adding a refreshing touch to balance the creaminess.
- Vanilla Ice Cream Sundae: Serve on the side for an indulgent treat; drizzle with chocolate sauce for extra decadence.
- Caramel Sauce: Drizzle over the cups for a sweet finish that enhances their elegance and adds a fun twist to every bite!
Whether you choose a drink or a side, these gorgeous dessert cups are destined to shine at your gathering!
Make Ahead Options
These Mini Cannoli Cups are an excellent choice for make-ahead enthusiasts! You can prepare the creamy mascarpone filling up to 24 hours in advance, storing it in an airtight container in the refrigerator to maintain freshness. Additionally, the cannoli shells can be filled and refrigerated about 30 minutes before serving to allow the flavors to meld without compromising their delightful crunch. For the best results, keep the filled shells covered with plastic wrap to prevent them from becoming soggy. Just before serving, top your gorgeous dessert cups with whipped cream and garnish with crushed pistachios or cherries for that final touch. By prepping ahead, you’ll save precious time on busy days while still offering a treat that’s just as delicious!
Gorgeous Dessert Cups Recipe FAQs
How do I choose ripe ingredients for my Mini Cannoli Cups?
Absolutely! For the best results, use fresh mascarpone cheese that is creamy and smooth, not overly firm. Check for freshness dates on the package. If you’re including pistachios as a garnish, choose those that are bright green without dark spots; they should be firm to the touch and have a pleasant fragrance.
What’s the best way to store Mini Cannoli Cups?
Very! Keep your filled Mini Cannoli Cups covered in the fridge, where they’ll stay fresh for up to 2 days. This will help maintain their delicious texture and crispiness. If storing components separately, make sure the filling is in an airtight container to retain its flavor!
Can I freeze the filling for my dessert cups?
Of course! To freeze the mascarpone filling, place it in an airtight container and store it in the freezer for up to 2 months. When you’re ready to enjoy your gorgeous dessert cups, simply transfer the filling to the fridge to thaw overnight before assembling. Just remember—don’t freeze the filled cannoli shells, as they’ll lose their crunch!
What if my filling is too thick to pipe into the shells?
No worries! If your filling seems a bit thick, simply add a splash of milk or cream, about one tablespoon at a time, while mixing until you achieve a smooth, pipeable consistency. This will help you fill those shells perfectly!
Are there any allergy considerations I should be aware of?
Very! These Mini Cannoli Cups contain dairy through the mascarpone and whipped cream. For gluten allergies, find gluten-free mini cannoli shells or consider using alternative options like graham cracker cups. If anyone has nut allergies, be cautious with adding pistachios or chocolate, as these can trigger allergic reactions.
Can I customize the flavors of my Mini Cannoli Cups?
Absolutely! You can swap the vanilla extract for almond extract or add citrus zest (like orange or lemon) to your filling for a refreshing twist. You could even explore flavored fillings, such as coffee or hazelnut, to create a personalized treat that suits your taste!
Gorgeous Dessert Cups: Easy No-Bake Treats Everyone Will Love
Ingredients
Equipment
Method
- In a mixing bowl, combine 1 cup of mascarpone cheese, ½ cup of powdered sugar, and 1 teaspoon of vanilla extract. Beat on medium speed for 2-3 minutes until smooth.
- Fill the mini cannoli shells with the mascarpone mixture using a piping bag or spoon. Avoid overfilling.
- Sprinkle ¼ cup of mini chocolate chips on top of the filled shells for decoration.
- Chill the filled cannoli cups in the refrigerator for at least 30 minutes.
- Before serving, add whipped cream and garnish with crushed pistachios or a cherry on top.
Leave a Reply