
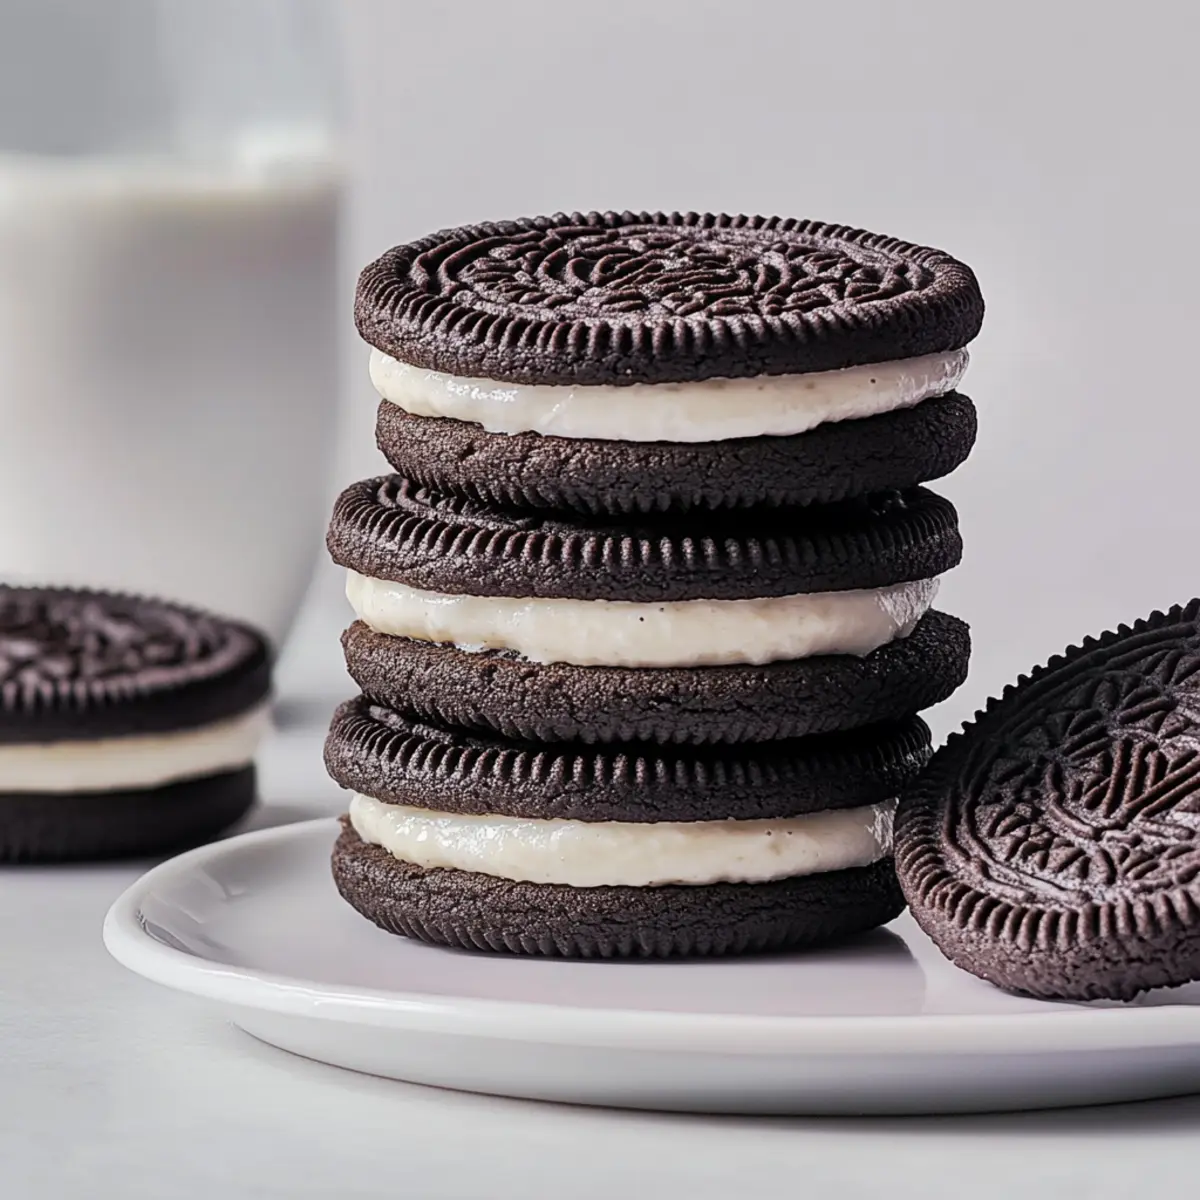
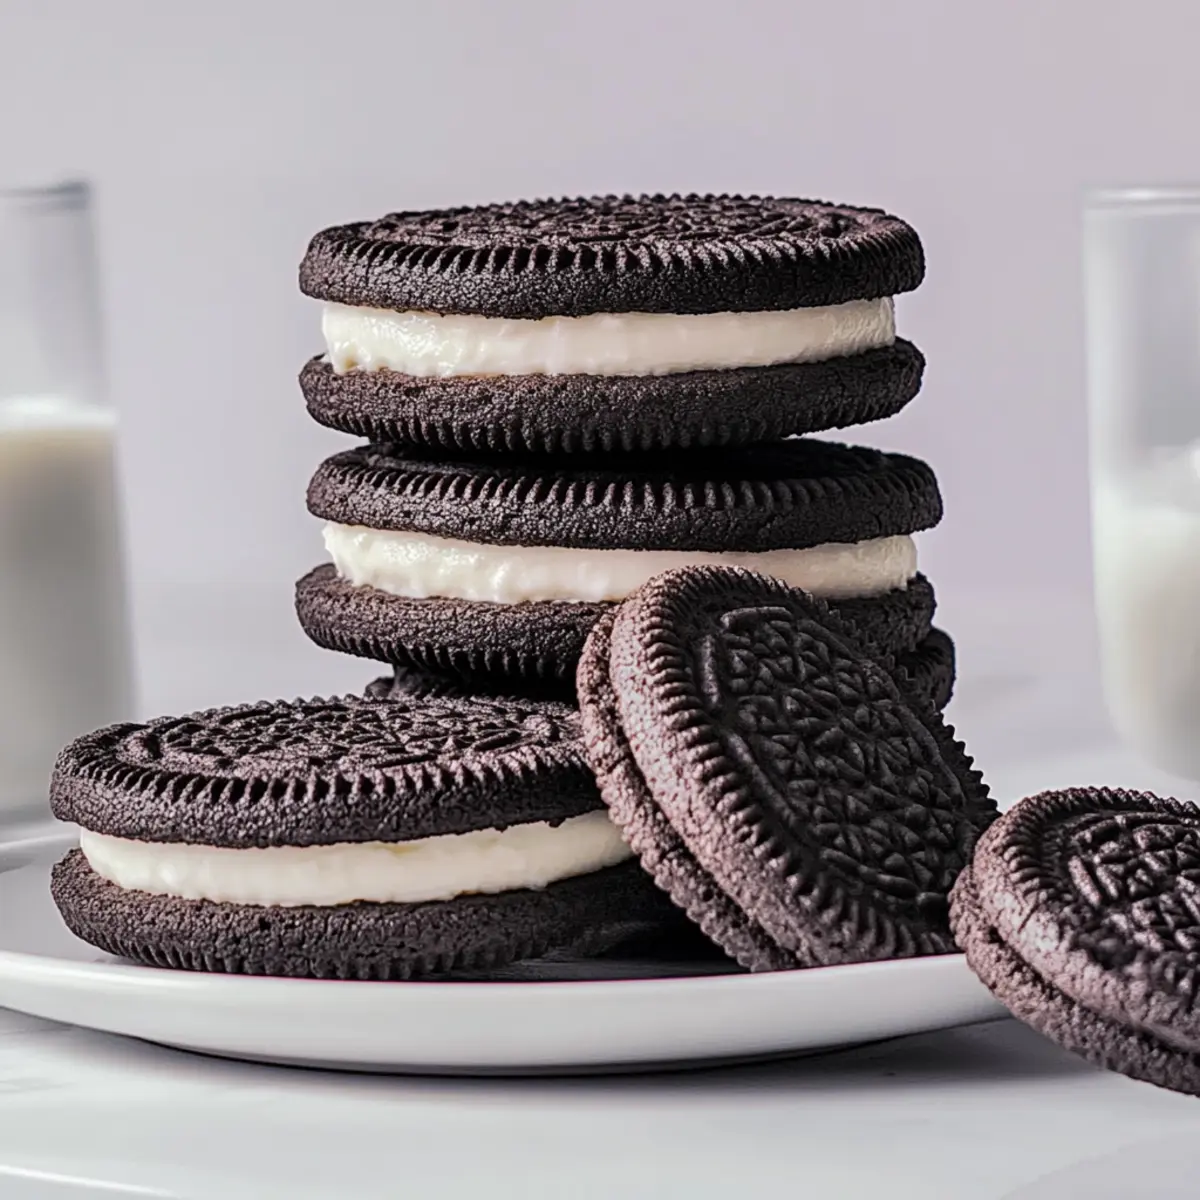
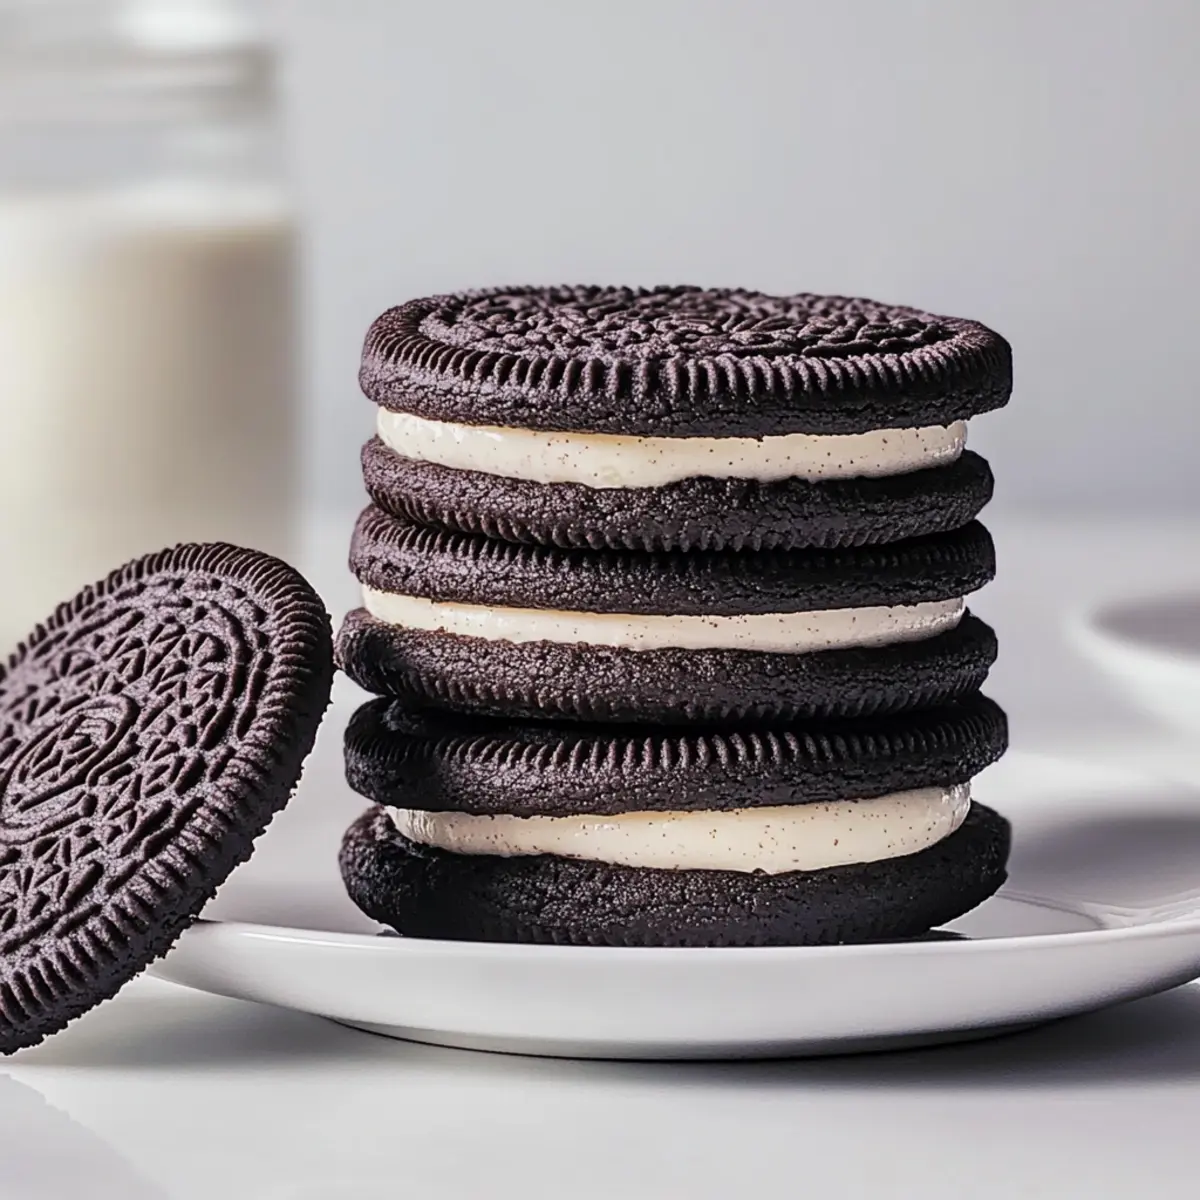
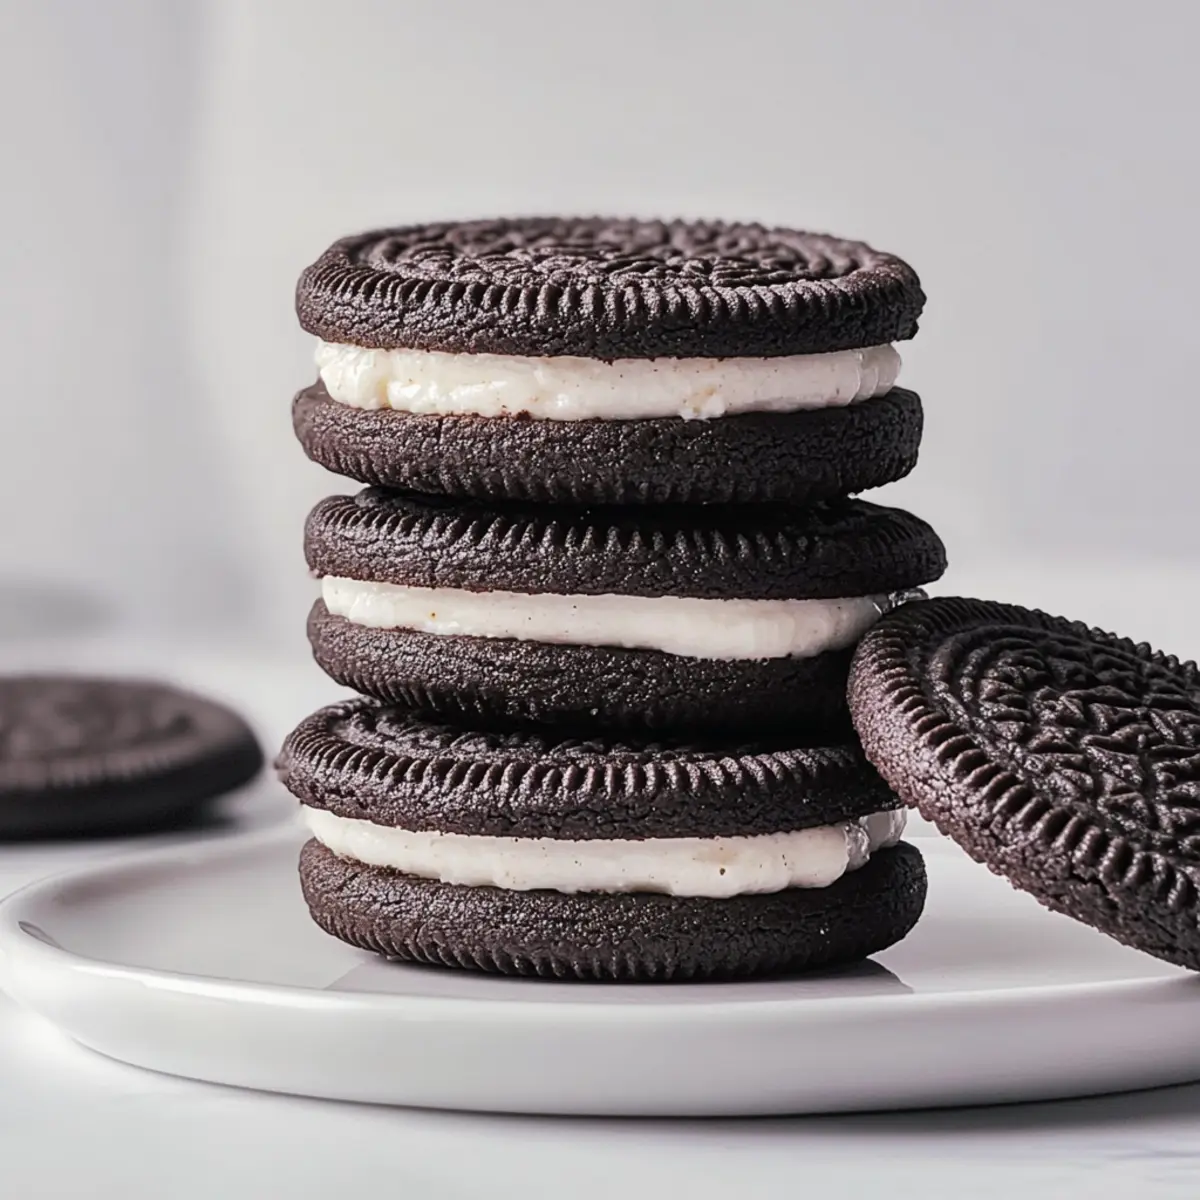
Walking into the kitchen, the rich aroma of chocolate wafts through the air, transporting me to my childhood. There’s nothing quite like the experience of baking Homemade Oreo Cookies right in your own home! Unlike their store-bought counterparts, these cookies bring a deliciously personal touch, and the best part is, they’re incredibly easy to make. With a little bit of time and a handful of ingredients, you can create these delightful treats, complete with customizable fillings that could range from classic vanilla to adventurous flavors like peanut butter or espresso. Not only do they offer a heartfelt alternative to fast food desserts, but they also arrive with the promise of family fun in the kitchen. So, are you ready to dive into the world of homemade treats? Let’s get started!
Why are Homemade Oreo Cookies so special?
Homemade Oreo Cookies take comfort food to a new level! Customization is key—personalize fillings from classic vanilla to cheeky flavors like peanut butter and mint. Easy to make, these cookies can be whipped up with just a handful of ingredients, making them perfect for beginner bakers. Family fun is guaranteed, bringing everyone together to create and enjoy. Plus, fresher ingredients mean superior taste compared to any store-bought option. Ready for a delightful treat? These cookies are sure to impress!
Homemade Oreo Cookies Ingredients
For the Cookie Base
- All-Purpose Flour – Provides structure; feel free to substitute with a gluten-free flour blend for a lighter option.
- Dutch-Process Cocoa Powder or Black Cocoa Powder – Infuses rich chocolate flavor; using black cocoa will give a closer resemblance to store-bought Oreos, just remember to sift!
- Baking Soda – Acts as a leavening agent; helps cookies rise and achieve that delightful, light texture.
- Baking Powder – Works alongside baking soda for a soft and chewy cookie.
- Fine Sea Salt – Balances the sweetness; regular salt can be used, but it may slightly alter the texture.
- Granulated Sugar – Sweetens the cookies while contributing to their crispiness.
- Unsalted Butter – Adds a richness and moisture; make sure it’s in cool chunks for best blending.
For the Filling
- Large Egg – Binds the cookie ingredients together while adding moisture; using a room temperature egg helps in better incorporation.
- Powdered Sugar – Essential for making the filling creamy and sweet; substituting with coconut sugar can yield a different texture and flavor.
- Vanilla Extract – Enhances flavor in the filling; opt for pure vanilla extract for the most aromatic results.
Get ready to gather these ingredients to create your delightful Homemade Oreo Cookies that you can customize to perfection!
Step‑by‑Step Instructions for Homemade Oreo Cookies
Step 1: Prepare Oven and Sheets
Begin by preheating your oven to 375°F (190°C). While the oven warms up, line two baking sheets with parchment paper to prevent sticking and ensure easy cleanup. This step sets the stage for perfect baking, ensuring your Homemade Oreo Cookies have a beautifully crisp exterior.
Step 2: Mix Dry Ingredients
In a food processor, combine all-purpose flour, Dutch-process cocoa powder, baking soda, baking powder, fine sea salt, and granulated sugar. Pulse the mixture until well combined, aiming for a uniform texture, about 30 seconds. This crucial step ensures an even distribution of flavors and the perfect foundation for your cookies.
Step 3: Combine Dough
Gradually add the chunks of unsalted butter to the dry mixture, blending until the mixture resembles coarse crumbs. Next, add one large egg and mix until a smooth dough forms. This step is essential for achieving the right consistency in your Homemade Oreo Cookies, resulting in a rich and tasty base.
Step 4: Shape Cookies
Using a teaspoon, scoop out portions of the dough and roll them into balls. Flatten each ball to about 1/8-inch thickness, giving them a classic Oreo shape. Chill the formed cookies for about 15 minutes to firm them up, which will help maintain their shape during baking.
Step 5: Bake
Place the chilled cookie shapes onto the prepared baking sheets, ensuring they are spaced apart to allow for spreading. Bake in the preheated oven for approximately 10 minutes, or until the edges are set but the centers still look a little soft. Allow them to cool completely on the sheets for perfect texture.
Step 6: Prepare Filling
While your cookies are cooling, make the creamy filling! In a stand mixer, beat together unsalted butter and vanilla extract. Gradually add powdered sugar and a pinch of salt until the mixture becomes light and fluffy, about 3 minutes. This step is crucial to creating a luscious, spreadable filling for your Homemade Oreo Cookies.
Step 7: Assemble
Once the cookies are completely cool, spread your delightful filling between two cookies, adjusting the amount to your preference for a double-stuffed effect. Press gently to sandwich the cookies together, ensuring the filling oozes slightly. Your Homemade Oreo Cookies are now ready to be savored, fully customizable and incredibly delicious!
Expert Tips for Homemade Oreo Cookies
-
Use Black Cocoa: For that classic Oreo taste, black cocoa powder is highly recommended. It gives your cookies a rich, deep flavor that’s unbeatable.
-
Cool Before Filling: Always allow your cookies to cool completely before adding the filling. This prevents melting and keeps your filling perfectly fluffy.
-
Room Temperature Ingredients: Ensure your egg and butter are at room temperature. This helps create a smooth dough and a creamy filling better suited for your Homemade Oreo Cookies.
-
Don’t Skip Chilling: Chilling the cookie dough for about 15 minutes will help shape the cookies and maintain their form as they bake.
-
Customize Wisely: Experiment with different flavored extracts or even mix in some finely chopped chocolate. Add just a little at a time to avoid overwhelming the deliciousness of your classic cookies!
Homemade Oreo Cookies Variations & Substitutions
Feel free to let your imagination run wild as you customize these delightful cookies to suit your flavor fantasies!
- Peanut Butter: Swap in creamy or crunchy peanut butter for a rich, nutty filling that pairs perfectly with chocolate.
- Strawberry Bliss: Use freeze-dried strawberry powder in the filling for a fruity, summer-inspired twist. This adds a burst of sweetness that’ll make each bite feel like a picnic in the park!
- Minty Fresh: Combine peppermint extract in the filling to create a refreshing mint experience, reminiscent of your favorite mint chocolate treats.
- Espresso Kick: Stir in a teaspoon of espresso powder into the filling for a delightful coffee-infused flavor that gives your cookies a sophisticated edge.
- Dairy-Free: Substitute coconut oil for butter and almond milk for cream to make these cookies vegan-friendly without sacrificing taste. This adjustment keeps the cookies just as indulgent!
- Texture Twists: Add a handful of chopped nuts, like walnuts or pecans, to the cookie dough for an exciting crunch, elevating the texture of your delicious creations.
- Double-Stuffed Delight: Simply increase the amount of filling to satisfy your double-stuffed dreams. More filling means more creaminess and decadence with every bite!
- Flavor Extracts: Experiment with different extracts like almond, orange, or hazelnut to create your signature filling. Each extract invites a new layer of flavor to your Homemade Oreo Cookies.
You can also explore healthier treats like chocolate chip cookies for a delicious variety. The world of homemade baked goods is at your fingertips—let’s start creating!
What to Serve with Homemade Oreo Cookies
There’s nothing quite like the magic of homemade treats, and pairing these cookies with the right sides takes indulgence to a new level.
- Cold Milk: A classic choice that complements the rich chocolate and creamy filling, enhancing every bite.
- Vanilla Ice Cream: Transform your cookies into a decadent ice cream sandwich, bringing together soft and creamy textures.
- Fresh Berries: Their natural sweetness and slight tartness brighten the dish, providing a refreshing contrast to the rich cookie flavor.
- Chocolate Dipping Sauce: For an extra chocolate hit, dip the cookies into warm, melted chocolate for an indulgent treat.
- Mint Tea: The subtle herbal notes of mint tea cleanse the palate while enhancing the cookies’ chocolate flavors.
- Espresso: Boost your coffee game by pairing these cookies with a shot of espresso, creating a delightful dessert experience.
Whether you stick to traditional pairings or venture into fun combinations, these suggestions will make your homemade Oreo cookies even more irresistible!
Make Ahead Options
These Homemade Oreo Cookies are a fantastic option for meal prep, saving you valuable time on busy days! You can prepare the cookie dough up to 24 hours in advance; simply wrap it tightly in plastic wrap and refrigerate. If you’re short on time, consider baking the cookies in advance and storing them in an airtight container at room temperature for up to 3 days. For the best quality, assemble the filling right before serving to maintain its creamy texture. Just remember to let the cookies cool completely before adding the filling, ensuring they remain perfectly crisp and delicious. Enjoy the convenience of having these delightful treats ready to go whenever you need a sweet indulgence!
How to Store and Freeze Homemade Oreo Cookies
- Room Temperature: Keep your Homemade Oreo Cookies in an airtight container at room temperature for up to 1 week to maintain freshness and texture.
- Fridge: For extended freshness, store the cookies in the refrigerator for up to 2 weeks, ensuring they are in a sealed container to prevent them from drying out.
- Freezer: You can freeze unfilled cookie halves in a single layer on a baking sheet for up to 1 month. Once solid, transfer to a freezer bag; this way, they stay fresh for your future baking adventures!
- Reheating: If desired, gently reheat them in the microwave for 10-15 seconds before serving to restore that fresh-baked warmth and softness.
Homemade Oreo Cookies Recipe FAQs
What flour should I use for Homemade Oreo Cookies?
You can use all-purpose flour for the base of the cookies. For a gluten-free option, feel free to substitute it with a gluten-free flour blend. Just be sure to check the blend’s suitability for baking, as some may behave differently in texture and rise.
How should I store my Homemade Oreo Cookies?
Store your Homemade Oreo Cookies in an airtight container at room temperature for up to 1 week. If you prefer a longer shelf life, you can place them in the refrigerator where they will stay fresh for up to 2 weeks. Make sure the container is sealed well to prevent them from drying out.
Can I freeze the cookies, and how do I do it?
Absolutely! You can freeze the unfilled cookie halves for up to 1 month. Place them in a single layer on a baking sheet until solid, then transfer them to a freezer bag. When you’re ready to enjoy, just take out and thaw them at room temperature, then proceed to make your filling!
What should I do if my cookie dough is too sticky?
If your dough feels too sticky to handle, don’t worry! You can sprinkle in a little extra flour, about one tablespoon at a time, mixing until you reach a more workable consistency. Just be careful not to add too much at once, or it could alter the final texture of your cookies.
Is it okay to make variations of the filling for different flavors?
Very! One of the best parts of baking Homemade Oreo Cookies is the ability to customize. You can mix it up with different extracts like almond or mint. Just remember to taste as you go—start with a small amount and adjust depending on your flavor preference.
Can my pets have any of the ingredients in these cookies?
It’s always best to be cautious! Ingredients like cocoa powder and sugar can be harmful to pets, especially dogs. If you’d like to share a treat with your furry friends, consider making a pet-friendly version without these ingredients specifically designed for them.
Homemade Oreo Cookies That You Can Customize to Perfection
Ingredients
Equipment
Method
- Preheat your oven to 375°F (190°C) and line two baking sheets with parchment paper.
- In a food processor, combine all-purpose flour, Dutch-process cocoa powder, baking soda, baking powder, fine sea salt, and granulated sugar. Pulse until well combined.
- Add chunks of unsalted butter to the dry mixture, blending until it resembles coarse crumbs. Add one large egg and mix until a smooth dough forms.
- Scoop portions of the dough, roll into balls, and flatten to about 1/8-inch thickness. Chill the formed cookies for about 15 minutes.
- Place chilled cookie shapes on baking sheets and bake for approximately 10 minutes, then cool completely.
- In a stand mixer, beat unsalted butter and vanilla extract. Gradually add powdered sugar until light and fluffy.
- Spread filling between two cookies, adjusting the amount for a double-stuffed effect.
Leave a Reply