
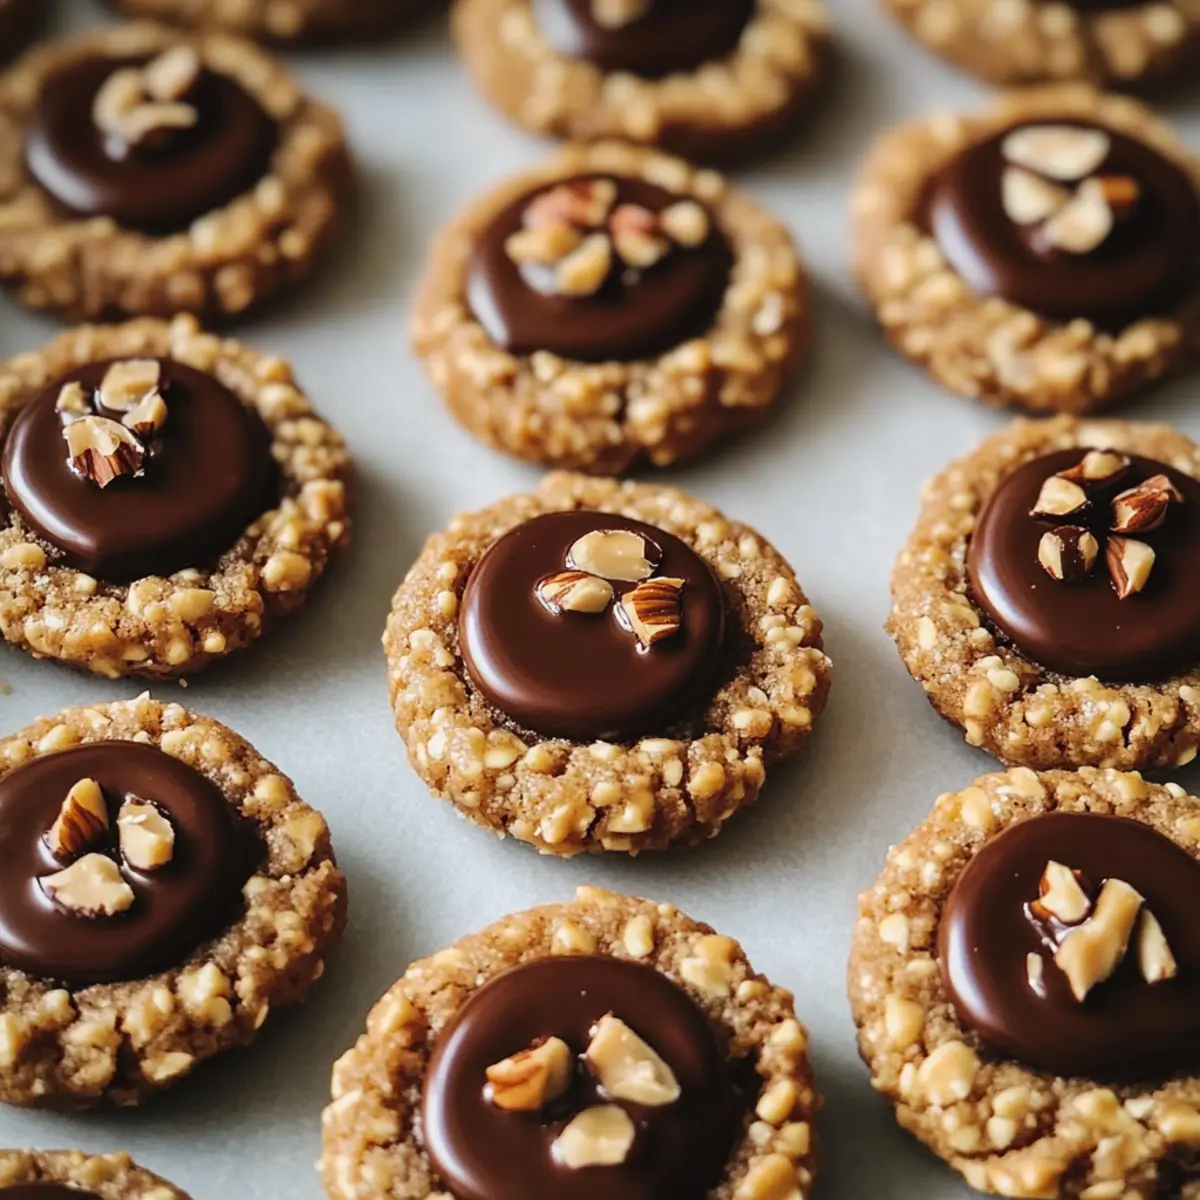
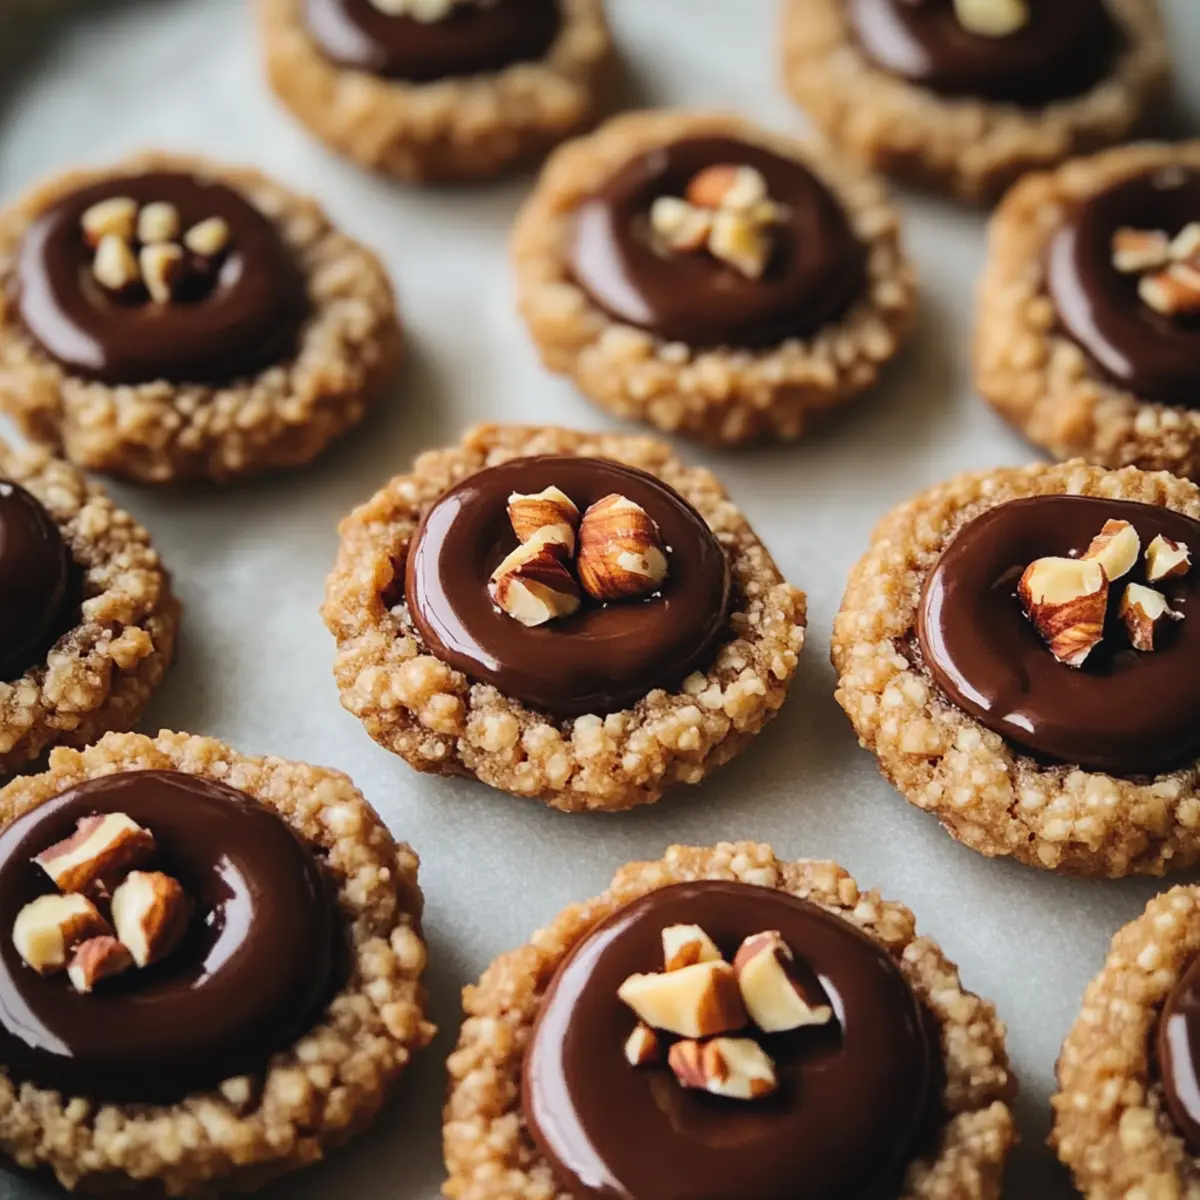
The aroma of freshly baked chocolate hazelnut treats wafting through the kitchen is enough to make anyone’s mouth water. Today, we’re diving into the delicious world of Chocolate Hazelnut Thumbprint Cookies, a delightful fusion of buttery cocoa-infused dough and a rich chocolate hazelnut spread center. These cookies are not only a guaranteed crowd-pleaser, but they also come together in no time—perfect for those moments when you want to impress without the fuss. The crunchy hazelnut coating adds a delightful texture that elevates these treats from simple cookies to showstoppers at any gathering. Whether you’re celebrating a special occasion or indulging in a well-deserved treat, these cookies are sure to satisfy your cravings! Are you ready to create something irresistible? Let’s get baking!
Why are these cookies irresistible?
Irresistible Flavor: The rich blend of cocoa and chocolate hazelnut spread creates a decadent treat that captures hearts.
Quick and Easy: With just a few simple ingredients, you can whip these up in no time, perfect for busy days.
Crowd-Pleaser: These cookies are beloved by both kids and adults, making them an excellent choice for gatherings.
Versatile Variations: Experiment with different fillings like fruit preserves or caramel for a unique twist every time!
Perfect Texture: Enjoy the delightful contrast of soft, buttery dough and crunchy hazelnut coating that makes each bite memorable. Elevate your baking with these delightful Chocolate Hazelnut Thumbprint Cookies!
Chocolate Hazelnut Thumbprint Cookies Ingredients
For the Dough
- Unsalted Butter – 1 cup (2 sticks); provides richness and structure—ensure butter is softened for easy mixing.
- Granulated Sugar – 2/3 cup; adds sweetness—can substitute with brown sugar for a deeper flavor.
- Vanilla Extract – 2 teaspoons; enhances flavor—optional for a more complex taste.
- All-Purpose Flour – 2 cups; forms the base—gluten-free flour can be used as a substitute.
- Cocoa Powder – 1/2 cup; adds richness and chocolate flavor—ensure it’s unsweetened for best results.
- Salt – 1/2 teaspoon; balances sweetness and enhances flavor.
For the Coating and Filling
- Finely Chopped Hazelnuts – 1/2 cup; coating for added crunch and flavor—alternatives include chopped almonds or walnuts.
- Chocolate Hazelnut Spread – 1/2 cup (e.g., Nutella); filling for the center—may substitute with fruit preserves for a fruity variation.
- Extra Whole Hazelnuts – optional; for garnish and added texture.
Feel the warmth of your kitchen as you create delicious Chocolate Hazelnut Thumbprint Cookies!
Step‑by‑Step Instructions for Chocolate Hazelnut Thumbprint Cookies
Step 1: Preheat the Oven
Begin by preheating your oven to 350°F (175°C). This crucial step ensures that when your dough goes in, it bakes evenly and develops that heavenly golden hue. While the oven warms up, you can focus on preparing your cookie dough, making the most of your time in the kitchen.
Step 2: Mix the Dough
In a large mixing bowl, cream together 1 cup of softened unsalted butter and 2/3 cup of granulated sugar until the mixture is light and fluffy—about 2-3 minutes. Then, blend in 2 teaspoons of vanilla extract, followed by 2 cups of all-purpose flour, 1/2 cup of cocoa powder, and 1/2 teaspoon of salt. Stir the ingredients until just combined, taking care not to over-mix.
Step 3: Form the Cookies
Once your dough is ready, scoop out portions with a tablespoon and roll them into smooth balls, about 1 inch in diameter. Roll each ball in 1/2 cup of finely chopped hazelnuts until they are generously coated. Place the coated balls on a baking sheet lined with parchment paper, ensuring they are spaced about 2 inches apart for even baking.
Step 4: Create Thumbprints
Using your thumb or the back of a rounded measuring spoon, gently press down into the center of each dough ball to create a well. This thumbprint will hold the decadent chocolate hazelnut spread later. If you want a deeper pocket for more filling, you can repeat this pressing step once they come out of the oven.
Step 5: Bake the Cookies
Slide the baking sheet into your preheated oven and bake for 10-12 minutes, watching closely for the edges to set while the centers may stay soft. Once done, the cookies should have a slight sheen and a delightful aroma should fill your kitchen. Remove them from the oven and allow them to cool on the baking sheet for a few minutes.
Step 6: Fill the Thumbprints
After allowing the cookies to cool slightly, carefully fill each thumbprint indentation with approximately 1/2 cup of chocolate hazelnut spread. A small spoon or piping bag works wonderfully for this step. The warmth of the cookies will slightly melt the spread, creating a rich, gooey center that pairs perfectly with the crunchy exterior.
Step 7: Garnish and Serve
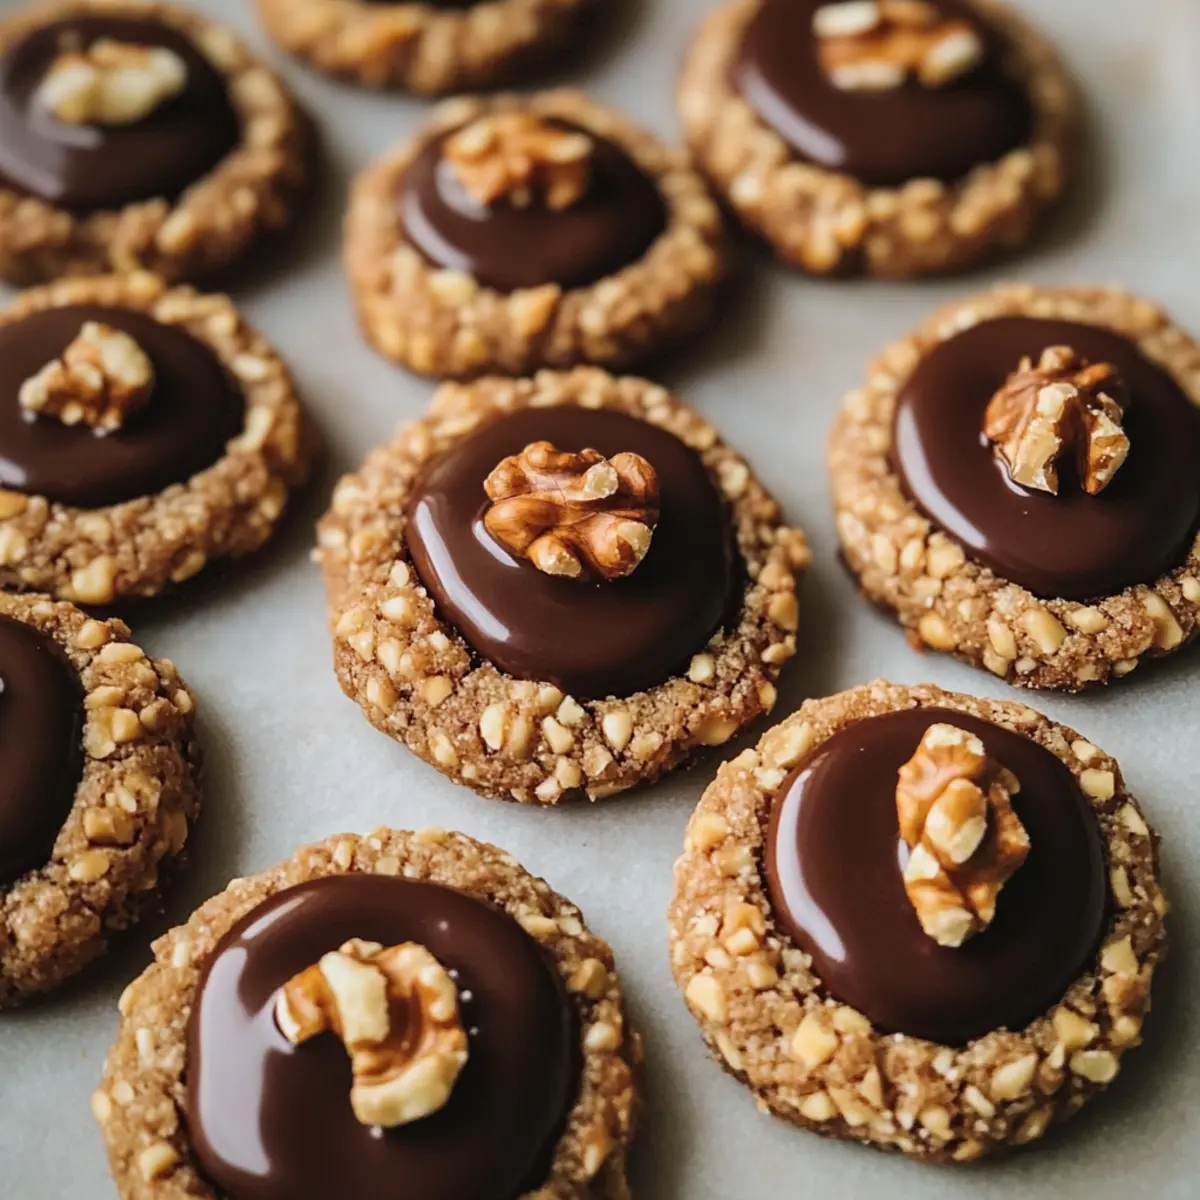
For a final touch, you may opt to top each cookie with an extra whole hazelnut or a drizzle of melted chocolate to elevate the presentation. Let your delightful Chocolate Hazelnut Thumbprint Cookies cool completely before indulging in the rich flavors and textures. Store any leftovers in an airtight container and enjoy them throughout the week!
What to Serve with Irresistible Chocolate Hazelnut Thumbprint Cookies
Indulging in these delightful treats opens the door to a world of pairing possibilities, perfect for creating a complete dessert experience.
-
Fresh Fruit Salad: A medley of seasonal fruits adds a refreshing burst of sweetness that balances the rich chocolate flavors and complements the nutty elements. The natural acidity of fruits like berries and citrus enhances each bite of the cookies.
-
Creamy Vanilla Ice Cream: A scoop of this classic treat offers a creamy contrast that melts beautifully with the warm chocolate hazelnut filling. The coolness of the ice cream brings forth the sweetness of the cookies, creating a harmonious dessert duo.
-
Rich Espresso: The bold flavors of a freshly brewed espresso elevate the chocolate experience, offering a slight bitterness that offsets the sweetness. Sip alongside your cookies for a café-like treat that satisfies both coffee and cookie lovers.
-
Toasty Hazelnut Latte: This warm, nutty latte embraces the hazelnut theme of the cookies. The creamy milk and toasted nuts create a comforting drink that pairs beautifully, making each bite and sip a moment of indulgent bliss.
-
Chocolate Drizzled Strawberries: These luscious berries provide a pop of color and fruity brightness. The combination of chocolate and strawberries is always a hit, and they offer a lovely contrast in texture and flavor alongside the cookies.
-
Decadent Chocolate Sauce: Drizzling warm chocolate sauce over the cookies adds an extra layer of richness. It creates a gooey experience that enhances your indulgence, making each cookie disappear even faster.
-
Wine or Dessert Pairing: A glass of sweet dessert wine, like Port or a rich red blend, can amplify the chocolate flavor, making it a luxurious end to any meal. Choose a wine that has hints of chocolate or spice to further complement the cookies.
-
Milk or Nut Milk: Whether it’s classic dairy or an alternative like almond milk, serving your cookies with a cold glass provides ultimate comfort. The milk not only softens the cookie but also enhances the overall flavor experience.
Make Ahead Options
These Chocolate Hazelnut Thumbprint Cookies are perfect for busy home cooks looking to save time during their baking endeavors! You can prepare the cookie dough up to 24 hours in advance; simply wrap it tightly in plastic wrap and refrigerate. Alternatively, you can roll the formed cookie balls and coat them in chopped hazelnuts, then cover and refrigerate for up to 3 days. When you’re ready to bake, just remove them from the refrigerator, create the thumbprint indentations, and bake as directed. This method ensures they stay fresh and flavorful, giving you delicious cookies with minimal last-minute effort for gatherings or family treats!
Storage Tips for Chocolate Hazelnut Thumbprint Cookies
Room Temperature: Store baked cookies in an airtight container at room temperature for up to 1 week to maintain freshness.
Freezer: For longer storage, freeze your Chocolate Hazelnut Thumbprint Cookies for up to 3 months. Place them in a single layer in a freezer-safe container, separated by parchment paper to prevent sticking.
Thawing: When ready to enjoy, simply thaw at room temperature for about 30 minutes before serving. They’ll taste just as delightful as when fresh!
Reheating: If you prefer warm cookies, gently reheat in the microwave for 10-15 seconds or in a low oven until warmed through.
Chocolate Hazelnut Thumbprint Cookies Variations
Feel free to get creative and personalize these cookies with delightful twists that tantalize your taste buds!
- Dairy-Free: Substitute butter with coconut oil for a rich, dairy-free option that’s just as delicious.
- Nut-Free: Use seeds like sunflower or pumpkin seeds for coating instead of hazelnuts, perfect for avoiding allergens.
- Fruit-Filled: Swap the chocolate hazelnut spread with fruit preserves, like apricot or blueberry, for a refreshing fruity twist.
- Chocolate Lover’s Dream: For an extra chocolatey kick, incorporate chocolate chips into the dough for bursts of melted chocolate goodness.
- Caramel Drizzle: Add a sweet topping by drizzling caramel sauce over the filled cookies for a luscious, indulgent touch.
- Coconut Delight: Roll the cookie dough balls in shredded coconut before baking for a tropical flair and chewy texture.
- Spicy Kick: Mix in a pinch of cayenne or chili powder into the dough for a surprising, spicy kick that contrasts beautifully with the sweetness.
- Flavored Spread: Experiment with different spreads such as almond or cashew butter for a creamy, nutty alternative to chocolate hazelnut.
These variations are sure to make each batch unique! If you’re curious about more filling ideas, check out my guide on creative cookie recipes to inspire your next baking adventure!
Expert Tips for Chocolate Hazelnut Thumbprint Cookies
-
Stick to Softened Butter: Ensure your butter is softened but not melted for the right dough texture, as melted butter can result in flat cookies.
-
Chill If Needed: If your dough feels too soft for shaping, pop it in the fridge for 15-20 minutes. This helps maintain the cookie shape during baking.
-
Uniform Thumbprints: Use a rounded measuring spoon or small melon baller to create even thumbprints. This ensures a beautiful presentation and consistent filling.
-
Re-Press After Baking: For a cleaner look, re-press the thumbprints once the cookies come out of the oven. They may puff up while baking, so this step helps maintain the pocket for your chocolate hazelnut spread.
-
Experiment with Fillings: Don’t hesitate to try different fillings! From fruit preserves to caramel, variations keep your Chocolate Hazelnut Thumbprint Cookies exciting and tailored to your taste.
Chocolate Hazelnut Thumbprint Cookies Recipe FAQs
How do I choose the right hazelnuts for the cookie coating?
Absolutely! When selecting hazelnuts, look for ones that are light in color and have minimal dark spots or blemishes. Fresh hazelnuts should have a firm texture and a pleasant nutty fragrance. If you purchase them pre-chopped, make sure the pieces are uniformly sized for even coating. This ensures that every bite is crunchy and delightful!
What’s the best way to store leftover Chocolate Hazelnut Thumbprint Cookies?
Very! To keep your cookies fresh, store them in an airtight container at room temperature for up to 1 week. Make sure they are completely cool before storing to avoid any moisture buildup. If you want to keep them longer, you can freeze them for up to 3 months. Just remember to layer them with parchment paper in a freezer-safe container to prevent sticking!
Can I freeze the cookie dough before baking?
Absolutely! You can freeze the unbaked cookie dough. After rolling the dough into balls and coating them with hazelnuts, arrange them on a baking sheet and freeze until solid. Then, transfer the frozen dough balls to a freezer-safe bag or container. They will keep well for up to 3 months. When you’re ready to bake, simply shape the thumbprint and bake them at 350°F (175°C) for a few extra minutes since they’ll be frozen.
What should I do if my dough is too soft to shape?
No worries! If your dough feels too soft, it’s easily fixable! Simply refrigerate the dough for about 15-20 minutes. This chilling step will help the butter firm up, making it much easier to roll into balls. Just keep an eye on the dough—if it’s still sticky after chilling, you can dust your hands and the dough lightly with flour.
Are there any allergy considerations with this recipe?
Definitely! If you’re baking for someone with nut allergies, you can skip the hazelnuts altogether or roll the cookies in finely chopped oats or seeds instead. Additionally, make sure to use allergy-friendly chocolate hazelnut spread, as some brands may contain allergens like dairy or gluten. Always check the labels—safety first!

Delicious Chocolate Hazelnut Thumbprint Cookies to Savor
Ingredients
Equipment
Method
- Preheat your oven to 350°F (175°C).
- Cream together the softened butter and granulated sugar until light and fluffy, about 2-3 minutes. Blend in the vanilla extract, followed by the flour, cocoa powder, and salt. Stir until just combined.
- Scoop portions and roll into 1-inch balls. Roll in chopped hazelnuts for coating, then place on a lined baking sheet, spaced 2 inches apart.
- Press down in the center of each dough ball to create a well.
- Bake for 10-12 minutes, until edges are set. Remove and cool slightly.
- Fill each thumbprint with chocolate hazelnut spread, allowing warmth to slightly melt the spread.
- Garnish with whole hazelnuts or a drizzle of melted chocolate. Let cool completely before serving.
Leave a Reply