
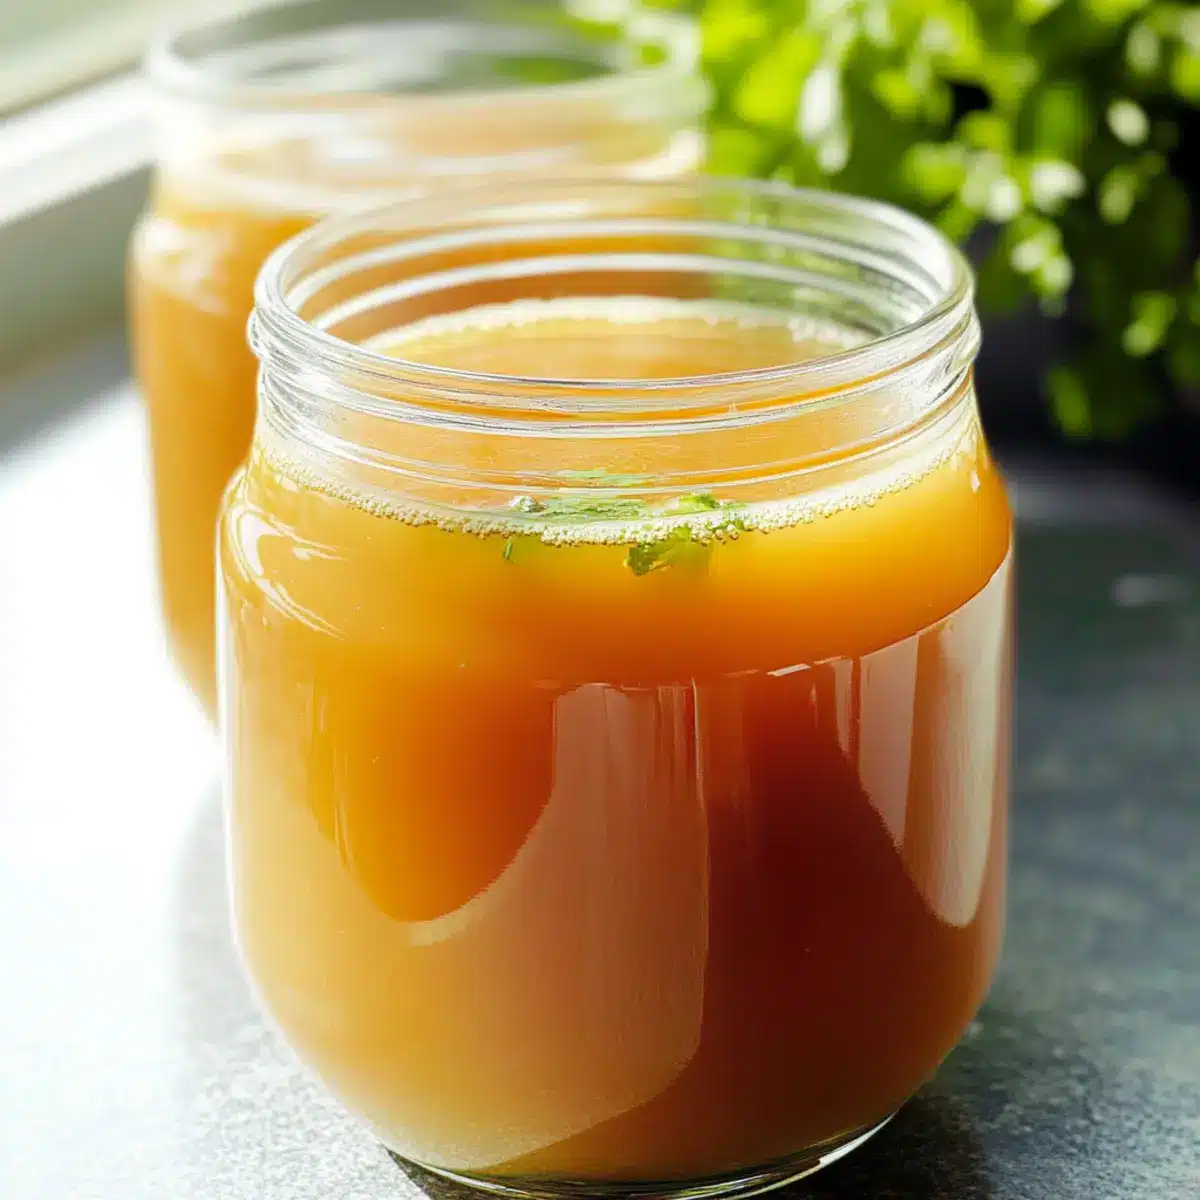
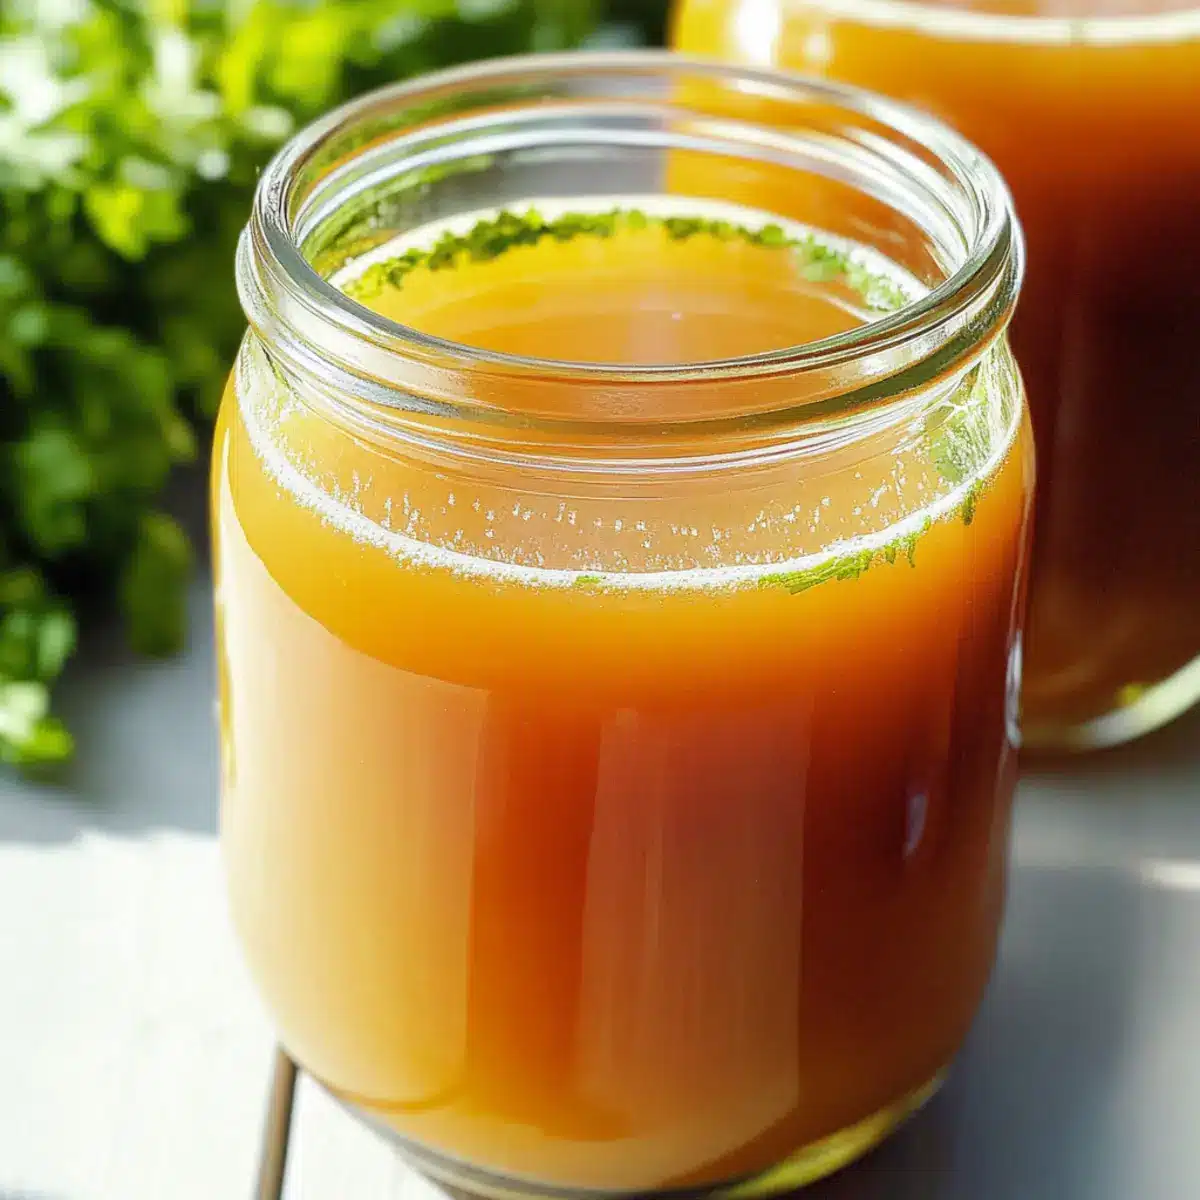
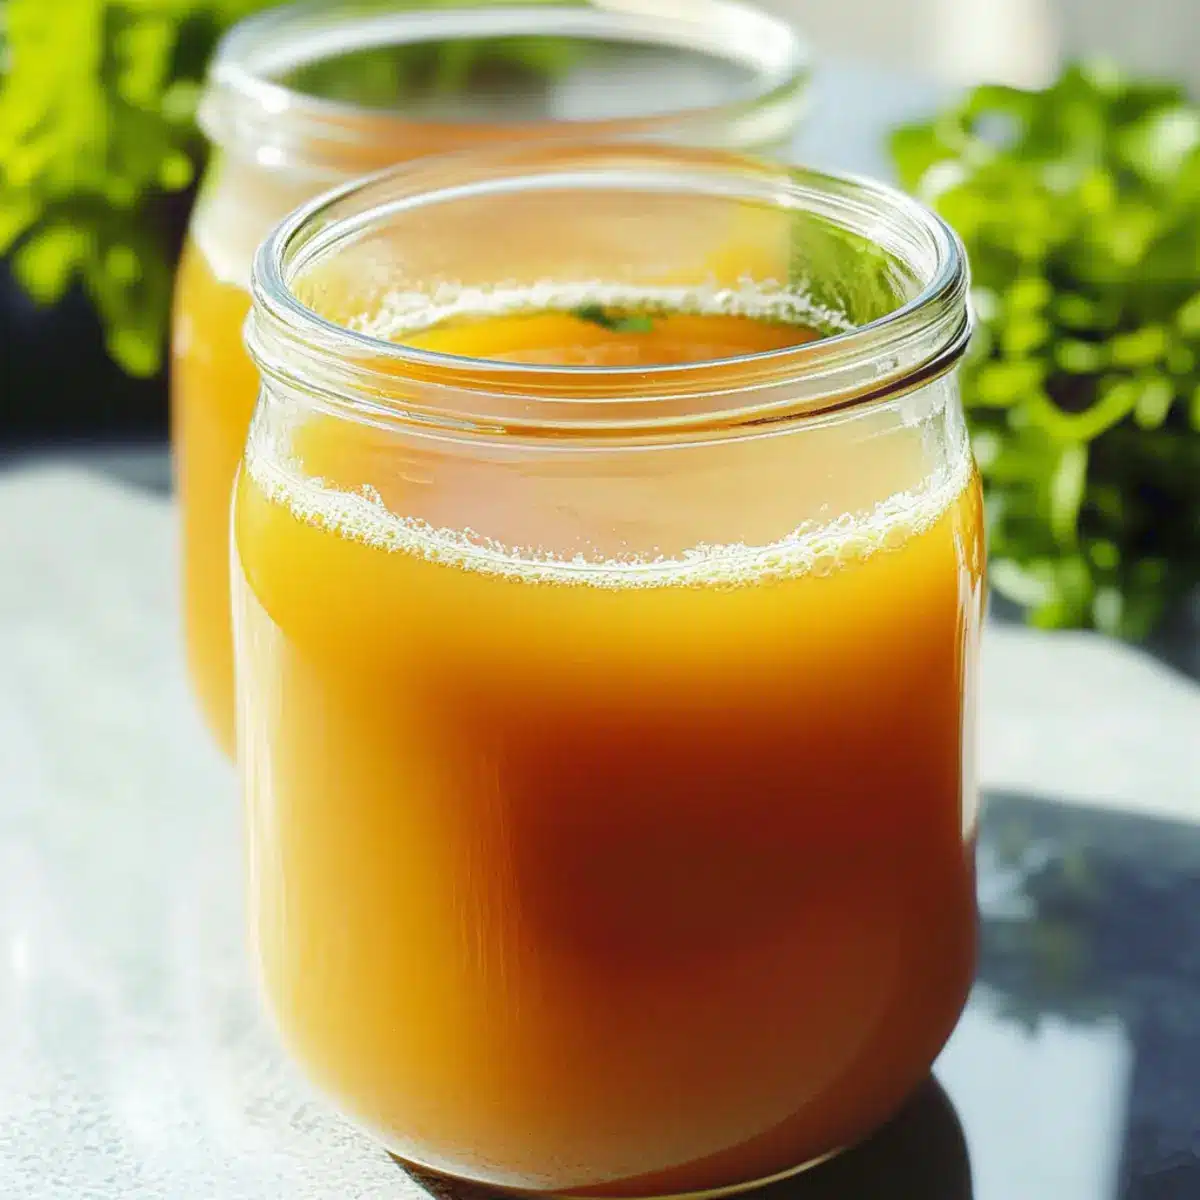
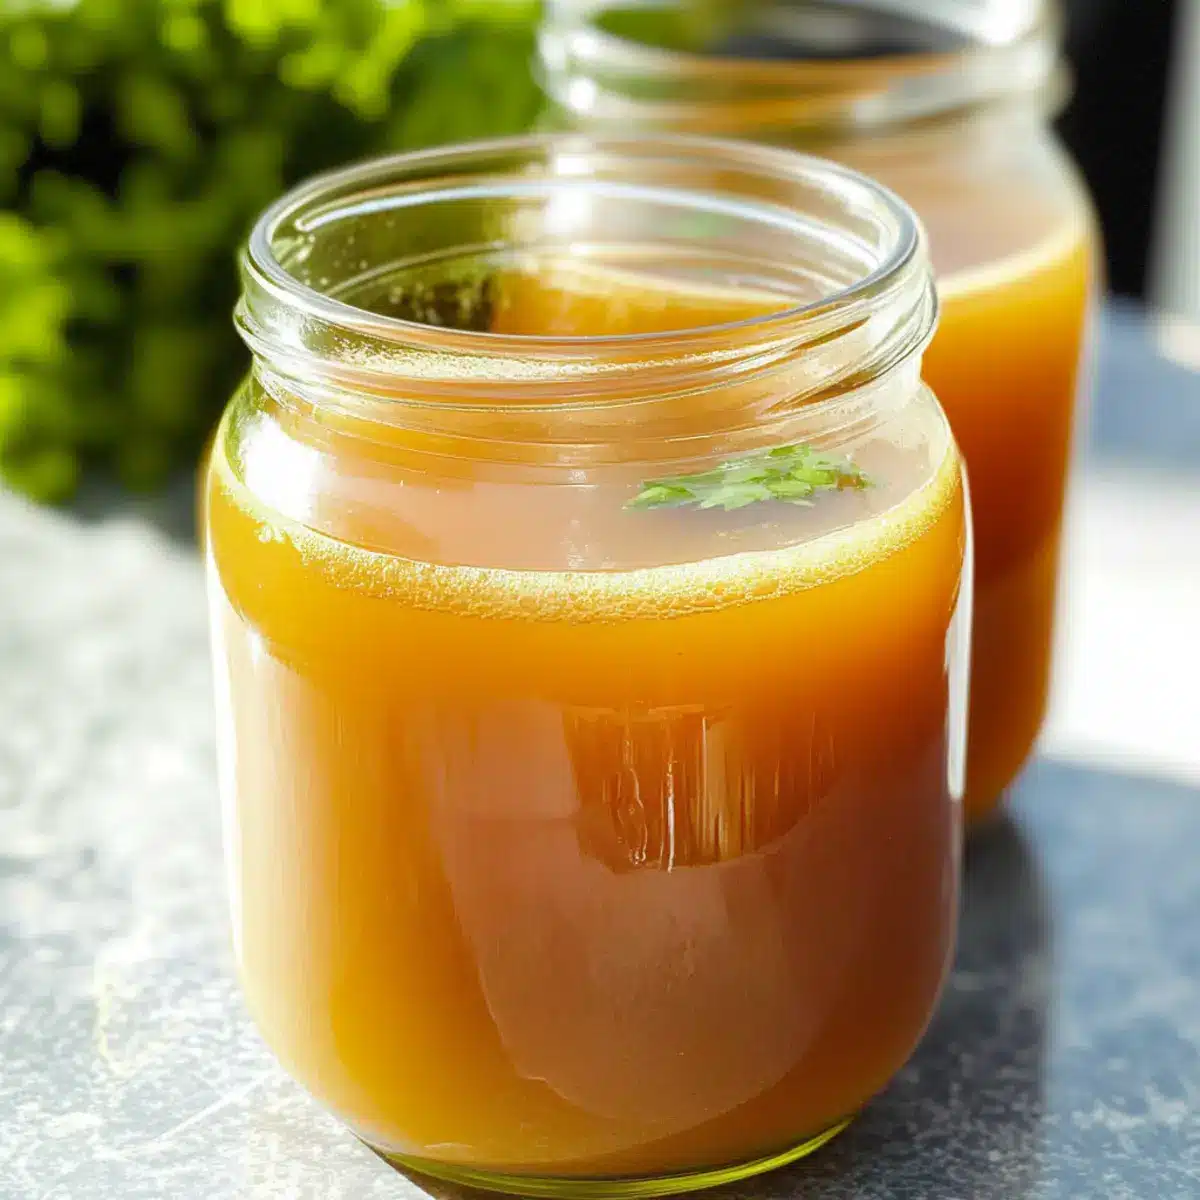
As I stood in my kitchen, the warm aroma of simmering bones enveloped me, instantly transporting me to the comforting embrace of my grandmother’s home. This Nutrient-Dense Bone Broth Recipe not only fills your kitchen with a rich, savory scent but also serves as a nourishing elixir that supports gut health. Packed with minerals and collagen, this broth is a versatile staple whether you’re diving into traditional cooking or seeking a quick boost for your meals. With easy methods for stovetop, Instant Pot, or Crockpot preparations, you can tailor it to fit into any busy lifestyle. Plus, it’s a fantastic way to reduce food waste while enjoying a flavorful base for soups or as a nourishing drink on a chilly day. Curious about how to make your very own pot of liquid gold? Let’s dive into the soothing art of broth-making!
Why is Bone Broth So Nourishing?
Nutrient-dense and packed with minerals, this bone broth recipe is a powerhouse for gut health. Versatile methods mean you can choose stovetop, Instant Pot, or Crockpot to fit your schedule. Rich flavor enhances your favorite soups and sauces, making every meal a delight. Simple process unlocks a world of benefits with just a few ingredients, while budget-friendly ingredients turn leftovers into liquid gold. Whether you’re a seasoned chef or a kitchen newcomer, this nourishing broth will quickly become a staple in your home!
Bone Broth Recipe Ingredients
Crafting this hearty broth is straightforward and rewarding!
For the Broth
• Bones of Choice – Chicken or beef bones work wonderfully, providing vital protein and minerals for the broth.
• Filtered Water – Use enough to fully cover the bones, adjusting based on your cooking vessel’s size for maximum flavor.
• Apple Cider Vinegar – 1 tablespoon is key to drawing out beneficial minerals from the bones during the cooking process.
For Seasoning
• Salt – Use sea salt or kosher salt to enhance the overall taste; adjust to preference.
• Pepper – Freshly cracked pepper adds a delightful kick; feel free to omit if desired.
• Garlic – Adding whole cloves infuses the broth with depth; experiment with roasted garlic for a sweeter taste.
This bone broth recipe is a true testament to wholesome cooking, creating a delicious base that supports your health!
Step‑by‑Step Instructions for Nutrient-Dense Bone Broth Recipe
Step 1: Prep the Bones
Start by placing the bones of your choice, either chicken or beef, into a large stockpot. Pour in enough filtered water to fully cover the bones, then add 1 tablespoon of apple cider vinegar. Allow the mixture to sit for 30–60 minutes, letting the vinegar pull beneficial minerals from the bones, which enhances the overall flavor and nourishment of your bone broth.
Step 2: Bring to a Boil
After letting the mixture sit, turn the heat to high and bring the water to a rolling boil. Once boiling, immediately reduce the heat to low, allowing it to simmer gently. Cover with a lid, and let the broth simmer for an extended period, anywhere from 8 to 36 hours, depending on how intensely flavored you wish your bone broth to be. You’ll know it’s ready when it smells rich and savory.
Step 3: Extract the Marrow
Once your broth has finished simmering, carefully remove the bones from the pot using a slotted spoon or tongs. If desired, tap the bones against the side of a bowl to release any marrow remaining inside, adding even more depth and nutrients to your broth. Allow the bones to cool slightly before disposing of them, as they can be brittle after long cooking.
Step 4: Strain the Broth
Next, set a fine mesh strainer or cheesecloth over a large bowl or another pot. Pour the simmered broth through the strainer to capture any leftover particles or impurities, ensuring a clear and flavorful liquid. This step is crucial in perfecting your nutrient-dense bone broth, resulting in a smooth texture that is pleasing to the palate.
Step 5: Cool and Store
Once strained, let the broth cool completely at room temperature. After it has cooled, pour the bone broth into glass containers, leaving about an inch of space at the top for expansion if you choose to freeze. Store the broth in the fridge for up to 2 weeks or freeze portions for up to 6 months, so you’ll always have this nourishing liquid gold on hand for soups or sipping.
Make Ahead Options
These nutrient-dense bone broth recipes are ideal for meal prep enthusiasts! You can prep the bones and water mix up to 24 hours in advance by placing them in a stockpot with apple cider vinegar and letting it sit (this helps draw out beneficial minerals). For maximum flavor, simmer the broth for 8 to 36 hours ahead of time and allow it to cool completely before straining. Once strained, refrigerate the broth for up to 2 weeks or freeze it in portions for up to 6 months. Be sure to leave an inch of space at the top of your containers when freezing to maintain quality. When you’re ready to enjoy, simply reheat on the stovetop — it will be just as delicious and nourishing as when you first made it!
Bone Broth Recipe Variations
Feel free to add your own spin to this nourishing broth; it’s all about making it your own!
-
Different Bones: Try using pork or lamb bones for a unique flavor twist, enriching your broth with new depth. Each type of bone offers distinct nuances, inviting you to explore beyond the usual chicken or beef.
-
Add Vegetables: Toss in chopped onions, carrots, or celery to enhance the nutrition and flavor profile. Not only do they lend subtle sweetness, but they also create a depth of flavor that elevates your broth.
-
Herb Infusion: Fresh herbs like thyme, rosemary, or bay leaves can work wonders in adding fragrance and complexity to your broth. Introduce them in the last few hours of simmering for a fragrant herbal note.
-
Spicy Kick: For those who crave heat, adding a pinch of crushed red pepper or a slice of fresh ginger can bring warmth and zing! Adjust the amount based on your preferred spice level for a truly personalized touch.
-
Creamy Addition: Blend in a scoop of coconut cream or a splash of full-fat coconut milk at the end for a rich, creamy texture perfect for sipping on chilly days. This not only enhances the mouthfeel but adds a lovely sweetness as well.
-
Umami Boost: Adding a tablespoon of miso paste or soy sauce right before serving can elevate the umami factor, creating a broth that’s irresistibly savory. Simply whisk it in until dissolved.
-
Quick & Easy: For those short on time, use store-bought bone broth as a base and enrich it further with fresh herbs and spices. This can still provide a comfort-filled experience without the long cooking time!
-
Flavorful Leftovers: Incorporate leftover vegetable scraps or meat bones into your next batch for a wonderful way to minimize waste. Not only do you make use of what you have, but you’ll create a delightful, one-of-a-kind broth!
With these variations, you’re sure to elevate your home-cooked bone broth experience! Consider trying it as a nourishing base for hearty soups or even for braising meats in place of water for an added flavor boost. If you’re excited about more cozy and nourishing recipes, don’t miss out on our incredible soup ideas that transform your bone broth into a warm embrace for the soul!
Expert Tips for the Best Bone Broth
• Quality Bones: Choose high-quality bones from grass-fed or pasture-raised animals for a nutrient-dense bone broth that enhances flavor and health benefits.
• Soaking Matters: Don’t skip the soaking step with apple cider vinegar; it’s vital for extracting minerals and collagen, ensuring your bone broth is truly nourishing.
• Proper Simmering: Avoid boiling the broth aggressively; a gentle simmer is key to extracting flavors without clouding the broth, giving you that lovely clear finish.
• Storage Solutions: For convenience, freeze your bone broth in ice cube trays; once solid, transfer the cubes to a sealed bag for easy future use in recipes.
• Reheating Right: Always reheat bone broth gently on the stove instead of the microwave; high heat can destroy valuable nutrients and affect the broth’s delicate flavor.
What to Serve with Nutrient-Dense Bone Broth?
Cozy up your mealtime with delightful pairings that complement the rich essence of bone broth.
- Creamy Mashed Potatoes: These fluffy potatoes offer a comforting, buttery texture that perfectly balances the savory depth of the broth.
- Fresh Garden Salad: A mix of crunchy greens and vibrant vegetables adds a refreshing contrast, cleansing your palate between sips of the warm broth.
- Crusty Bread: Thick slices of artisan bread provide a lovely vehicle for dipping into the broth, making every bite a satisfying experience.
- Roasted Vegetables: Seasonal veggies roasted to caramelized perfection enhance the broth’s flavors while adding a sweet, earthy component.
- Herbed Rice: Fluffy rice infused with herbs gives a lovely contrast of texture and freshness, soaking up the savory allure of the broth.
- Savory Cheese Platter: A selection of aged cheeses and nuts creates a delightful snacking experience, enriching the overall taste profile of your meal.
- Glass of Red Wine: A medium-bodied red wine like Merlot pairs beautifully, enhancing the rich flavors while adding a touch of elegance.
- Chocolate Mousse: End your meal on a sweet note with a light, airy chocolate mousse that contrasts beautifully with the savory elements of the broth.
- Homemade Croutons: Crunchy croutons seasoned with herbs offer a delightful texture and flavor boost, perfect for sipping and snacking.
- Ginger Tea: A warm cup of ginger tea is a soothing beverage that harmonizes with the broth’s gut-healing qualities, rounding out your cozy meal experience.
How to Store and Freeze Bone Broth
Fridge: Store in glass containers with a tight lid for up to 2 weeks. Ensure it’s completely cooled before sealing to prevent condensation.
Freezer: Freeze portions in airtight containers or freezer bags for up to 6 months. Leave an inch of space at the top to allow for expansion.
Reheating: When ready to enjoy, gently reheat the bone broth on the stovetop, avoiding the microwave to retain its nutrient density and flavor.
Labeling: Don’t forget to label your containers with the date. This helps you keep track of the freshness of your homemade liquid gold!
Bone Broth Recipe FAQs
What types of bones are best for making bone broth?
Absolutely! High-quality bones from grass-fed or pasture-raised animals are ideal for crafting bone broth. Chicken and beef bones are popular choices, but you can also use pork or lamb bones for varied flavors. The more the merrier when it comes to mixing different bones to enhance richness.
How long can I store bone broth in the fridge?
You can happily store your homemade bone broth in the fridge for up to 2 weeks! Just make sure to keep it in a glass container with a tight lid. Be sure to let it cool completely before sealing to prevent any condensation from affecting its quality.
Can I freeze bone broth, and if so, what’s the best way?
Yes, freezing bone broth is a fantastic way to extend its shelf life! Pour cooled broth into airtight containers or freezer bags, leaving about an inch of space at the top for expansion. Label your containers with the date and freeze for up to 6 months. For easy use in recipes, consider freezing in ice cube trays and then transferring the cubes to a bag once solid.
What if I forgot to soak the bones before cooking?
No worries at all! While soaking bones in apple cider vinegar is beneficial for mineral extraction, you can still make tasty broth without it. Just simmer the bones longer—aim for at least 24 hours—to help extract the nutrients. However, I would recommend incorporating the soak next time for a richer and more nutritious broth!
Can my pet enjoy bone broth?
Very much! Bone broth can be a delightful treat for pets when made without added salt and seasoning. Just ensure that the bones used are safe for them—avoid small or splintering bones. Always consult with your veterinarian regarding the best options for your furry friends.
What to do if my broth turns cloudy?
If your broth ends up cloudy, don’t fret! It usually happens due to boiling too aggressively or not straining well. To achieve a clearer broth, simmer gently and let the broth cool before straining it through a fine mesh strainer or cheesecloth to capture any tiny particles. Remember, even if it’s cloudy, it’s still precious liquid gold, full of flavor and nutrients!
Healing Bone Broth Recipe: Nourish Your Body from Within
Ingredients
Equipment
Method
- Start by placing the bones of your choice, either chicken or beef, into a large stockpot. Pour in enough filtered water to fully cover the bones, then add 1 tablespoon of apple cider vinegar. Allow the mixture to sit for 30-60 minutes.
- After letting the mixture sit, turn the heat to high and bring the water to a rolling boil. Once boiling, immediately reduce the heat to low, allowing it to simmer gently for anywhere from 8 to 36 hours.
- Carefully remove the bones from the pot with a slotted spoon or tongs. Tap the bones to release any marrow remaining inside before disposing of them.
- Set a fine mesh strainer or cheesecloth over a bowl or another pot. Pour the simmered broth through the strainer to capture any leftover particles or impurities.
- Let the broth cool completely at room temperature. Pour into glass containers, leaving about an inch of space at the top for expansion if freezing.
Leave a Reply