
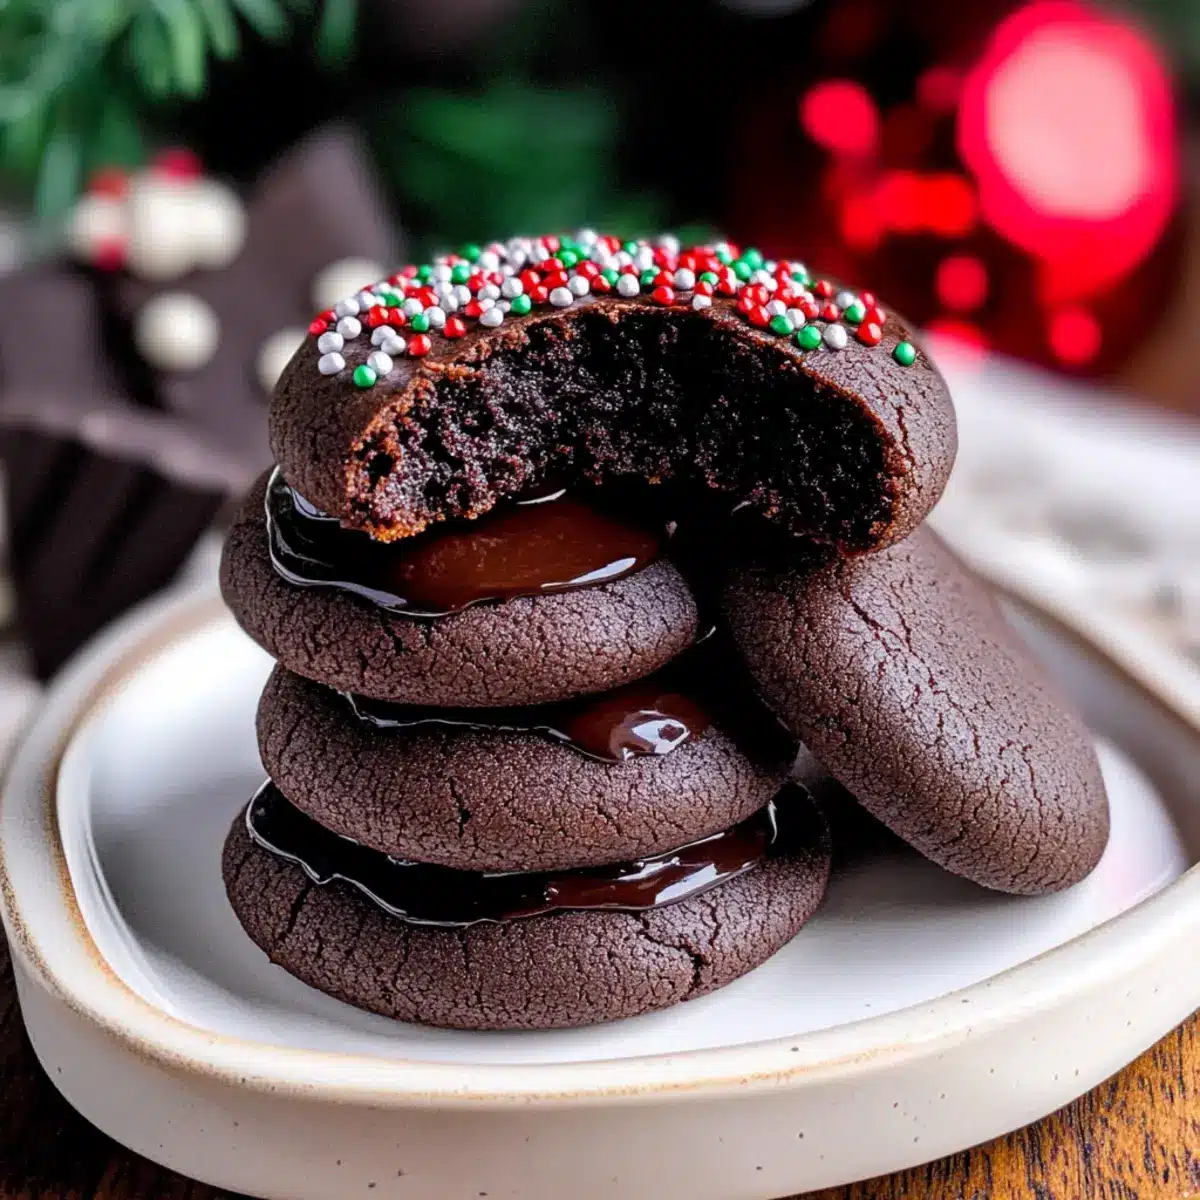
I recently stumbled upon a delightful memory of holiday baking—my kitchen filled with the rich aroma of chocolate as I crafted these delectable Chocolate Thumbprint Cookies. With each bite, you experience a glorious combination of a chewy cookie exterior and a lavish chocolate ganache center that simply melts in your mouth. These cookies not only come together in a jiffy but are also an absolute showstopper on any dessert table. Perfect for sharing with loved ones, they will have everyone asking for more! Are you ready to elevate your cookie game and impress your friends with this charmingly simple recipe? Let’s dive in!
Why Are These Cookies Unforgettable?
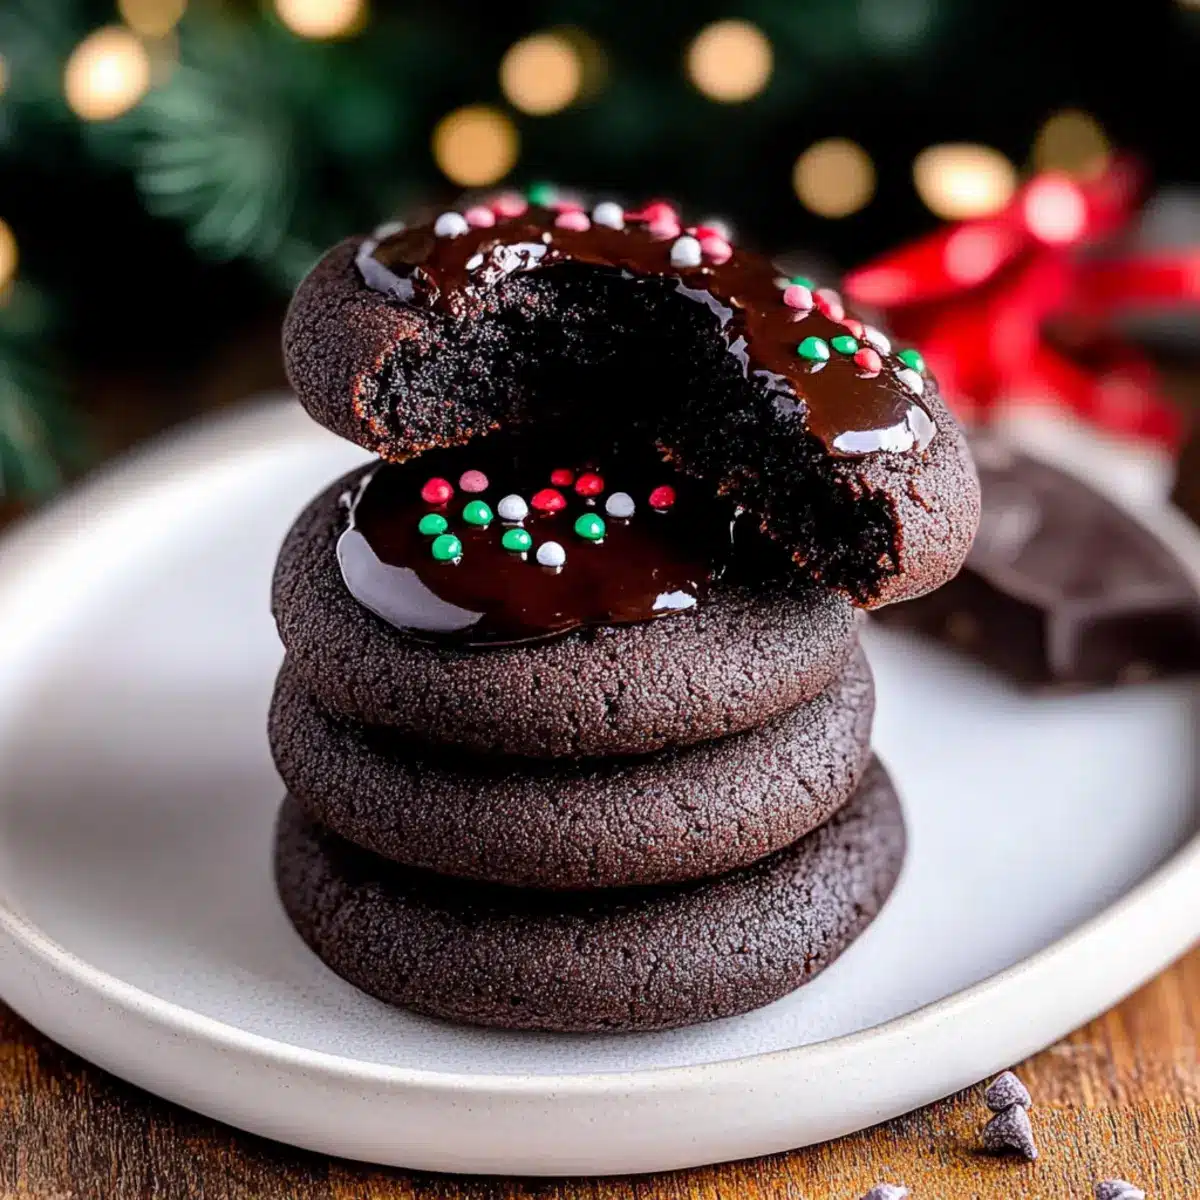
Decadent chocolate ganache: The rich filling transforms each bite into a luxurious experience that your taste buds won’t forget.
Easy preparation: No complicated steps here! These cookies come together quickly, making them perfect for holiday baking or any time you crave something sweet.
Versatile toppings: Get creative! You can swap nonpareils for festive sprinkles or even crushed peppermint for a seasonal twist.
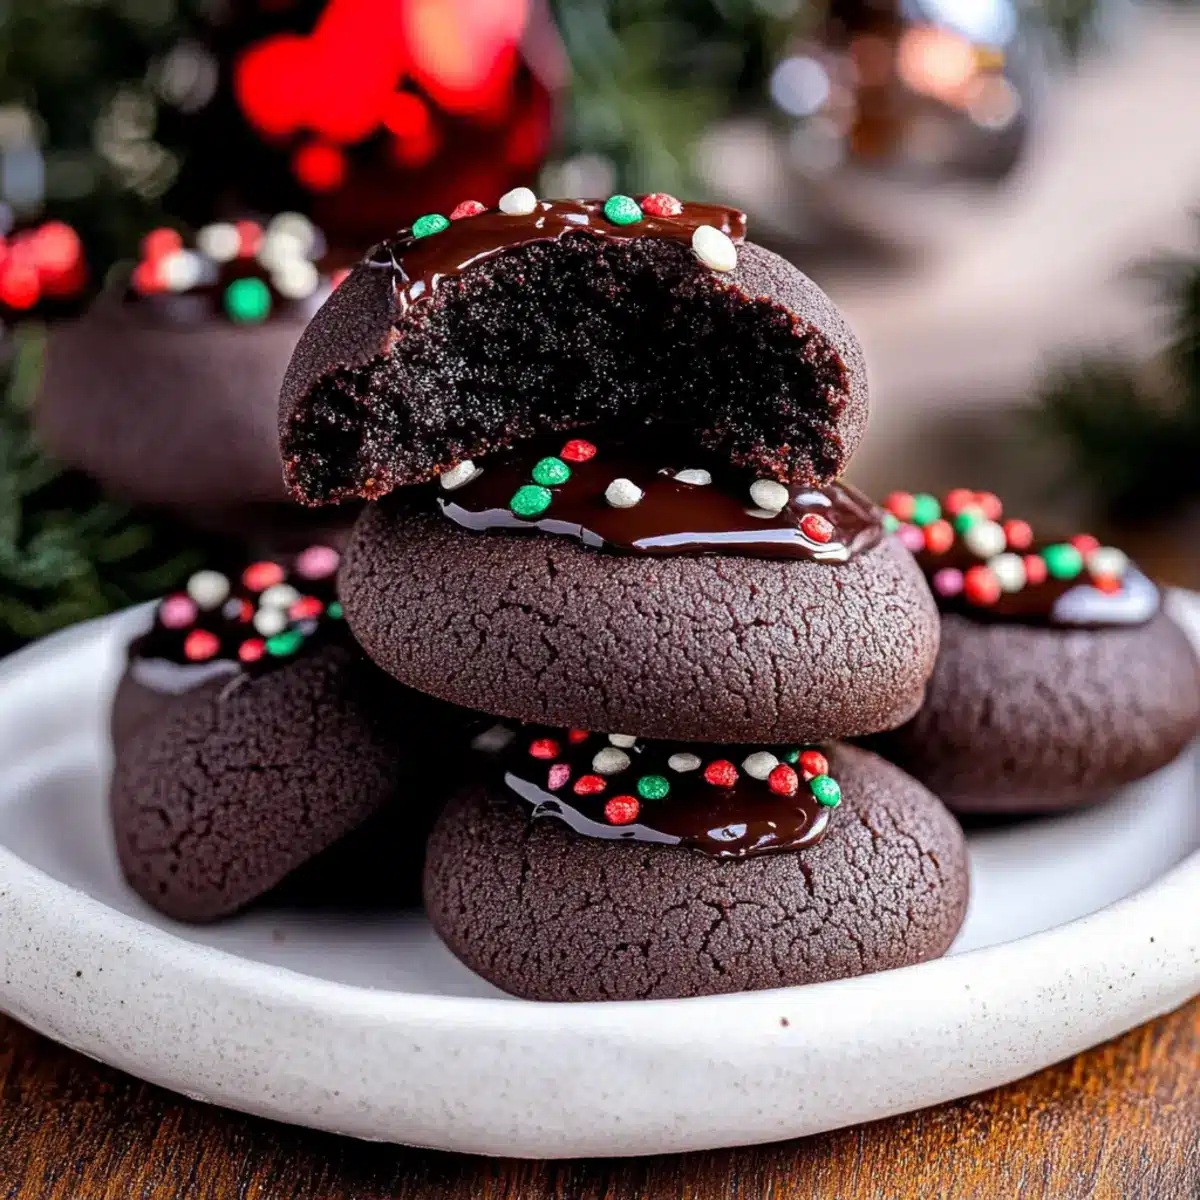
Crowd-pleaser: With their inviting appearance and mouthwatering flavor, these cookies are sure to wow guests at any gathering.
Perfect texture: Enjoy the delightful contrast of chewy cookie and smooth ganache that makes these cookies not just a treat, but a true indulgence.
Try pairing them with a warm cup of cocoa or sharing them during your holiday festivities for an irresistible experience!
Chocolate Thumbprint Cookies Ingredients
For the Cookie Dough
- All-purpose flour – Ensure it is spooned and leveled to avoid excess flour.
- Dutch process cocoa powder – This chocolate variety yields a darker, richer taste.
- Salt – A pinch enhances the overall flavor by balancing the sweetness.
- Baking powder – Acts as a leavening agent, helping the cookies rise slightly.
- Unsalted butter – Make sure it’s softened for easier creaming and added moisture.
- Light brown sugar – Offers sweetness and moisture, adding a richer flavor compared to white.
- Granulated white sugar – Use alongside brown sugar for a perfectly balanced sweetness.
- Egg yolks – Provides richness and binding; use at room temperature for the best incorporation.
- Vanilla bean paste or extract – Boosts the overall flavor profile beautifully.
For the Ganache Filling
- Semi-sweet chocolate chips – The filling for the ganache; milk or dark chocolate can be used for various sweetness levels.
- Heavy whipping cream – Be sure it’s nearly boiling to properly melt the chocolate for the ganache.
For Decoration
- Nonpareils (optional) – Use as a decorative topping; can be replaced with crushed candy canes or other festive sprinkles to elevate your cookies! The addition of toppings brings a delightful flair to your Chocolate Thumbprint Cookies.
Step‑by‑Step Instructions for Chocolate Thumbprint Cookies
Step 1: Prepare Baking Sheets
Preheat your oven to 350°F (175°C) and line two baking sheets with parchment paper. This ensures your Chocolate Thumbprint Cookies bake evenly and don’t stick to the pan. Make sure to leave space between the sheets for airflow and easy access when transferring the cookies.
Step 2: Combine Dry Ingredients
In a medium bowl, whisk together the all-purpose flour, Dutch process cocoa powder, salt, and baking powder. Mixing these dry ingredients at this early stage ensures that every bite of your cookies is perfectly flavored. Set this bowl aside as you move on to the next steps of crafting your delicious chocolate cookies.
Step 3: Cream Butter and Sugars
In a large mixing bowl, use an electric mixer to cream together the softened unsalted butter with both light brown and granulated sugars for about 2 minutes. You’ll know it’s ready when the mix turns light and fluffy, creating a perfect base for your Chocolate Thumbprint Cookies, enhancing their chewy texture and rich flavor.
Step 4: Add Egg Yolks and Vanilla
Add the egg yolks and the vanilla bean paste or extract to the creamed butter and sugars. Mix until the batter is pale and airy, about 1-2 minutes. This step will boost the flavor and provide moisture, setting your cookies up for that indulgent character we desire in Chocolate Thumbprint Cookies.
Step 5: Incorporate Dry Ingredients
Gradually add the prepared dry mixture to the wet ingredients, mixing on low speed until just combined. Be careful not to overmix, as you want a tender dough that holds together. The dough should be thick but cohesive, inviting the rich chocolate flavor to shine through in your thumbprint cookies.
Step 6: Shape Dough
Using a cookie scoop or your hands, portion out about 34 balls of dough, each roughly the size of one tablespoon. Place these balls on the lined baking sheets and then use a 1/4 teaspoon to gently press down in the center of each ball, creating an indentation for filling them later with ganache.
Step 7: Chill Dough
Cover the baking sheets with plastic wrap or a clean kitchen towel and refrigerate the dough for at least 1 hour. Chilling the dough is crucial as it helps maintain the shape of your Chocolate Thumbprint Cookies while they bake, preventing them from spreading too much.
Step 8: Bake
Once chilled, place the baking sheets in the preheated oven and bake for 9-11 minutes. Keep a close eye on your cookies; they should look set around the edges and slightly soft in the center. If necessary, gently re-indent the cookies with the measuring spoon just after removing them from the oven.
Step 9: Cool Cookies
Allow the cookies to cool on the baking sheets for about 5 minutes. This resting time helps them firm up a bit before you transfer them to a wire rack for cooling completely. This step is essential for achieving the ideal texture in your Chocolate Thumbprint Cookies.
Step 10: Make Ganache
In a small saucepan, heat the heavy whipping cream until it’s nearly boiling. Pour this hot cream over the semi-sweet chocolate chips in a mixing bowl, letting it sit for about 1 minute. Stir until the chocolate is completely smooth and glossy to create a luscious ganache that will fill your chocolate cookies.
Step 11: Fill Cookies
Once the cookies have cooled completely, use a spoon to fill each indentation with the smooth ganache. Optional: Sprinkle nonpareils or your desired toppings over the ganache for added flair. Let the cookies sit for a bit to allow the ganache to set, enhancing the visual appeal and texture of your Chocolate Thumbprint Cookies.
Make Ahead Options
These Chocolate Thumbprint Cookies are ideal for busy home cooks looking to save time! You can prepare the cookie dough up to 24 hours in advance by following the initial steps and chilling it in the refrigerator. Once you’ve shaped the cookie balls and made indentations, simply cover the baking sheets with plastic wrap. When you’re ready to bake, just take them out and pop them in a preheated oven. Additionally, the ganache can be made up to 3 days ahead; store it in a sealed container in the fridge, then reheat slightly before filling the cookies. This way, you’ll have delicious, fresh Chocolate Thumbprint Cookies on hand with minimal last-minute effort!
Storage Tips for Chocolate Thumbprint Cookies
-
Room Temperature: Store in an airtight container at room temperature for up to 3 days, keeping the cookies fresh and chewy while you savor each chocolatey bite.
-
Freezer: For longer storage, freeze the cookies in a single layer in an airtight container for up to 2 weeks. Thaw at room temperature when ready to enjoy.
-
Reheating: If you prefer your Chocolate Thumbprint Cookies warm, briefly microwave them for 10-15 seconds; this will revive their delightful texture and enhance the ganache.
What to Serve with Rich Chocolate Thumbprint Cookies
These delightful chocolate bites pair beautifully with various accompaniments that enhance their rich flavors and textures.
-
Fresh Berries: Bright and juicy strawberries or raspberries add a burst of tartness that contrasts beautifully with the sweet ganache.
-
Vanilla Ice Cream: The creamy coolness perfectly balances the warm, fudgy texture of the cookies, creating an indulgent dessert experience.
-
Espresso or Coffee: The bold flavors of a strong brew enhance the chocolate, making for a delightful afternoon pick-me-up.
-
Hot Cocoa: For the ultimate cozy combination, serve alongside a steaming cup of hot cocoa to warm up your winter evenings.
-
Milk: A classic pairing! The creamy richness of a tall glass of milk complements the cookies, making every bite even more satisfying.
-
Chocolate Fondue: For the adventurous! Dip your cookies into a warm pot of chocolate fondue to double the chocolate bliss.
-
Nutty Trail Mix: The crunchy texture and nutty flavors of a trail mix can serve as a lovely contrast to the dense cookie texture.
-
Cheesecake Slice: The creamy richness of cheesecake complements the chocolate beautifully, offering a sweet and tangy balance.
-
Mint Tea: An herbal twist! The refreshing notes of mint tea can cleanse the palate and offer a delightful flavor contrast to chocolate.
-
Fruit Sorbet: A fruity sorbet can add a refreshing note that cleanses the palate after the rich cookies, creating a delightful finish.
Chocolate Thumbprint Cookies Variations
Feel free to express your creativity with these delightful cookies and customize them to match your taste buds!
-
Dark Chocolate: Swap semi-sweet chocolate chips for dark chocolate for an even richer flavor profile. This addition creates a deep, luxurious ganache that chocolate lovers will adore.
-
Minty Fresh: For a refreshing twist, use peppermint extract instead of vanilla in the dough. Just a hint will bring a festive feel, perfect for holiday gatherings.
-
Nutty Appeal: Add ½ cup of finely chopped nuts, like walnuts or pecans, to the dough for extra crunch. The nuts provide a lovely contrast to the soft cookie texture.
-
Gluten-Free: Substitute all-purpose flour with a gluten-free blend in a 1:1 ratio for a gluten-friendly version. You can still enjoy this delicious treat while accommodating dietary needs.
-
Spicy Kick: Add a pinch of cinnamon or cayenne pepper to the dry ingredients for an unexpected heat. This spice boosts the flavor and creates a delightful surprise with every bite.
-
Filled Indulgence: Instead of chocolate ganache, fill with a fruit preserve like raspberry or apricot for a zingy contrast. The tartness will balance the sweetness of the cookie beautifully.
-
Coconut Craze: Incorporate shredded coconut into the dough for a tropical flavor. This adds a unique texture and a hint of sweetness that pairs perfectly with chocolate.
-
Caramel Delight: Drizzle warm caramel sauce on top of the ganache for an extra indulgent treat. The gooey caramel will elevate your cookies to new levels of deliciousness!
Feel free to mix and match these variations to create your own signature Chocolate Thumbprint Cookies! Enjoy these changes while basking in the cozy joy of baking, and if you’re looking for inspiration on more decadent treats, check out our Chewy Chocolate Chip Cookies or explore Festive Holiday Cookie Ideas. Happy baking!
Expert Tips for Chocolate Thumbprint Cookies
-
Accurate Measurements: Always use the spoon and level technique for flour to prevent dry cookies; too much flour can ruin your Chocolate Thumbprint Cookies.
-
Chill the Dough: Chilling the dough is vital to maintain shape during baking. Don’t skip this step, or your cookies may spread too much!
-
Check Butter Temperature: Ensure your butter is softened, but not melted. Overly warm butter can lead to flat cookies, affecting the overall texture.
-
Re-indent After Baking: If your thumbprints lose shape while baking, gently re-indent them while still warm using a teaspoon for perfect filling later.
-
Mixing Technique: When combining your dry and wet ingredients, mix until just combined. Overmixing can lead to tough cookies—ideal for a tender, chewy result!

Chocolate Thumbprint Cookies Recipe FAQs
What type of cocoa powder is best for these cookies?
For the richest flavor, I recommend using Dutch process cocoa powder. It yields a darker and deeper chocolate taste, elevating these cookies to heavenly heights.
How long do Chocolate Thumbprint Cookies stay fresh?
You can store these cookies in an airtight container at room temperature for up to 3 days. They will retain their chewy texture and delightful chocolate flavor, making them a perfect treat for snacking throughout the week.
Can I freeze Chocolate Thumbprint Cookies?
Absolutely! To freeze, place the cookies in a single layer in an airtight container with parchment paper between layers. They can be stored for up to 2 weeks. When you’re ready to enjoy them, simply thaw at room temperature. If you like them warm, pop them in the microwave for about 10-15 seconds!
What should I do if my cookies spread too much?
If you find that your cookies are spreading during baking, check the temperature of your butter; it should be softened but not melted. Additionally, ensure your oven is at the correct temperature—using an oven thermometer can help! You can also chill the dough longer if needed, which helps maintain their shape.
Are there any allergy concerns with this recipe?
Yes, this recipe contains common allergens such as gluten (from all-purpose flour), dairy (from butter and cream), and eggs. For those with allergies or dietary restrictions, consider using gluten-free flour, dairy-free butter alternatives, and egg substitutes like flaxseed meal or applesauce.
How can I make these cookies healthier?
To add a healthier twist, try reducing the sugar by a quarter and using whole wheat flour instead of all-purpose flour. You can also experiment with using dark chocolate for the ganache, which is a bit richer and has antioxidants, giving you another layer of indulgence without compromising too much on health!
Irresistible Chocolate Thumbprint Cookies with Ganache Bliss
Ingredients
Equipment
Method
- Preheat your oven to 350°F (175°C) and line two baking sheets with parchment paper.
- In a medium bowl, whisk together the all-purpose flour, Dutch process cocoa powder, salt, and baking powder.
- In a large mixing bowl, use an electric mixer to cream together the softened unsalted butter with both light brown and granulated sugars for about 2 minutes.
- Add the egg yolks and the vanilla bean paste or extract to the creamed butter and sugars, mixing until pale and airy for 1-2 minutes.
- Gradually add the prepared dry mixture to the wet ingredients, mixing on low speed until just combined.
- Using a cookie scoop, portion out about 34 balls of dough and place these on the lined baking sheets, creating indentations in the center.
- Cover the baking sheets with plastic wrap and refrigerate the dough for at least 1 hour.
- Bake for 9-11 minutes, monitoring to ensure they remain soft in the center.
- Cool on the baking sheets for about 5 minutes before transferring to a wire rack to cool completely.
- In a small saucepan, heat the heavy whipping cream until nearly boiling, then pour it over the chocolate chips and stir until smooth.
- Once cooled, fill each indentation with the ganache and top with nonpareils if desired.
Leave a Reply